Introduction

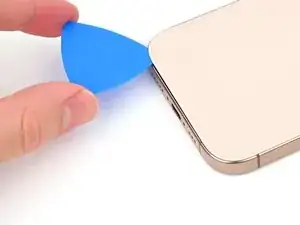
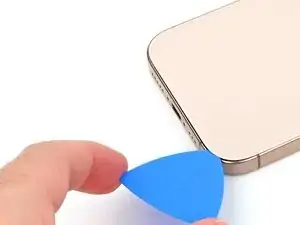
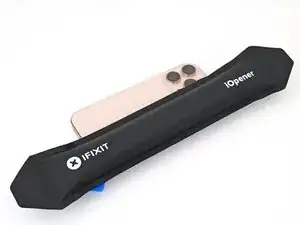
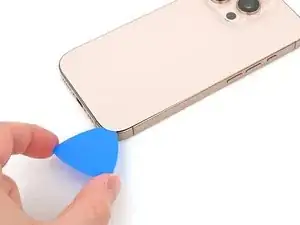
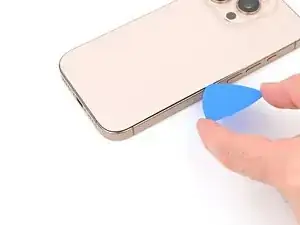
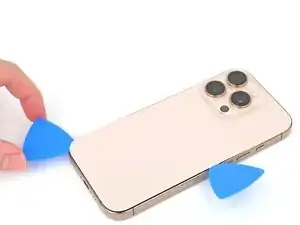
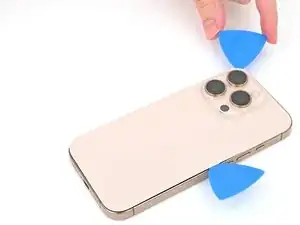
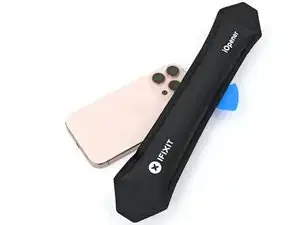
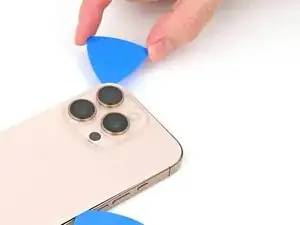
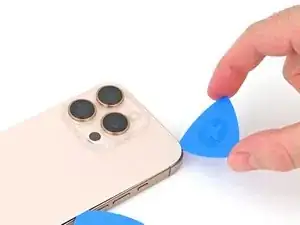
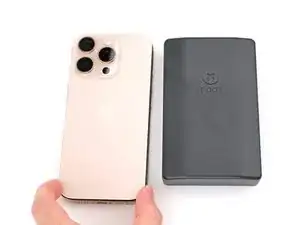
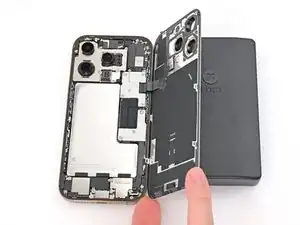
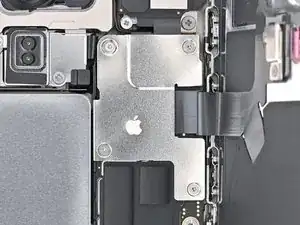
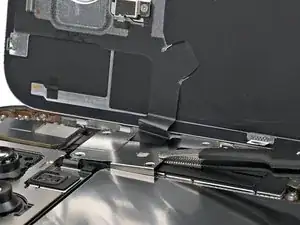
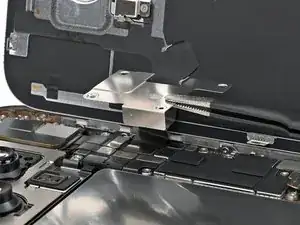
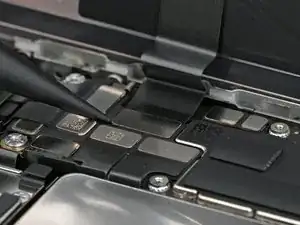
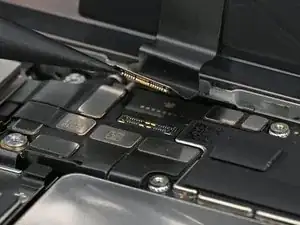
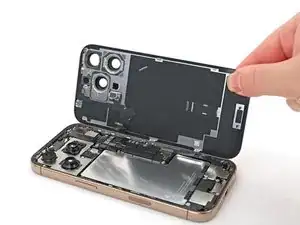
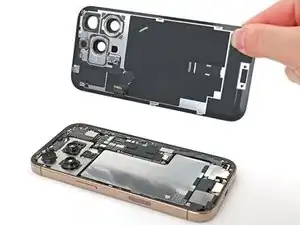
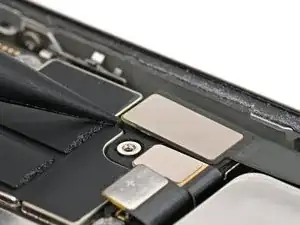
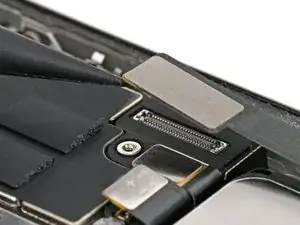
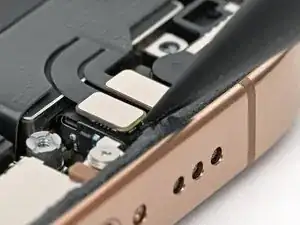
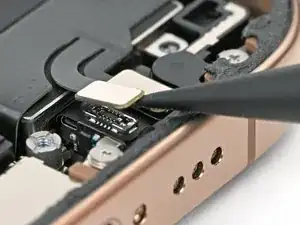
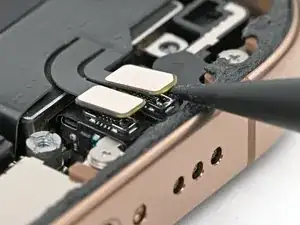
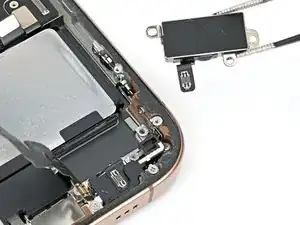
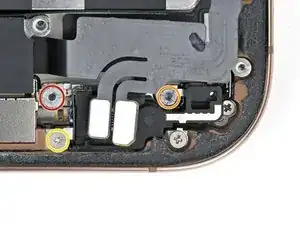
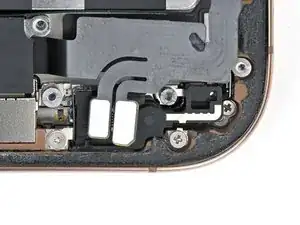
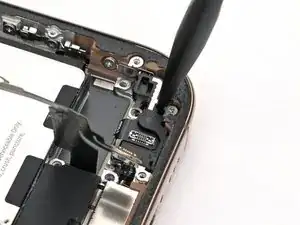
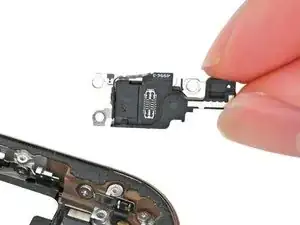
Follow this guide to replace the microphone in your iPhone 16 Pro.

You may need to replace your microphone if your iPhone's having a hard time picking up your voice or has intermittent issues.

You'll need replacement back glass and microphone adhesive to complete this repair.

  1. K4AWsftcl4n5BtIp
    K4AWsftcl4n5BtIp
    aFo1CdHnjZVIyeaI
    • Allow the phone's battery to drain below 25%, as a charged lithium-ion battery is a potential safety hazard.

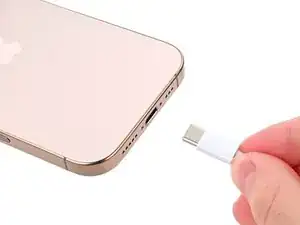
    • Unplug any cables from the phone.

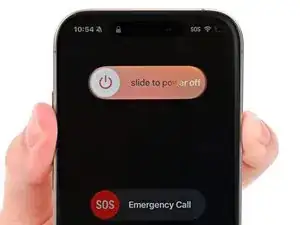
    • Hold the power and either volume buttons and slide to power off the phone.

    Wilson Demosthène

    Demosthène Wilson -

  2. EmBlBsGeBABlcwlv
    EmBlBsGeBABlcwlv
    ptNWZaLIy4EsKrcf
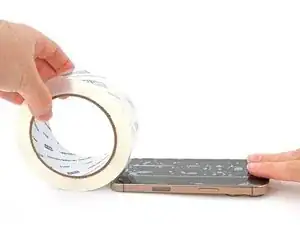
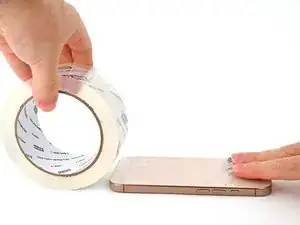
    • If the screen or back glass is badly cracked, lay overlapping strips of packing tape over the glass to protect yourself and make disassembly easier.

    • Make sure there's a smooth area near the bottom edge that's big enough for a suction cup to stick to.

  3. 2L1xyPNHbxcHDGo2
    2L1xyPNHbxcHDGo2
    pHlXkMHcKaCfppXs
    UyUfMfOFG1QtVZl1
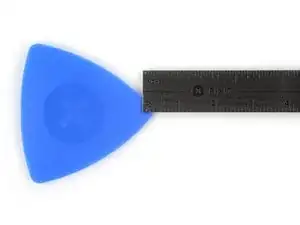
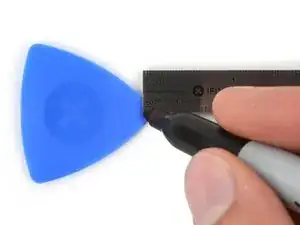
    • If inserted too far, an opening pick can damage your device. Follow this step to mark your pick and prevent damage.

    • Measure 3 mm from the tip and mark the opening pick with a permanent marker.

    • You can also mark the other corners of the pick with different measurements.

    • Alternatively, tape a coin to a pick 3 mm from the tip.

  4. 4wwMsFG3yVDMQZim
    4wwMsFG3yVDMQZim
    jXnDR5btQ4VuGNTl
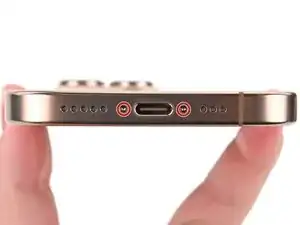
    • Use a P2 pentalobe screwdriver to remove the two 7.4 mm‑long screws on either side of the USB-C port.

  5. PkjP4QyDQ1ElZjyA
    PkjP4QyDQ1ElZjyA
    tdVVktKhnFvKVIjD
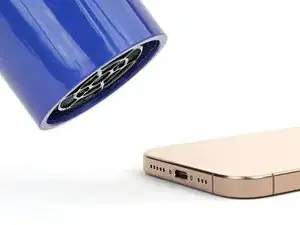
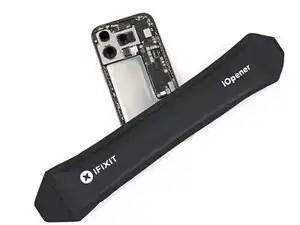
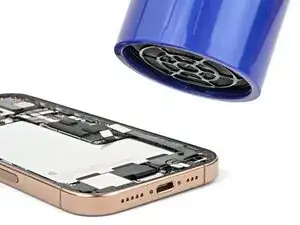
    • Apply a heated iOpener to the bottom edge of the back glass for two minutes.

    • Alternatively, you can use a hair dryer or heat gun to heat the bottom edge of the back glass until it's hot to the touch.

    • Be careful not to heat the phone hotter than this—the battery is susceptible to heat damage.

  6. lBEmkD6NJhtkxkW5
    lBEmkD6NJhtkxkW5
    UROSoplXmxMyKBBs
    oGngHBGS4k4mI2Uw
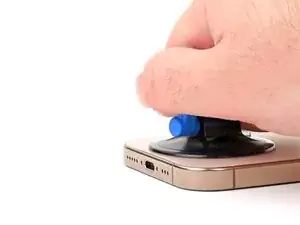
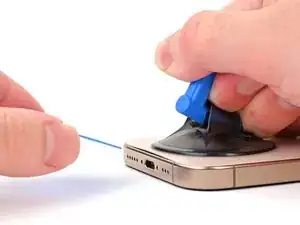
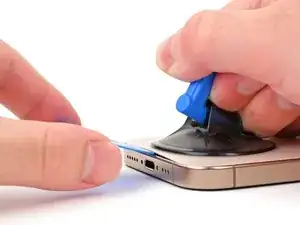
    • Apply a suction handle to the bottom edge of the back glass, above the USB-C port.

    • Pull up on the handle with a strong, steady force to create a gap between the back glass and the frame.

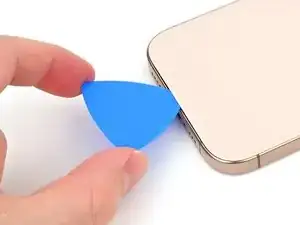
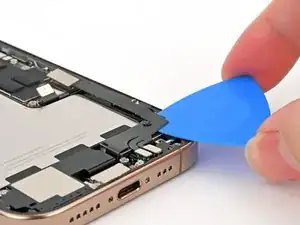
    • Insert the tip of an opening pick into the gap.

  7. ULCMCIRVcZeNxqtC
    ULCMCIRVcZeNxqtC
    NYdfkKbvBtUuG3dF
    • As you slice the adhesive securing the back glass in the next steps, be careful of the following areas:

    • There's a delicate cable connecting the back glass to the phone, right next to the volume up button. Don't insert your pick here to avoid slicing the cable.

    • There are multiple spring contacts around the perimeter of the phone. Be extra careful not to insert your pick deeper than suggested in each step to avoid bending these contacts.

    • If you damage the spring contacts, gently bend them back with a spudger or opening pick so they align with their gold contact pads on the back glass.

  8. MSP4gLCYTExRaQf1
    MSP4gLCYTExRaQf1
    iJTyS2NhNWGOdGIw
    Ld42oP5IGwVvfPD2
    • Don't insert your pick deeper than 5 mm on the bottom edge to avoid damaging the spring contact.

    • Slide your pick back and forth along the bottom edge to separate the adhesive.

    • Leave your pick inserted in the bottom right corner to prevent the adhesive from resealing.

  9. m2qc15FGP2gHir3s
    • Heat the right edge of the back glass until it's hot to the touch.

  10. Rf6WVIXrZBFXmMVZ
    Rf6WVIXrZBFXmMVZ
    ILIQGaTRSbg2LpNI
    • Slide your pick around the bottom right corner and halfway up the right edge, or until you feel a hard stop at a clip securing the back glass.

    • Don't slice near the volume buttons to avoid damaging the wireless charging/flash cable.

    • Leave this pick inserted to prevent the adhesive from resealing.

  11. uddoC4XqLagpbJNm
    • Heat the right edge of the back glass until it's hot to the touch.

  12. NXhQMBD3F635INQX
    NXhQMBD3F635INQX
    OwYBcapAZB4Q1owo
    • Insert a second opening pick at the bottom edge.

    • Slide the second pick around the bottom left corner and along the left edge of the screen to separate the adhesive and release the metal clips.

    • You'll hear and feel the metal clips release as you pass them.

    • Leave this pick inserted at the top left corner to prevent the adhesive from resealing.

  13. ipPw6NkP54XjFjue
    • Heat the top edge of the back glass, including the area around the volume buttons, until it's hot to the touch.

  14. mg1jVAJvGCAnMise
    mg1jVAJvGCAnMise
    fJ3F6e5mBvPbgXfC
    • Don't insert your pick deeper than 3 mm along the top edge to avoid damaging the spring contacts.

    • Slide your opening pick across the top edge and around the top right corner to the volume up button to separate the adhesive.

    • You'll hear and feel clicks as the top two clips release.

  15. JtEaWd2EjhGq1TCp
    JtEaWd2EjhGq1TCp
    w3SicT6ZIFx6BZg6
    • Don't try to fully remove the back glass just yet—it's still attached with a delicate ribbon cable. Follow the next few steps to remove it safely.

    • If the back glass doesn't swing open easily, don't force it—go back around the perimeter with your pick to check for missed sections of adhesive or stuck clips.

    • You may need to lift the back glass up slightly before swinging it open to fully disengage the clips.

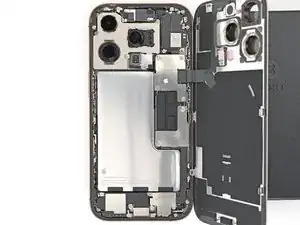
    • Gently swing open the back glass towards the volume buttons.

    • Support the back glass with a clean, sturdy object like a small box to avoid straining the cable.

    • Remove the opening picks.

    • Consider using polyimide tape to protect the rear camera lenses while you're working inside the phone. Don't push against the lenses to avoid damaging the delicate stabilizers.

  16. yTqPZRx1jCFRBUTa
    yTqPZRx1jCFRBUTa
    axZUGVjUyqU4xCGF
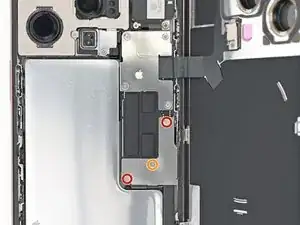
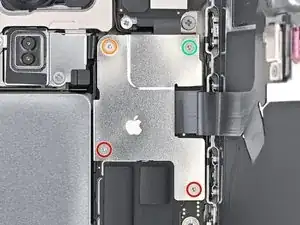
    • Use a tri-point Y000 screwdriver to remove the three screws securing the lower connector cover:

    • Two 1.2 mm‑long screws

    • One 1.0 mm‑long screw

  17. IyLG3ofvMTkkxPLN
    IyLG3ofvMTkkxPLN
    3m6AmRhmAhkwC2of
    LqWEAtqwov4J1uvW
    • Use tweezers or your fingers to pick up and remove the lower connector cover.

  18. qYKPJLY5VbHG6lCi
    qYKPJLY5VbHG6lCi
    4CqhFeZkuBGauQuN
    1AlQhTiBEnoXoGTk
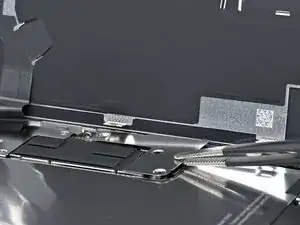
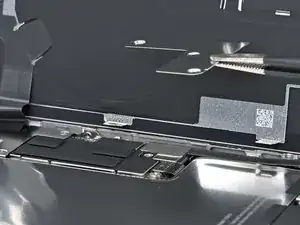
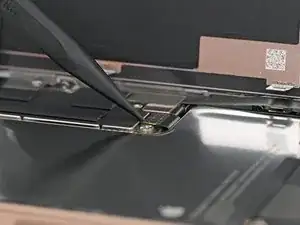
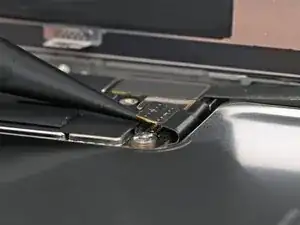
    • Use the point of a spudger to pry up and disconnect the battery press connector.

    • During reassembly, align the connector carefully over its socket and press down with your fingertip or the flat end of a spudger—first on one side, then the other—until it clicks into place. Don't try to force the connector into place. If you're having trouble, reposition it and try again.

  19. 4ItSlWJnGGbDXwbI
    4ItSlWJnGGbDXwbI
    c4u5GYOCvBlRIFZM
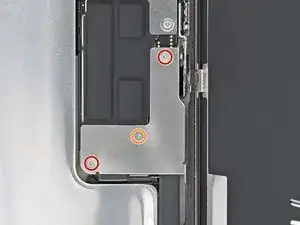
    • Use a tri-point Y000 screwdriver to remove the four screws securing the upper connector cover:

    • Two 1.0 mm‑long screws

    • One 1.2 mm‑long screw

    • One 1.6 mm‑long screw

  20. JZURmmFj1ipqm62A
    JZURmmFj1ipqm62A
    BFm3tYmT4SdvwBdk
    • Use tweezers or your fingers to pick up and remove the upper connector cover.

  21. 2kR2rags5eRfSMyR
    2kR2rags5eRfSMyR
    EYFMMsxtWa11UxZy
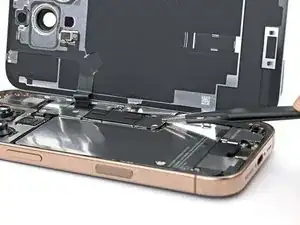
    • Use the point of a spudger to pry up and disconnect the back glass press connector.

  22. GeLxB6XH4QjsrCYG
    GeLxB6XH4QjsrCYG
    XvcbctHRNtuG6yOl
    • Lift the back glass off the frame and remove it.

    • During reassembly:

    • This is a good point to test your repair before sealing up the phone. Temporarily reconnect the battery and back glass (before replacing the adhesive), power on the phone, and make sure it works as expected. Power it back down, disconnect the battery, and continue reassembly.

    • Use this guide to reapply adhesive and install the back glass.

  23. MvVOeBvDBHDxcIVB
    MvVOeBvDBHDxcIVB
    eJPZVTAFRfnAMExr
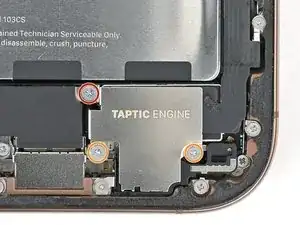
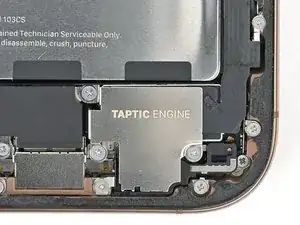
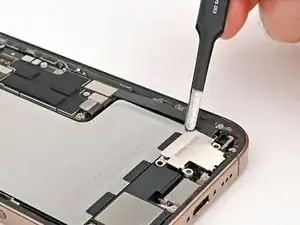
    • Use a Phillips screwdriver to remove the three screws securing the Taptic Engine cover:

    • One 3.0 mm‑long screw

    • Two 1.7 mm‑long screws

  24. HN644ZKkWG4grQcy
    HN644ZKkWG4grQcy
    MMAyNbQuNpmKZkNV
    LUpUIbbLqRNQESUO
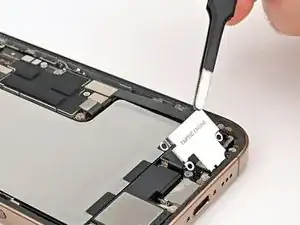
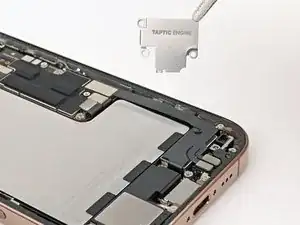
    • Use tweezers or your fingers to lift the top edge of the Taptic Engine cover.

    • Once the bottom edge unlatches from the frame, remove the Taptic Engine cover.

    • During reassembly, make sure the bottom edge of the cover latches properly to the frame.

  25. bAXG1dhwgFc1vXXB
    bAXG1dhwgFc1vXXB
    1rptIRcfcQ6hYtCG
    • Use the point of a spudger to pry up and disconnect the lower assembly cable press connector from the logic board.

  26. 1YRIToJ2CWvMgUCn
    1YRIToJ2CWvMgUCn
    RevmHy2lXIphxLTX
    TqaXReFcgBbEHxMs
    • Use the point of a spudger to pry up and disconnect the two press connectors near the bottom right edge of the frame.

  27. QeFWZNrWqmteGGvG
    QeFWZNrWqmteGGvG
    tJF5aSiPBe25nblm
    • Use a tri-point Y000 screwdriver to remove the 1.0 mm‑long screw securing the lower assembly cable.

  28. EXIRQi4s4acZMLkk
    EXIRQi4s4acZMLkk
    TMwRH3lt6vUiGhbi
    • Use an iOpener or hair dryer to heat up the lower assembly cable section on top of the Taptic Engine until it's hot to the touch.

  29. byBCMWSWGM3E1LOb
    byBCMWSWGM3E1LOb
    caEuAAOPOeNoQsPw
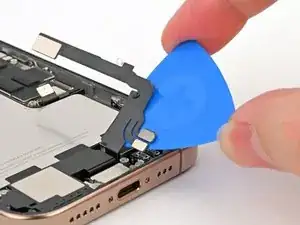
    • Slide an opening pick under the lower assembly cable to separate it from the Taptic Engine.

    • Carefully bend the cable out of the way so you can access the Taptic Engine.

  30. dEJXWRUpXWNGGlwK
    dEJXWRUpXWNGGlwK
    GN1bp1gD5mmBuxJw
    • Use a Phillips screwdriver to remove the 1.9 mm‑long screw securing the Taptic Engine.

  31. HfflaDQmf3BFjpPC
    HfflaDQmf3BFjpPC
    OuGkRedRZDFcUaJU
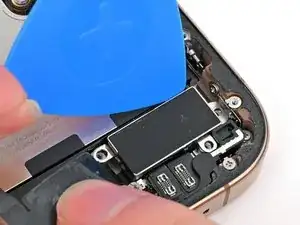
    • Slide the tip of an opening pick along the top edge of the Taptic Engine to separate the plastic buffer strip adhered to it.

  32. mnKhJifFGWrlcITp
    mnKhJifFGWrlcITp
    4UkXfwFmwRebEjN6
    5WxrJLqqxsLoySdY
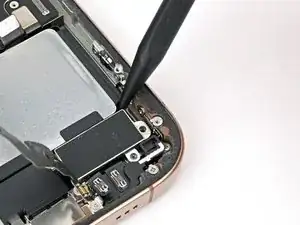
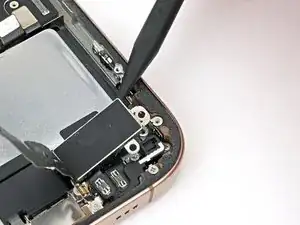
    • Use the point of a spudger to pry up the Taptic Engine from its top-right corner.

    • Be careful not to pry against the battery.

    • Remove the Taptic Engine.

  33. LfcKoQdJvBNQUUFN
    LfcKoQdJvBNQUUFN
    Qm2SQ6NYEHZpbmTg
    • Remove the three screws securing the microphone:

    • One 3.6 mm‑long standoff screw

    • One 2.9 mm‑long standoff screw

    • One 1.3 mm‑long tri-point Y000 screw

  34. uEa4EMZVEHUYGTGk
    uEa4EMZVEHUYGTGk
    TdXIbSCWhNERHJGE
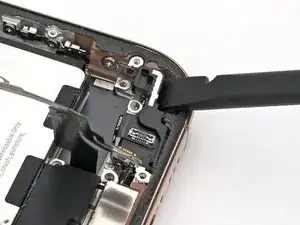
    • Use the flat end of a spudger to pry up the microphone until you can grab it with your fingers or tweezers.

    • Don't pry against the battery, or you may damage it.

    • You'll feel some resistance as the microphone releases from its frame gasket.

  35. g2JJv5bMZVLSwZvY
    g2JJv5bMZVLSwZvY
    mPV5TKkJKrYoQCrZ
    dr5LITN2KVaJikIq
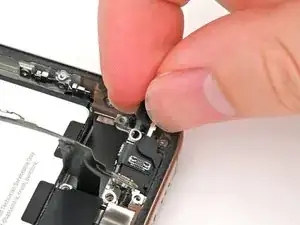
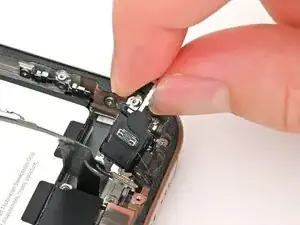
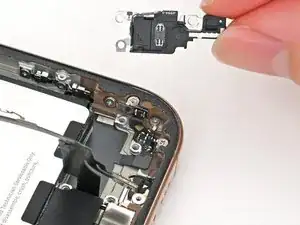
    • Pull the microphone towards the battery to separate it from its adhesive gasket holding it to the frame.

    • Remove the microphone.

Conclusion

To reassemble your iPhone, follow these instructions in reverse order.

Take your e-waste to an R2 or e-Stewards certified recycler.

Repair didn’t go as planned? Try some basic troubleshooting, or ask our iPhone 16 Pro Answers community for help.
Nick Schultz

Member since: 24/03/24

20083 Reputation

0 comments