Introduction
Follow this guide to replace the front camera assembly in your iPhone 16 Pro.
You may need to replace your front camera if your selfie photos or videos look blurry, don't work at all, or if you're unable to use Face ID. If you experience these issues with your rear camera(s), follow this guide.
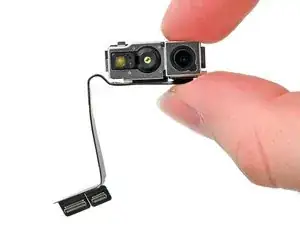
This assembly includes the front-facing camera and Face ID hardware. These parts come as one unit, which is uniquely paired to your logic board.
After you complete this guide, calibrate an authentic Apple front camera assembly using Repair Assistant.
You'll need replacement back glass adhesive to complete this repair.
-
-
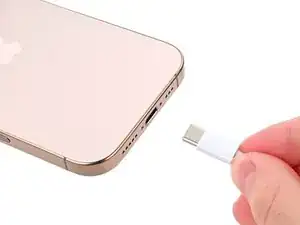
Unplug any cables from the phone.
-
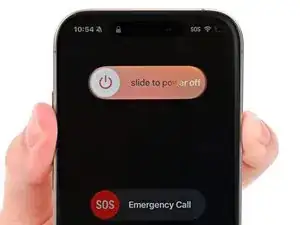
Hold the power and either volume buttons and slide to power off the phone.
-
-
-
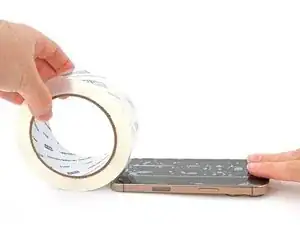
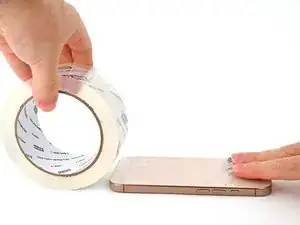
If the screen or back glass is badly cracked, lay overlapping strips of packing tape over the glass to protect yourself and make disassembly easier.
-
-
-
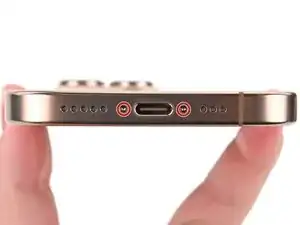
Use a P2 pentalobe screwdriver to remove the two 7.4 mm‑long screws on either side of the USB-C port.
-
-
-
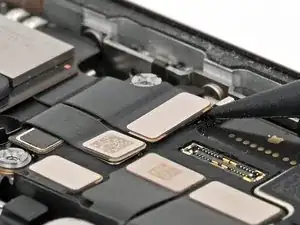
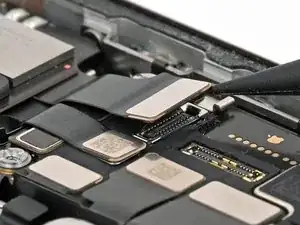
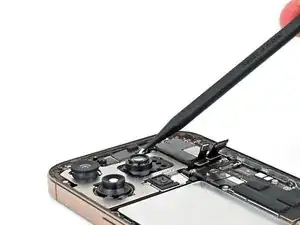
Use the point of a spudger to pry up and disconnect the earpiece speaker and 5G mmWave antenna press connectors, located on the top right corner of the logic board.
-
-
-
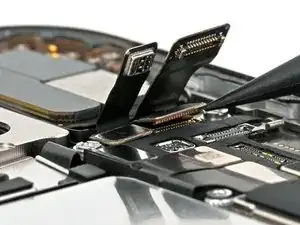
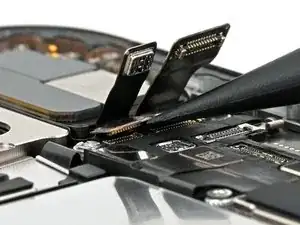
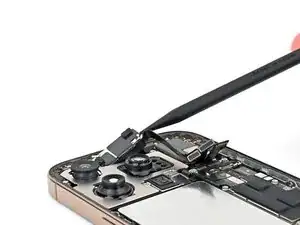
Use the point of a spudger to pry up and disconnect the two front camera assembly press connectors underneath the previous two.
-
-
-
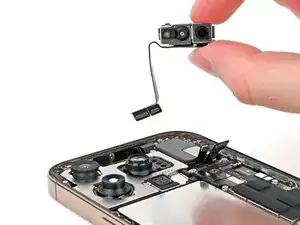
Use a spudger or your fingers to pick up the front camera assembly and remove it from the phone.
-


To reassemble your iPhone, follow this guide in reverse order.
After your repair, calibrate a genuine replacement front camera assembly using Apple's Repair Assistant. Navigate to Settings → General → About → Parts & Service History, tap Restart & Finish Repair, and follow the onscreen prompts.
Take your e-waste to an R2 or e-Stewards certified recycler.
Repair didn’t go as planned? Try some basic troubleshooting, or ask our iPhone 16 Pro Answers Community for help.

Wilson Demosthène
Demosthène Wilson -