Introduction
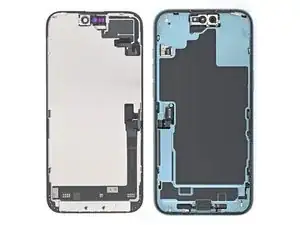
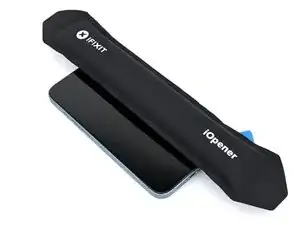
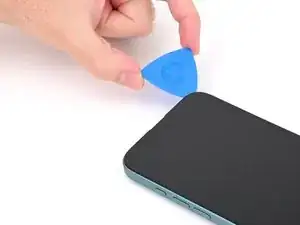
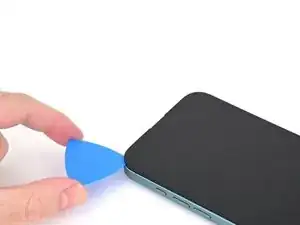
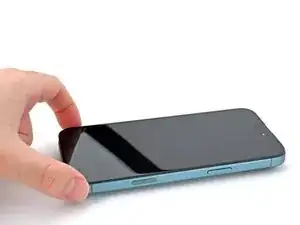
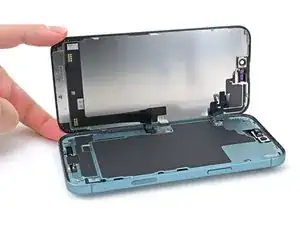
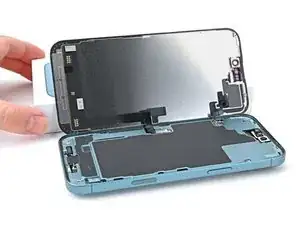
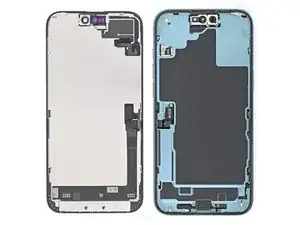
Use this guide to replace a broken, cracked, or non‑responsive screen on your iPhone 16 Plus.
You'll need replacement screen adhesive to complete this repair.
Note: Since you can't disconnect the battery during this repair, make sure your phone stays powered down, don't use metal prying tools, and be careful not to touch exposed contacts.
After a screen replacement, True Tone and auto brightness may be disabled. Calibrate genuine screens using Apple's Repair Assistant to restore this functionality.
Tools
Parts
-
-
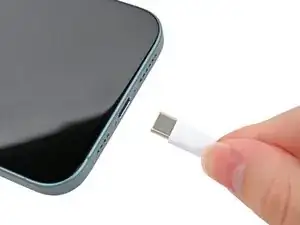
Unplug any cables from your phone.
-
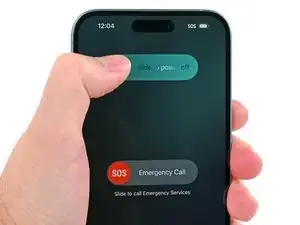
Hold the power and either volume buttons and slide to power off your phone.
-
-
-
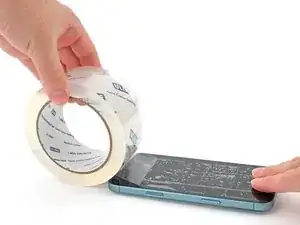
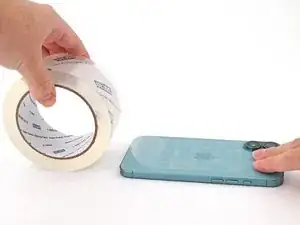
If your screen or back glass is badly cracked, lay overlapping strips of packing tape over the glass to protect yourself and make disassembly easier.
-
-
-
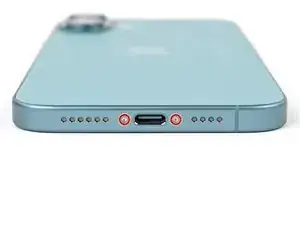
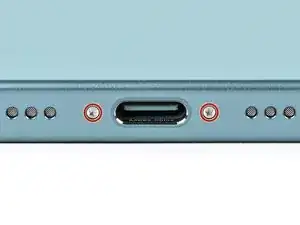
Use a P2 pentalobe driver to remove the two 7.7 mm-long screws on either side of the USB-C port.
-
-
-
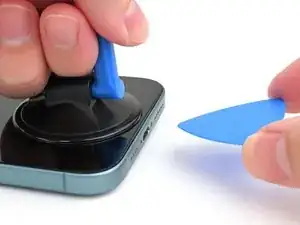
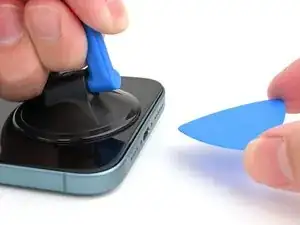
Apply a suction handle to the bottom edge of the screen, above the USB-C port.
-
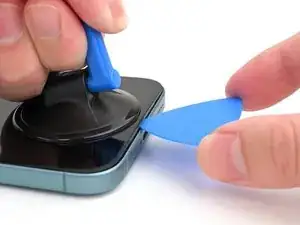
Pull up on the handle with a strong, steady force to create a gap between the screen and the frame.
-
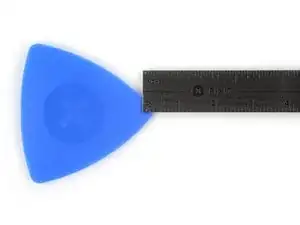
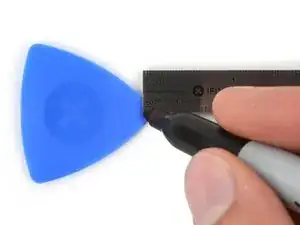
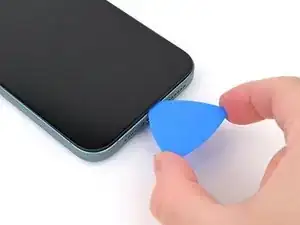
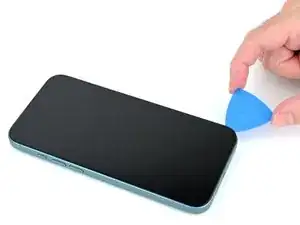
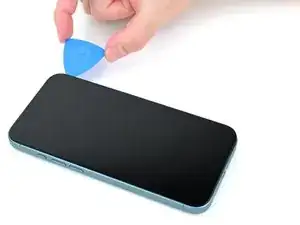
Insert the tip of an opening pick into the gap.
-
-
-
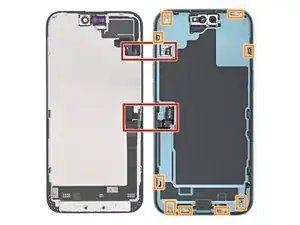
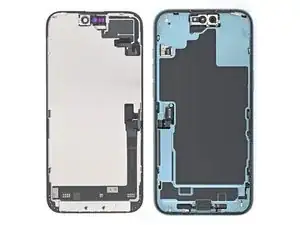
Two delicate cables connecting the screen to the phone—one just above the Action button and the other about halfway between the volume down button and the bottom of the phone.
-
Multiple spring contacts around the perimeter of the phone.
-
-
-
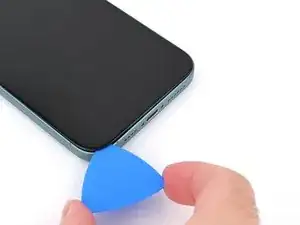
Slide your pick back and forth along the bottom edge to separate the adhesive.
-
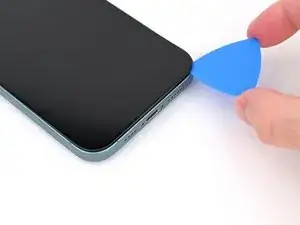
Leave your pick inserted in the bottom right corner to prevent the adhesive from resealing.
-
-
-
Slide your opening pick around the bottom right corner and up the right edge of the screen to separate the adhesive and release the metal clip.
-
-
-
Continue sliding your pick around the top right corner and across the top edge to separate the adhesive and release the two metal clips.
-
-
-
Slide the opening pick down the left edge of the screen to separate the remaining adhesive and release the last two metal clips.
-
-
-
Swing open the screen over the left edge of the phone and support it with a clean, sturdy object.
-
-
-
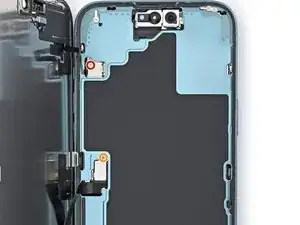
Use a tri-point Y000 driver to remove the 0.9 mm‑long screw securing the front sensor connector cover.
-
Use a tri-point Y000 driver to remove the 1 mm‑long screw securing the screen connector cover.
-
-
-
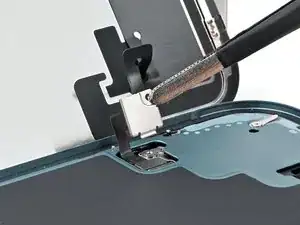
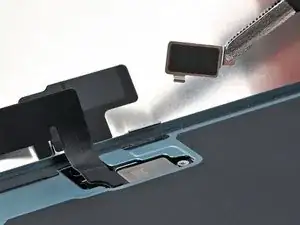
Use tweezers or your fingers to lift the front sensor cover to a 90-degree angle and unhook it from its slot in the logic board.
-
Lift the cover out of its slot and remove it.
-
Repeat this process for the screen connector cover.
-
-
-
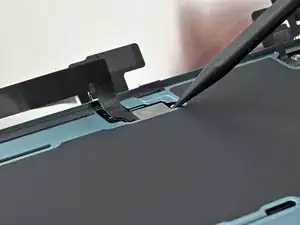
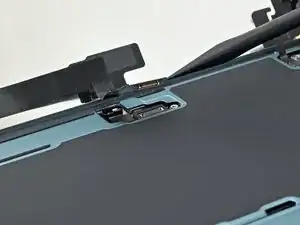
Use the tip of a spudger to pry up and disconnect the screen press connector.
-
Repeat this process for the front sensor press connector.
-
To reassemble your phone, follow this guide to reapply adhesive and install your screen.
After your repair, calibrate a genuine replacement screen using Apple's Repair Assistant. Navigate to Settings → General → About → Parts & Service History, tap Restart & Finish Repair, and follow the onscreen prompts.
Take your e-waste to an R2 or e-Stewards certified recycler.
Repair didn’t go as planned? Try some basic troubleshooting, or ask our iPhone 16 Plus Answers Community for help.
