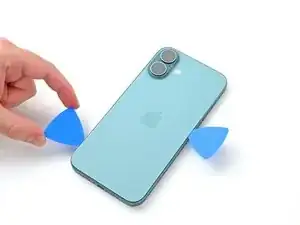
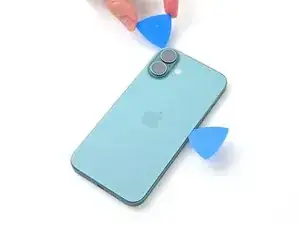
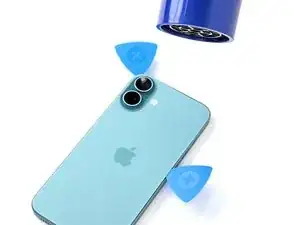
Introduction

  1. jUvFgtit6HG5coHE
    jUvFgtit6HG5coHE
    I1ISNbhOYAW64LNb
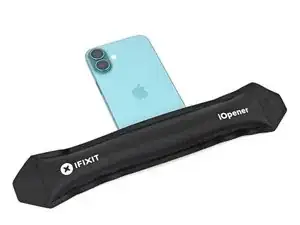
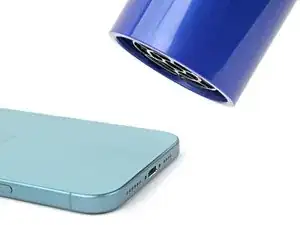
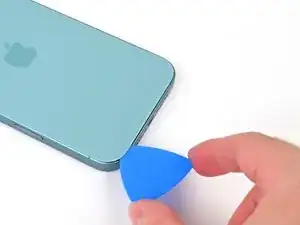
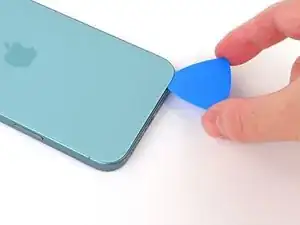
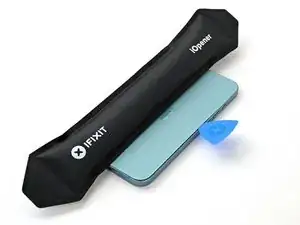
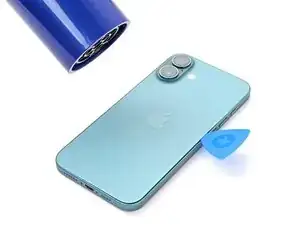
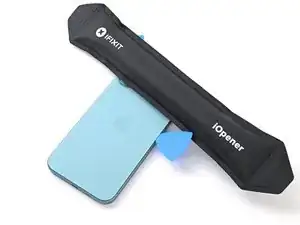
    • Apply a heated iOpener to the bottom edge of the back glass for two minutes.

    • Alternatively, you can use a hair dryer or heat gun to heat the bottom edge of the back glass until it's hot to the touch.

    • Be careful not to heat the phone hotter than this—the battery is susceptible to heat damage.

  2. 1ToETaMTFJHWEQjK
    1ToETaMTFJHWEQjK
    TOxhnHSJC1rB2MKg
    IYcM24kLP5CWQGKw
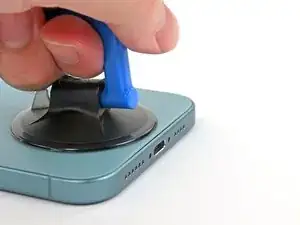
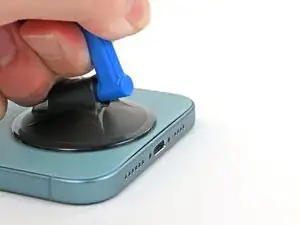
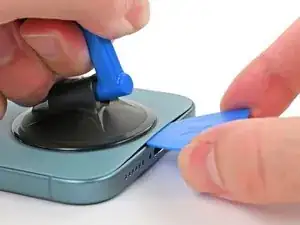
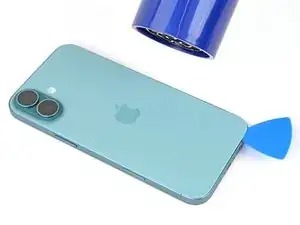
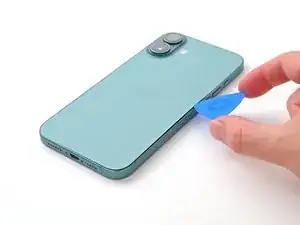
    • Apply a suction handle to the bottom edge of the back glass, above the USB-C port.

    • Pull up on the handle with a strong, steady force to create a gap between the back glass and the frame.

    • Insert the tip of an opening pick into the gap.

  3. xZIU2JMJvpJTnlRO
    xZIU2JMJvpJTnlRO
    N2Yd2oAjLNhWqQ6x
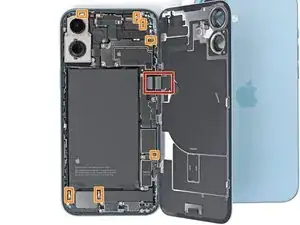
    • As you slice the adhesive securing the back glass in the next steps, be careful of the following areas:

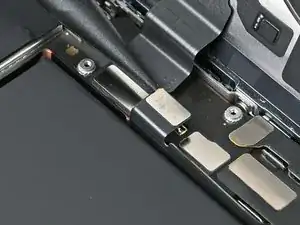
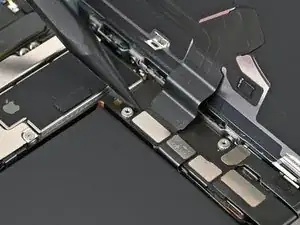
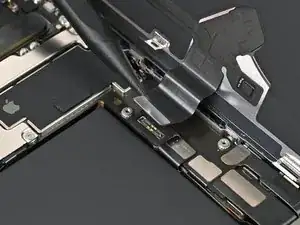
    • There's a delicate cable connecting the back glass to the phone, right next to the volume up button. Don't insert your pick here to avoid slicing the cable.

    • There are multiple spring contacts around the perimeter of the phone. Be extra careful not to insert your pick deeper than suggested in each step to avoid bending these contacts.

  4. AZfeCeeOcwrPKirV
    AZfeCeeOcwrPKirV
    Dee5BQLC4JktOpKB
    GumdFJhHAKNXxM1f
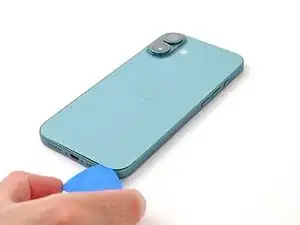
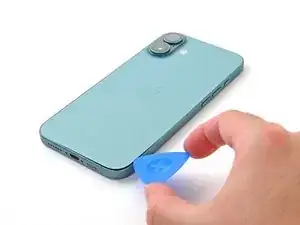
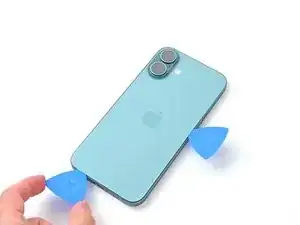
    • Don't insert your pick deeper than 5 mm on the bottom edge to avoid damaging the spring contacts.

    • Slide your pick back and forth along the bottom edge to separate the adhesive.

    • Leave your pick inserted in the bottom right corner to prevent the adhesive from resealing.

  5. M1PPTKqeXxk2uPTd
    M1PPTKqeXxk2uPTd
    Rhd2vrRkjYvNRKRR
    • Apply a heated iOpener to the right edge of the back glass for two minutes.

    • When using a hair dryer or heat gun, heat the back glass until it's hot to the touch.

  6. DacIIpEVt3AxRxTt
    DacIIpEVt3AxRxTt
    GMD1NM1dXrKqAysJ
    wCD5lwggIRQeeFbf
    • Don't insert your pick deeper than 5 mm along the right edge to avoid damaging the spring contacts and ribbon cable.

    • Slide your pick around the bottom right corner and slide it halfway up the right edge, or until you feel a hard stop at a clip securing the back glass.

    • Don't slice near the volume buttons to avoid damaging the wireless charging/flash cable.

    • Leave this pick inserted to prevent the adhesive from resealing.

  7. 4k4HlnW4MoMTWIdW
    4k4HlnW4MoMTWIdW
    TE2nGBTnhDakt2Za
  8. MiCeNpanRf2EwNCE
    MiCeNpanRf2EwNCE
    2Cvf3VOCsAZM2C1W
    wRCBkONDC1JJurc1
    • Don't insert your pick deeper than 5 mm along the left edge to avoid damaging the spring contact.

    • Insert a second opening pick at the bottom edge.

    • Slide the second pick around the bottom left corner and along the left edge of the screen to separate the adhesive and release the metal clips.

    • You'll hear and feel the metal clips release as you pass them.

    • Leave this pick inserted at the top left corner to prevent the adhesive from resealing.

  9. 5jhjPP6TwG2HiASm
    5jhjPP6TwG2HiASm
    VvOTqyFWqprkfcTB
    • Apply a heated iOpener to the top edge of the back glass, angled to include the volume buttons, for two minutes.

    • When using a hair dryer or heat gun, heat until it's hot to the touch.

  10. DiX5ie45VLqVIXgp
    DiX5ie45VLqVIXgp
    FySOAAPNQUZEHjWx
    1FSCXREqFlra3qkM
    • Don't insert your pick deeper than 3 mm along the top edge to avoid damaging the spring contacts.

    • Slide your opening pick across the top edge and around the top right corner to the volume up button to separate the adhesive.

    • You should hear and feel clicks as the top two clips release.

  11. qbEVBrt42bN2ZYVp
    qbEVBrt42bN2ZYVp
    a4TEI5HF3vU5JpIx
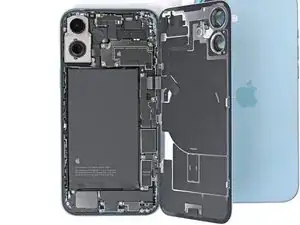
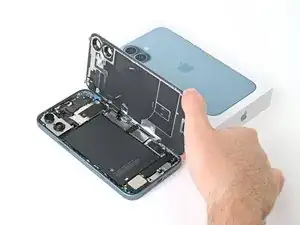
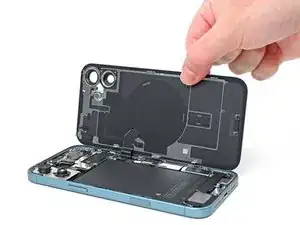
    • Don't try to fully remove the back glass just yet—it's still attached with a delicate ribbon cable. Follow the next few steps to remove it safely.

    • If the back glass doesn't swing open easily, don't force it—go back around the perimeter with your pick to check for missed sections of adhesive or stuck clips.

    • You may need to lift the back glass up slightly before swinging it open to fully disengage the clips.

    • Gently swing open the back glass towards the volume buttons.

    • Support the back glass with a clean, sturdy object like a small box to avoid straining the cable.

    • Remove the opening picks.

  12. 4HCLCbHUX4IiDSOq
    4HCLCbHUX4IiDSOq
    TVogu4cVOxKJoOtU
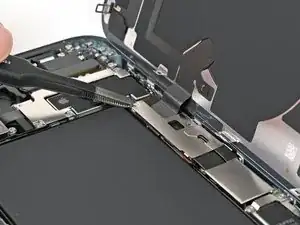
    • Use a tri-point Y000 driver to remove the two 1.3 mm-long screws securing the middle connector cover.

  13. cWoXMMXdxFBBKKa5
    cWoXMMXdxFBBKKa5
    KJ4KVbFKRZAoBO4G
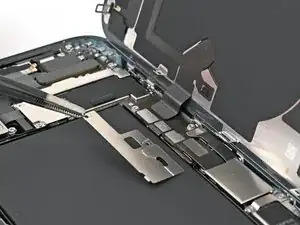
    • Be careful not to dent or puncture the battery during this step.

    • Use blunt-nose tweezers or your fingers to slide the cover towards the left edge of the phone and release its hook from its slot on the logic board.

    • Remove the cover.

    • During reassembly, align the hooks over their slots on the logic board. Then, press the cover down and slide it towards the right edge to re-engage the hooks.

  14. cB5SK6xW2npGwtZQ
    cB5SK6xW2npGwtZQ
    iF1BSEsNlEiDrNNo
    UXVDoU6fT4XfOOR6
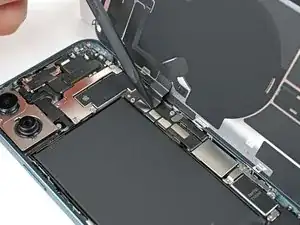
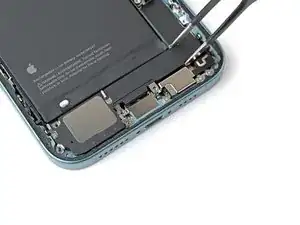
    • Use the point of a spudger to pry up and disconnect the battery press connector.

    • During reassembly, align the connector carefully over its socket and press down with your fingertip or the flat end of a spudger—first on one side, then the other—until it clicks into place. Don't try to force the connector into place. If you're having trouble, reposition it and try again.

  15. BKkFJPBmbj1gPrrJ
    BKkFJPBmbj1gPrrJ
    uiTPT4QfOv2UHuIy
    • Use the point of a spudger to pry up and disconnect the wireless charging coil press connector.

  16. HoygjRdUwIYRINAi
    HoygjRdUwIYRINAi
    1bQCFx5xhHrhGlGs
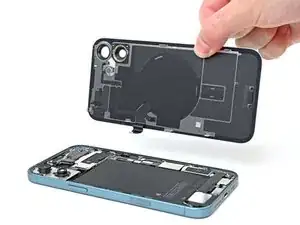
    • Lift the back glass off the frame and remove it.

  17. usRuQcUwxIFQvuwr
    usRuQcUwxIFQvuwr
    wbcvOp4F23PUPUYK
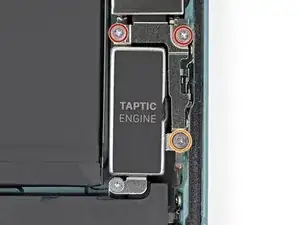
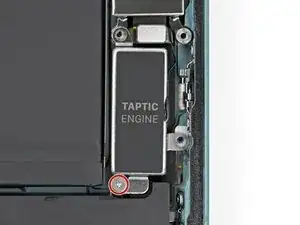
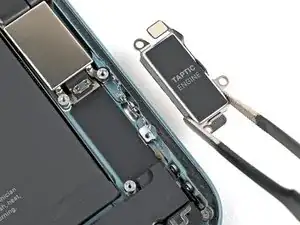
    • Use a Phillips screwdriver to remove the three screws securing the Taptic Engine bracket:

    • Two 1.9 mm‑long screws

    • One 2.1 mm‑long screw

  18. mIAKfPblqasqGTu2
    mIAKfPblqasqGTu2
    JA4jTdIViffVyIXO
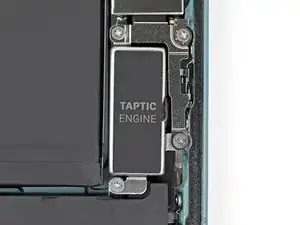
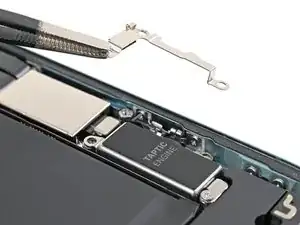
    • Use tweezers or your fingers to remove the Taptic Engine bracket.

  19. RCZyfIGFxrJCTbYZ
    RCZyfIGFxrJCTbYZ
    vg2Sc4CGOlpcFeHI
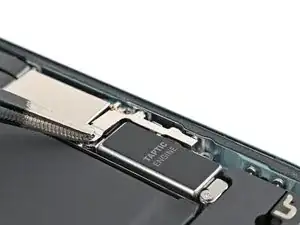
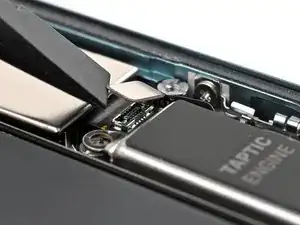
    • Use the flat end of a spudger to pry up and disconnect the Taptic Engine press connector.

  20. 6dqitLYUXhOLkwPc
    6dqitLYUXhOLkwPc
    HRJJCCEBJWUhdJkx
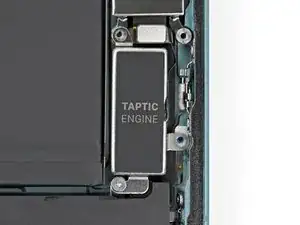
    • Use a Phillips screwdriver to remove the 1.8 mm screw securing the Taptic Engine.

  21. NlEEeDgS6RVbXiwu
    NlEEeDgS6RVbXiwu
    mKuHIXTyVY4sZFHA
    • Use blunt-nose tweezers or your fingers to pick up and remove the Taptic Engine.

  22. sNXsZnTa1CZJAEZW
    sNXsZnTa1CZJAEZW
    kxGJeGwIZFsLWDOw
    • Be careful not to puncture or dent the battery with your screwdriver.

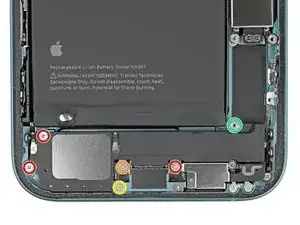
    • Use your Phillips screwdriver to remove four of the screws securing the loudspeaker:

    • Three 1.5 mm-long screws

    • One 3.0 mm-long screw

    • Use your tri-point Y000 screwdriver to remove the 1.3 mm-long screw securing a grounding contact and the loudspeaker.

    • Use your standoff screwdriver to remove the 3.4 mm-long screw securing the loudspeaker.

    • If you don't have a standoff driver, you may use a thin flathead driver—but be careful not to strip the shallow notches in the screw heads.

  23. NbsVQyqqdiB5xXRf
    NbsVQyqqdiB5xXRf
    COYIaZJolvCXnZya
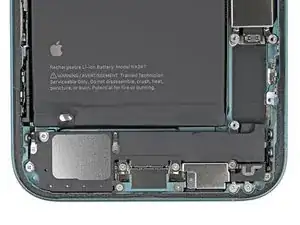
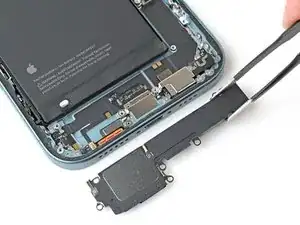
    • Grab the loudspeaker and remove it.

Conclusion

To reassemble your device, follow these instructions in reverse order.
Nick Schultz

Member since: 24/03/24

20083 Reputation

0 comments