Introduction
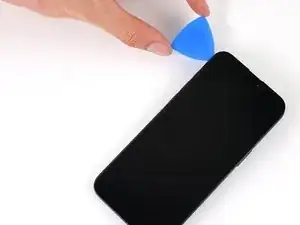
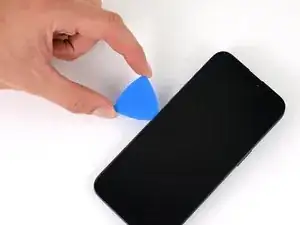
This guide demonstrates how to open your iPhone 15 Pro Max.
-
-
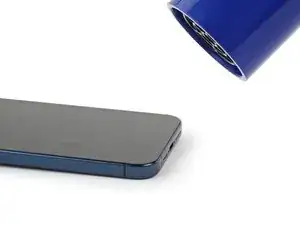
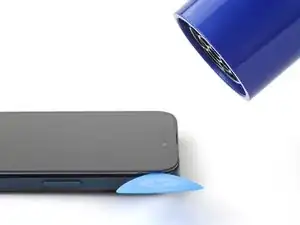
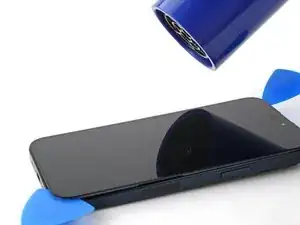
Use a hair dryer or heat gun to heat the bottom edge of the screen until it's hot to the touch.
-
-
-
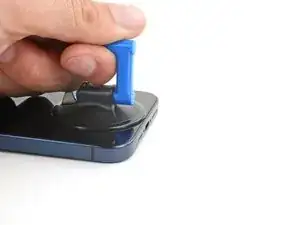
Apply a suction handle to the bottom edge of the screen.
-
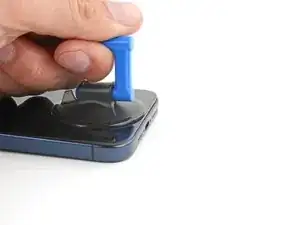
Pull up on the handle with a strong, steady force to create a gap between the screen and the frame.
-
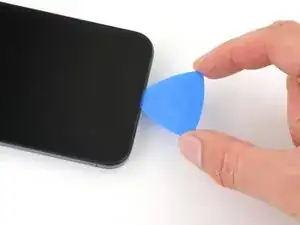
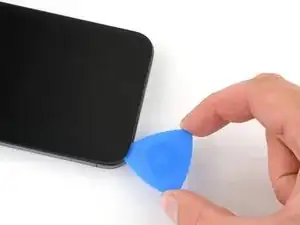
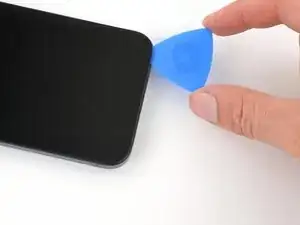
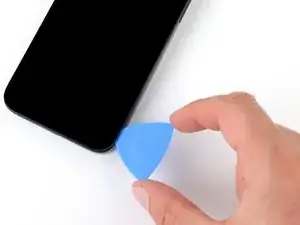
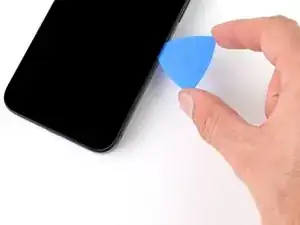
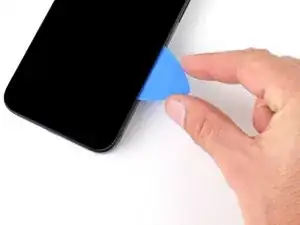
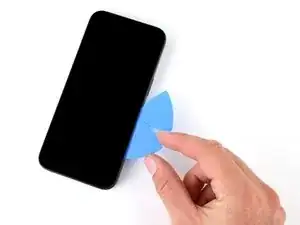
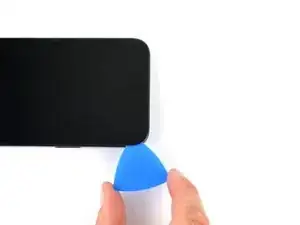
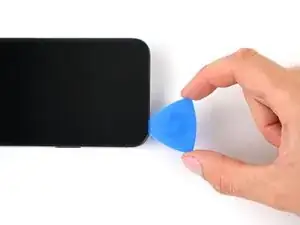
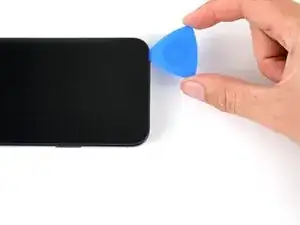
Insert the tip of an opening pick into the gap.
-
-
-
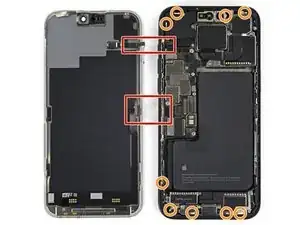
There are two delicate cables connecting the screen to the phone: one just above the action button, and the other near the middle of the left edge.
-
There are multiple spring contacts around the perimeter of the phone. Be extra careful not to insert your pick deeper than suggested in these locations to avoid bending the contacts.
-
-
-
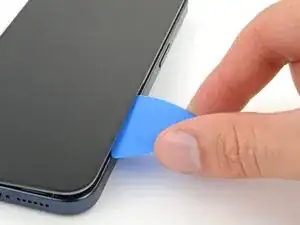
Slide your pick back and forth along the bottom edge to separate the adhesive.
-
Leave your pick inserted in the bottom right corner to prevent the adhesive from re-sealing.
-
-
-
Slide your pick around the bottom right corner of the screen and toward the power button until you feel a hard stop at a clip securing the screen.
-
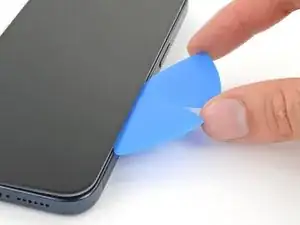
Rotate your pick so the flat edge is under the screen.
-
-
-
Twist the pick to increase the gap between the screen and the frame until the right clip releases.
-
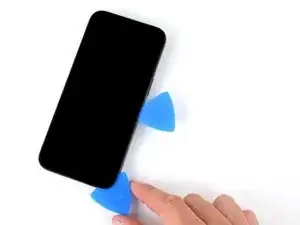
Insert a second opening pick to the right of the first pick.
-
-
-
Slide the first pick back to the bottom right corner of the screen.
-
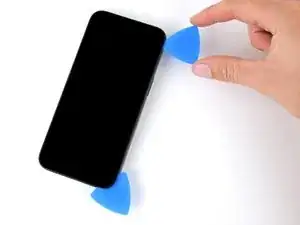
Slide the second pick to the top right corner of the screen to separate the adhesive.
-
Leave these picks inserted to prevent the adhesive from resealing.
-
-
-
Slide your pick around the top right corner and along the top edge to release the two clips and adhesive securing it.
-
-
-
Rotate your pick around the top left corner of the screen.
-
Slide your pick to the bottom left corner of the screen to separate the adhesive.
-
To reassemble your device, follow these instructions in reverse order.
