Introduction

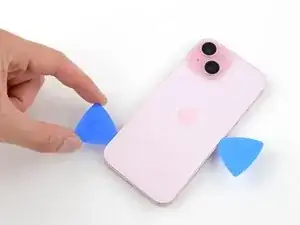
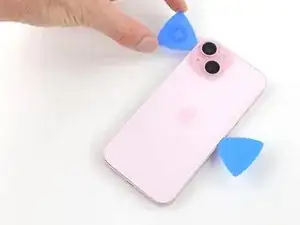
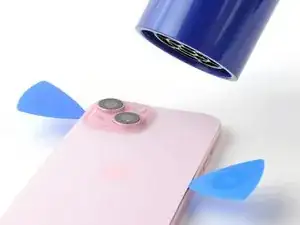
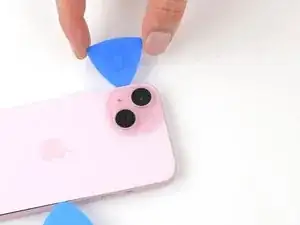
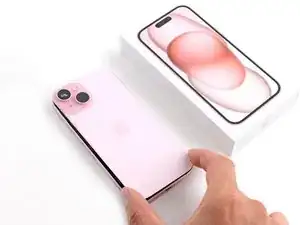
This guide demonstrates how to remove the back glass on your iPhone 15.

  1. lIUkreYGBUFeRMVi
    lIUkreYGBUFeRMVi
    mrhP4j3gku3xQTYu
    • Allow your phone's battery to drain below 25%, as a charged lithium-ion battery is a potential safety hazard.

    • Unplug any cables from your phone.

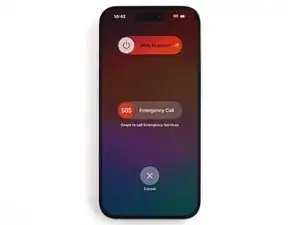
    • Hold the power and either volume buttons and slide to power off your phone.

  2. ChhMVWIceNdbvZQJ
    ChhMVWIceNdbvZQJ
    RYRPjo3rDShOAyHw
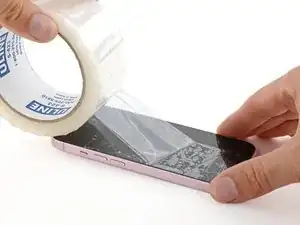
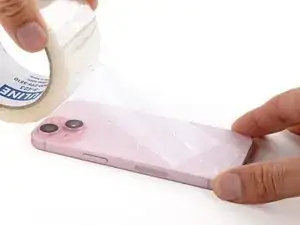
    • If your screen or back glass is badly cracked, lay overlapping strips of packing tape over the glass to protect yourself and make disassembly easier.

    • Make sure there's a smooth area near the bottom edge that's big enough for a suction cup to stick to.

  3. BWZ2RDFjMrvJeCc4
    BWZ2RDFjMrvJeCc4
    J3XYExNBDltjICCK
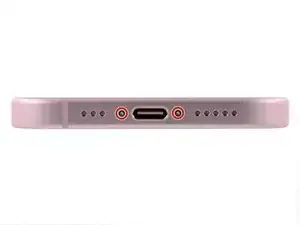
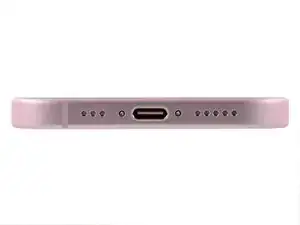
    • Use a P2 pentalobe driver to remove the two 7.7 mm-long screws on either side of the charging port.

  4. u3mPJt2mR2I2ijYQ
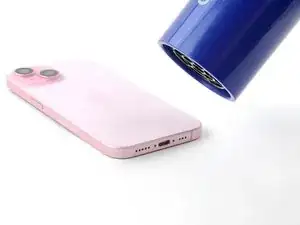
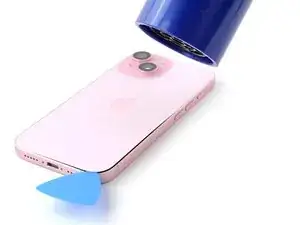
    • Use a hair dryer or heat gun to heat the bottom edge of the back glass until it's hot to the touch.

    • Be careful not to heat the phone hotter than this—the battery is susceptible to heat damage.

  5. ROlNCMEqGdoEsd31
    ROlNCMEqGdoEsd31
    lHmUBN6coSLADSNm
    sFWgqpUDfxfGCiuc
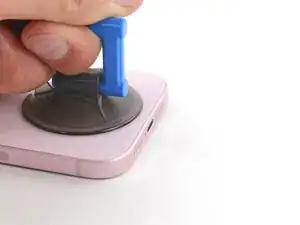
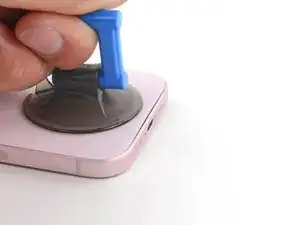
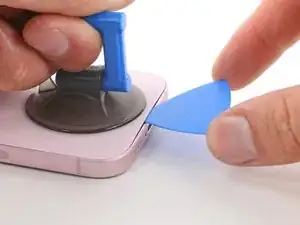
    • Apply a suction handle to the bottom edge of the back glass.

    • Pull up on the handle with a strong, steady force to create a gap between the back glass and the frame.

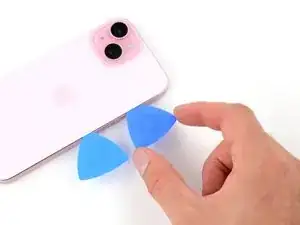
    • Insert the tip of an opening pick into the gap.

    My back glass is shattered and the suction cup won’t pick it up. What do I do?

    AAAAAAAA -

  6. b1htIXTOSifSEFxA
    • As you slice the adhesive securing the back glass in the next steps, be careful of the following areas:

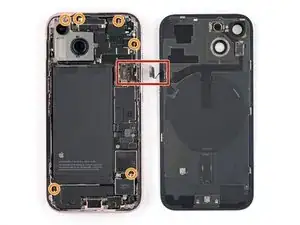
    • There's a delicate cable connecting the back glass to the phone, right next to the volume down button. Don't insert your pick here to avoid slicing the cable.

    • There are multiple spring contacts around the perimeter of the phone. Be extra careful not to insert your pick deeper than suggested in each step to avoid bending these contacts.

    If you heat the device up PROPERLY there is absolutely ZERO NEED to have to “cut the adhesive”….

    Leif DeWolf -

  7. BGHHr1hdSOYF4mYV
    BGHHr1hdSOYF4mYV
    BynfnrQEYRSQLFnT
    u2sTKUtOyGOarXfL
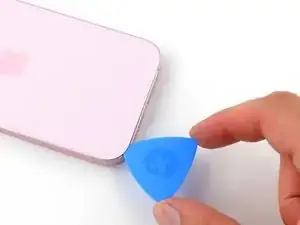
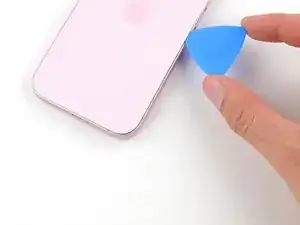
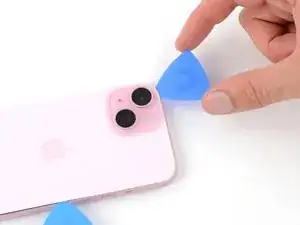
    • Don't insert your opening pick deeper than 5 mm along the bottom edge.

    • Slide your pick back and forth along the bottom edge to separate the adhesive.

    • Leave your pick inserted in the bottom right corner to prevent the adhesive from re-sealing.

  8. UCQnnBFmAWewNLwy
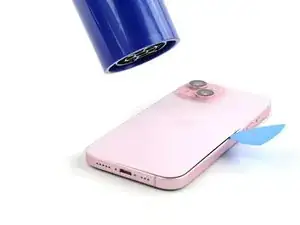
    • Heat the right edge of the back glass until it's hot to the touch.

    This is how you melt your plastic tools and make them totally useless

    Leif DeWolf -

  9. OEgFbQqEfh51q43u
    OEgFbQqEfh51q43u
    qWvcFUIxrMHT1ouQ
    1cwaWqPNuCDFYdOu
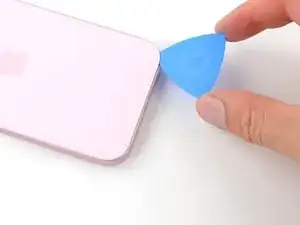
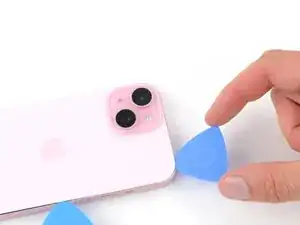
    • Don't insert your pick deeper than 7 mm along the right edge.

    • Rotate your pick around the bottom right corner and slide it to the volume down button or until you feel a hard stop at a large clip securing the back glass.

    • Don't slice past the volume buttons to avoid damaging the wireless charging cable.

    • Leave this pick inserted to prevent the adhesive from resealing.

    How about we teach people how to do this without such a risk and start opening it on the side opposite of the volume buttons, and again, if heat is used properly there is zero risk as you can pry up from left and totally avoid sliding the puck around the edge.

    Leif DeWolf -

  10. VkJawLlLQAOiicIp
    • Heat the left edge of the back glass until it's hot to the touch.

  11. h3LbWtR6tGe2JxM4
    h3LbWtR6tGe2JxM4
    UGFUP6uTlQK4Inng
    rfJMYQoDSAkmJjNw
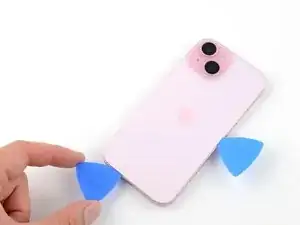
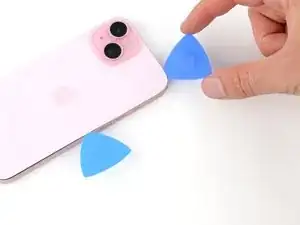
    • Along the left edge, don't insert your pick deeper than 5 mm.

    • Insert a second opening pick at the bottom edge.

    • Rotate the second pick around the bottom left corner.

    • Slide this pick up to the top left corner to separate the adhesive.

    • Leave this pick inserted to prevent the adhesive from resealing.

  12. 2cHFBTQtZPUFfbvL
    • Heat the top edge of the back glass until it's hot to the touch.

    Stop making people melt their tools!!!!

    Leif DeWolf -

  13. ZqgTtva2foPDPQmg
    ZqgTtva2foPDPQmg
    MqKJZui2XowYWGlC
    C6qIuaJnhoRlkgnX
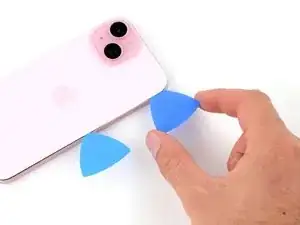
    • Don't insert your pick deeper than 3 mm along the top edge.

    • Rotate your second opening pick around the top left corner and slide it to the top right corner to separate the adhesive.

    • You might hear and feel clicks as the top two clips release.

    • Leave this pick in place to prevent the adhesive from resealing.

  14. ExROyPAubAHywCR3
    • Heat the top right corner of the back glass until it's hot to the touch.

  15. DdEhGjj4EaDhETVv
    DdEhGjj4EaDhETVv
    fUrkFthQk1T123RT
    IMhincBVnjEXEvDO
    • Don't insert your pick deeper than 4 mm along the right edge.

    • Rotate the second opening pick around the top right corner and slide it to the volume up button to separate the adhesive.

  16. UTFYLDxnlPi36GC5
    UTFYLDxnlPi36GC5
    WtLxwDKWMnLPMa4t
    NqtUdiQuqBOwnfg6
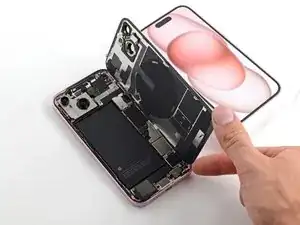
    • Gently swing open the back glass to the right of the phone.

    • If the back glass feels stuck, go back around the perimeter to check for missed sections of adhesive or stuck clips.

    • Rest the back glass against a raised surface so it doesn't strain the cable.

Conclusion

To reassemble your device, follow these instructions in reverse order.
Clay Eickemeyer

Member since: 19/09/22

85544 Reputation

0 comments