Introduction
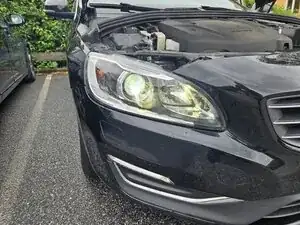
This will guide you through the process of changing the Xenon lightbulb on your 2016 V60
Tools
Parts
-
-
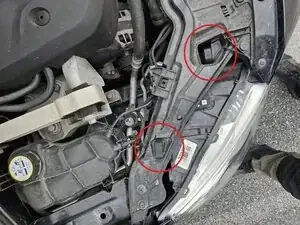
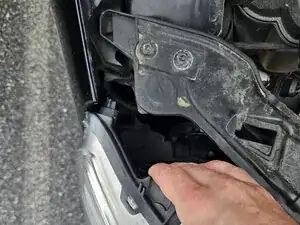
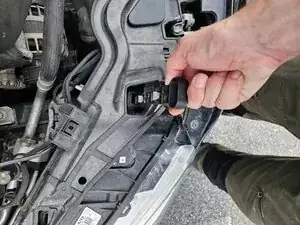
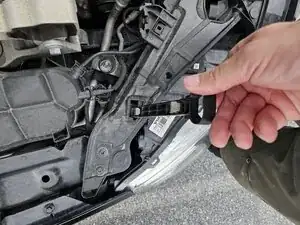
After opening the bonnet/hood, pull out these two pins, this will release the entire front light and let you pull it out
-
-
-
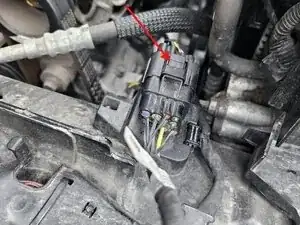
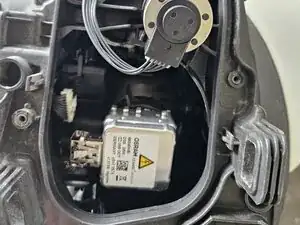
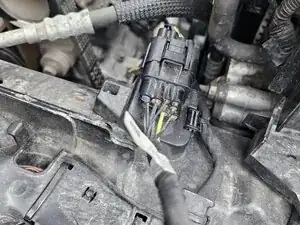
Once you have pulled the light out, let it rest against your leg or have someone hold it while you disconnect the single power cable by pressing down on the marked tab and wiggling the connector until it come loose
-
-
-
Bring the entire light inside or to your workbench.
-
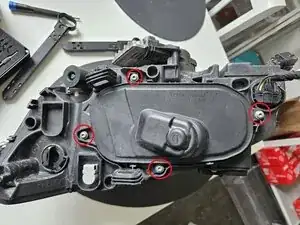
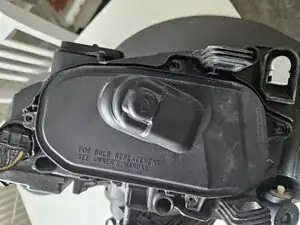
Make sure it's clean and dry. If you get any moisture inside the light it may cause issues with the electronics once the seal is broken
-
-
-
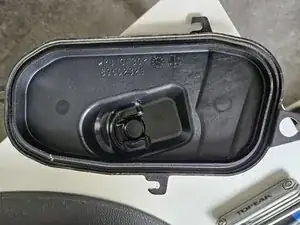
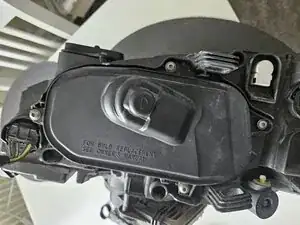
Once the lid is off, check the edges of it to make sure that the gasket/seal is not damaged or cracked.
-
This gasket/seal secure the sensitive electronics inside the light from any moisture
-
-
-
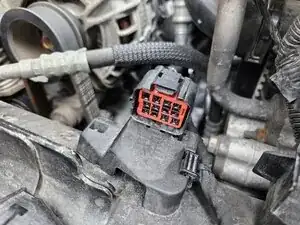
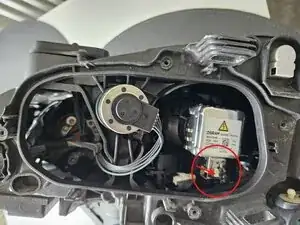
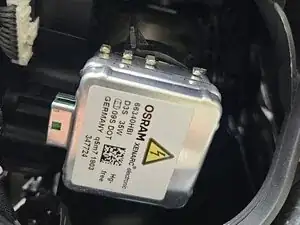
Press the tab gently and use two fingers to gently wiggle the connector while pulling it backwards until it come loose
-
-
-
Push the black tab firmly in the direction of the arrow
-
Pull the light straight out, using a bit of gentle force
-
The light is clamped in place by the small tabs, dont touch them and just keep pulling straight out until it comes loose by itself
-
-
-
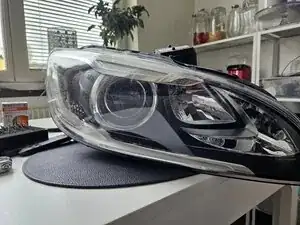
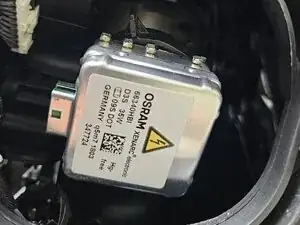
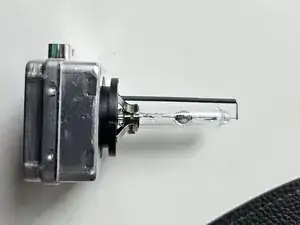
You should now have a whole Xenon light in your hand.
-
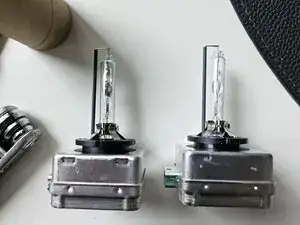
Second image is a comparison of the old broken light (left and the new light (Right)
-
-
-
Push the new light straight in until it is seated firmly in the tabs
-
Be very careful to not touch the glass of the bulb as that will leave oil residue from your fingers. Any amount of contact with your skin may (Read: It will) dramatically reduce the lifespan of your lightbulb
-
-
-
Replace the lid to the lights and retighten it with the 4 screws.
-
Use a T5 bit for the screws
-
-
-
Replace the two pins to resecure the whole light to the car
-
The long pin should be placed in the outer hole, while the shorter pin goes on the inner hole
-
Ensure that the metal tabs are pointing inwards
-


The manual has multiple warnings stating that the Xenon light should only be replaced by a professional technician. But it is infact very easy to do it yourself
