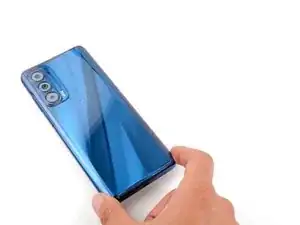
Introduction
This is a prerequisite-only guide! This guide is part of another procedure and isn't meant to be used alone.
-
-
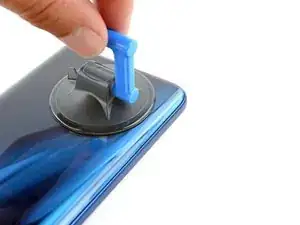
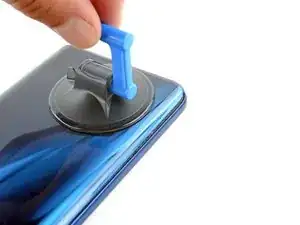
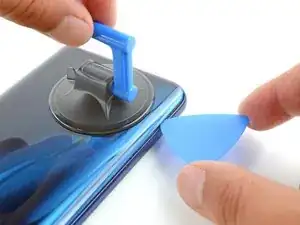
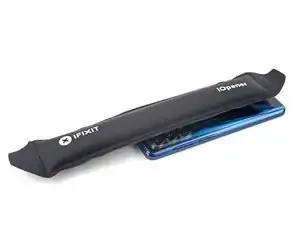
Apply a suction cup to the back of the phone, as close to the bottom left corner as possible.
-
Pull up on the suction cup with a strong, steady force to create a gap between the back cover and the midframe on the left edge.
-
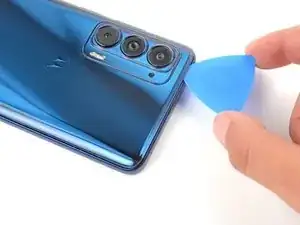
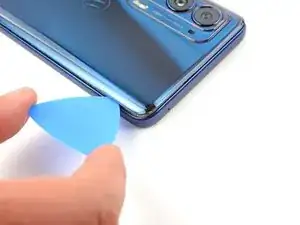
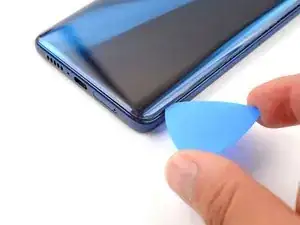
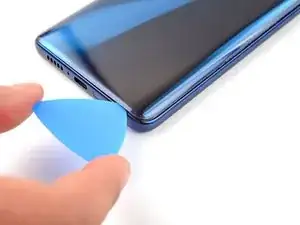
Insert an opening pick into the gap.
-
-
-
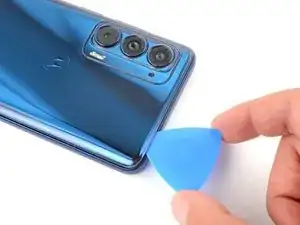
Slide the pick along the left edge of the phone to slice the adhesive securing the back cover to the frame.
-
Leave the pick inserted in the top left corner to prevent the adhesive from resealing.
-
-
-
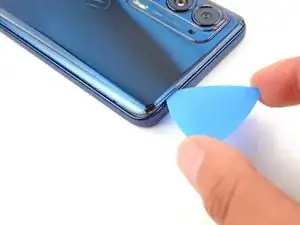
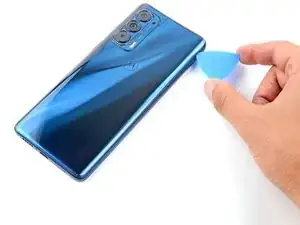
Slide the pick along the top edge to slice the adhesive.
-
Leave the opening pick inserted in the top right corner to prevent the adhesive from resealing.
-
-
-
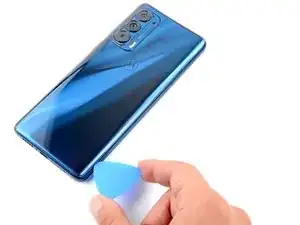
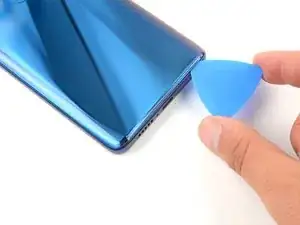
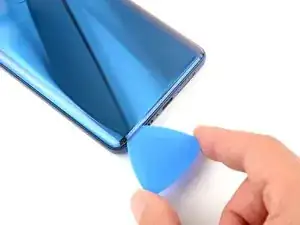
Slide the pick along the right edge to slice the adhesive.
-
Leave the pick inserted in the bottom right corner to prevent the adhesive from resealing.
-
-
-
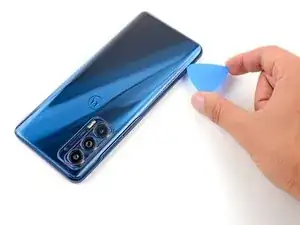
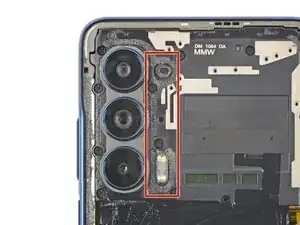
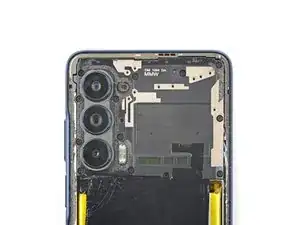
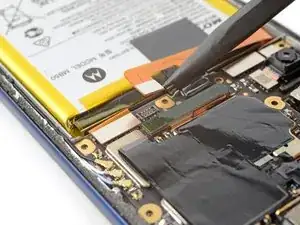
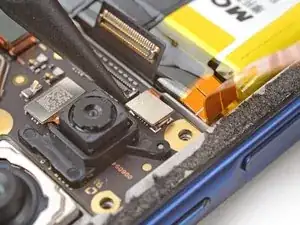
There's a significant amount of adhesive to the right of the cameras that secures the back cover to the motherboard cover.
-
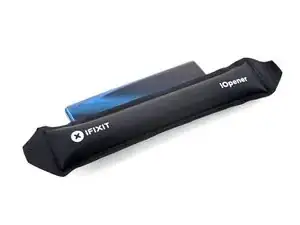
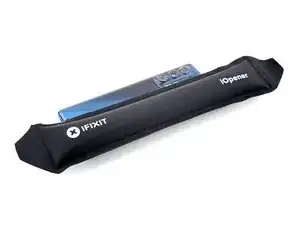
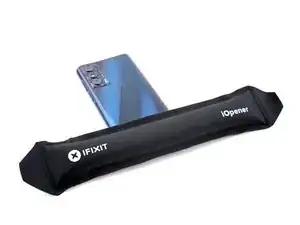
Apply a heated iOpener to the right of the cameras for two minutes.
-
-
-
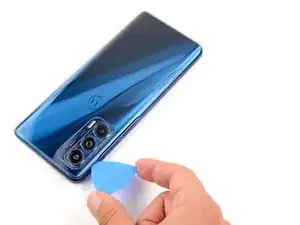
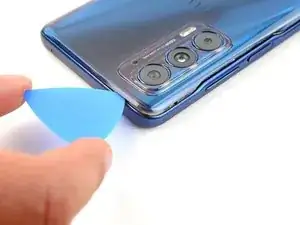
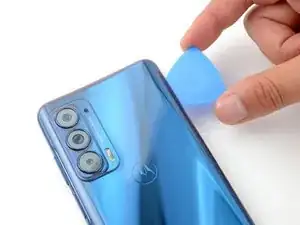
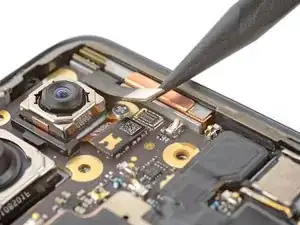
Insert an opening pick between the back cover and motherboard cover on the top right edge.
-
Gently pull up on the back cover while sliding the opening pick back and forth along the right side of the cameras to slice the adhesive.
-
-
-
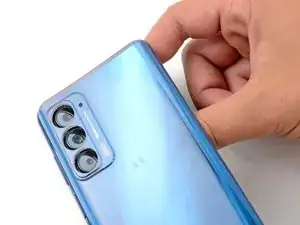
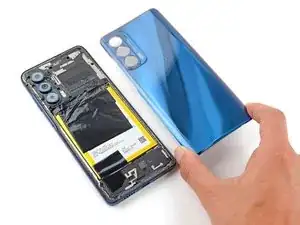
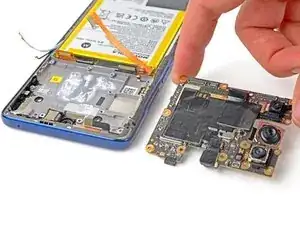
Lift the back cover from the phone and remove it.
-
This is a good point to test your phone's functionality before sealing it up. Use this guide to run a hardware test. Be sure to power your phone back down completely before you continue working.
-
Follow this guide to replace the back cover adhesive.
-
-
-
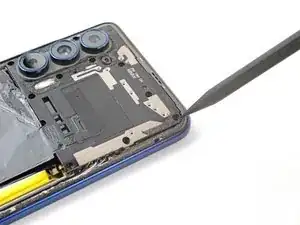
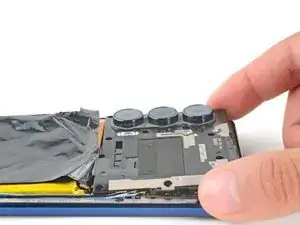
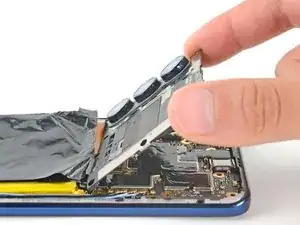
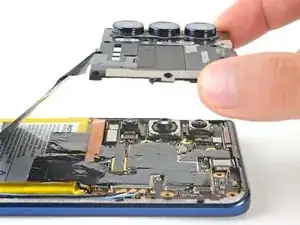
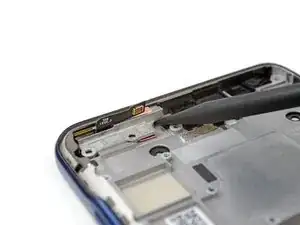
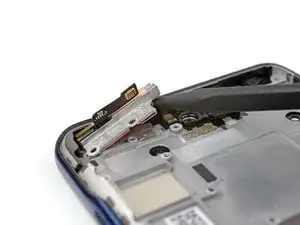
Insert a spudger between the motherboard cover and midframe on the top right edge of the phone.
-
Pry up with the spudger to release the clips securing the motherboard cover.
-
-
-
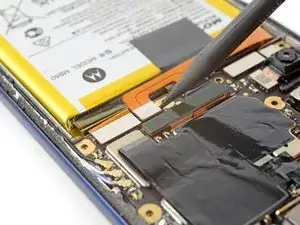
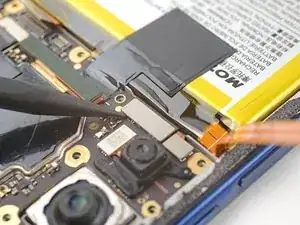
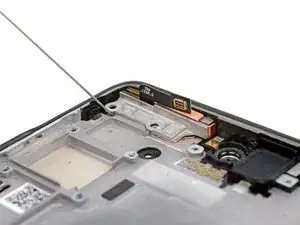
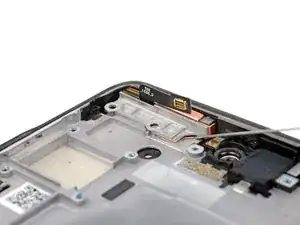
Use the pointed end of a spudger to pry up and disconnect the 5G mmWave antenna's press connector.
-
-
-
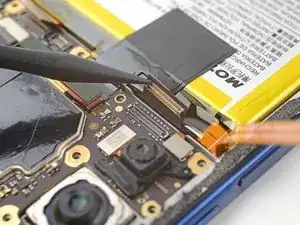
Use the pointed end of a spudger to pry up and disconnect the interconnect cable's press connector from the motherboard.
-
-
-
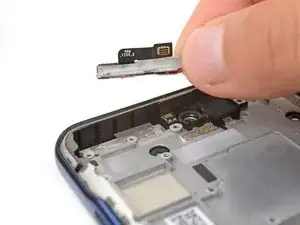
Use the pointed end of a spudger to pry up and disconnect the button assembly cable's press connector.
-
-
-
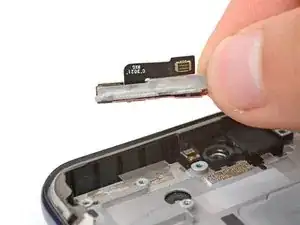
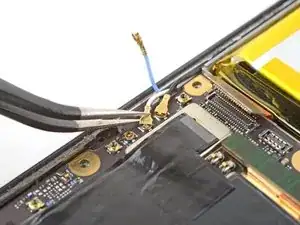
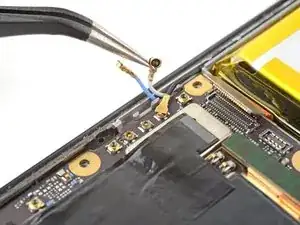
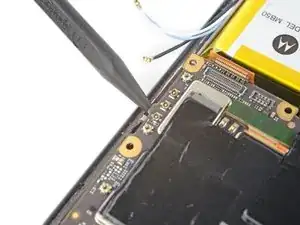
Use tweezers to grip the top and bottom of the blue antenna's coaxial connector, as close to the connector head as possible.
-
Lift straight up to disconnect the cable.
-
-
-
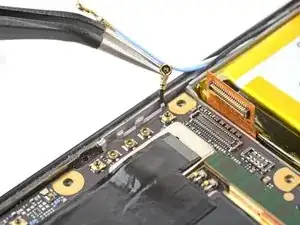
Use the same method from the previous antenna cable to disconnect the white and black antenna cables.
-
-
-
Use the pointed end of a spudger to bend the 5G mmWave antenna cable out of the way to access the screw securing the motherboard.
-
-
-
Insert the pointed end of a spudger between the midframe and motherboard in the opening near the coaxial connectors.
-
Gently pry up with the spudger to release the motherboard from the midframe.
-
-
-
Apply a few drops of high-concentration (90% or higher) isopropyl alcohol under the 5G mmWave antenna.
-
Wait one minute for the isopropyl alcohol to penetrate the adhesive.
-
-
-
Insert the pointed end of a spudger under the 5G mmWave antenna on the side closest to the center of the phone.
-
Pry up with the spudger to detach the antenna.
-
Remove the antenna.
-


To reassemble your device, follow these instructions in reverse order.

You should include more pictures for this part, especially because there's some ambiguity about meaning of "left" vs "right" when you're discussing the BACK of a device.
Jeffrey Skarski -