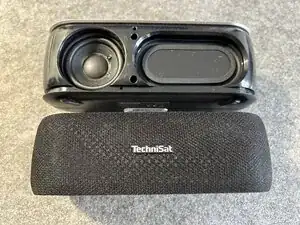
Introduction
-
-
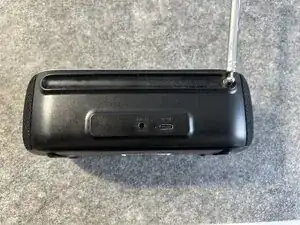
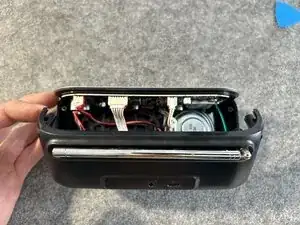
Inspecting the device there are no screws visible.
-
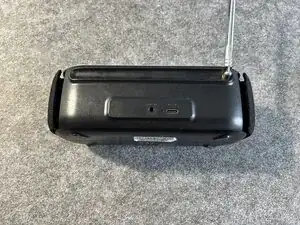
There are no screws on the back or under the rubber feet on the bottom - they are hidden behind the speaker mesh.
-
-
-
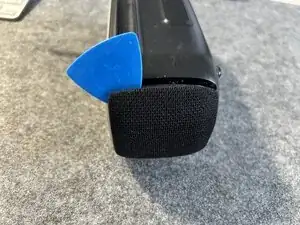
Use a guitar pick or a spudger and insert it between the radio and the speaker mesh on each side.
-
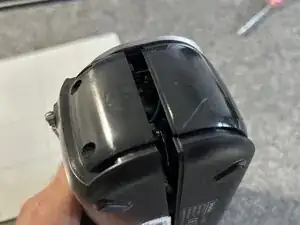
Be careful and lift the mesh guard off the radio until it looks like in image 3.
-
-
-
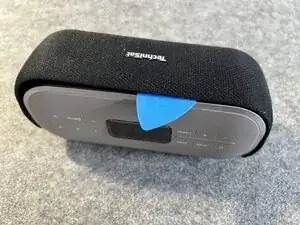
With both sides lifted up you still have to lift the mesh guard up in the middle.
-
Use a guitar pick again and pry up the speaker guard in the middle.
-
Now you can separate guard abd speaker and move on.
-
-
-
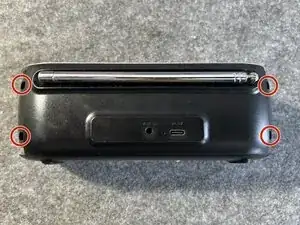
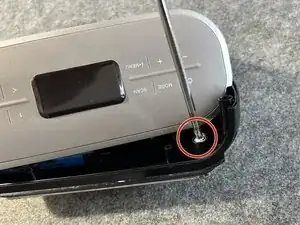
Turn the radio on the back where you'll find four screws we have to remove with a PH1 screwdriver.
-
Remove all four screws and store them away. The radio will come apart right away.
-
-
-
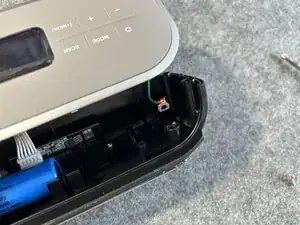
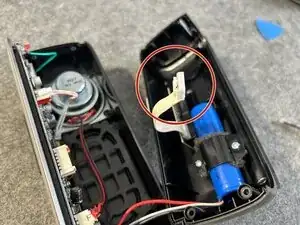
Do not separate both halves yet as the back part is still connected to the main logic board.
-
USB-C charging, aux port antenna and battery are all to be disconnected.
-
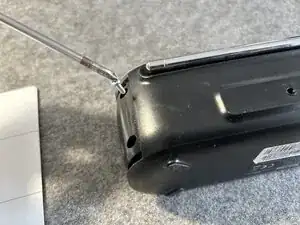
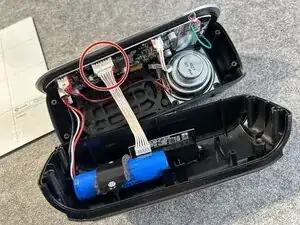
Start by unscrewing the antenna screw as seen here.
-
-
-
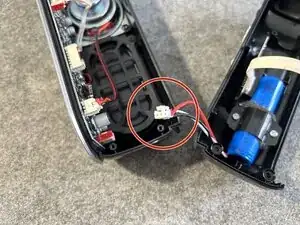
With the antenna cable disconnected you have more clearance to disconnect the mainboard.
-
The cable has a retention clip that must be pressed while pulling away from the board. Be careful while doing so.
-
-
-
The battery wire also has a retention clip which must be pressed.
-
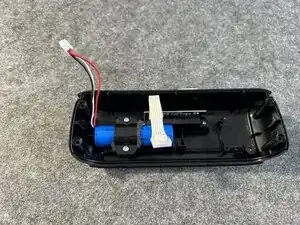
With the battery disconnected from the mainboard you're almost there.
-
-
-
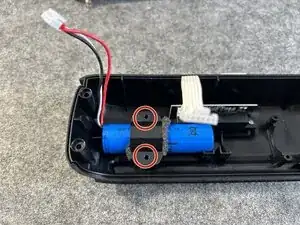
Two screws must be removed to finally release the battery.
-
As you can see the battery type is 3.7 volts current with 2000 mAh or 7.4 wH. Replacements with higher capacity might be available.
-


To reassemble your device, follow these instructions in reverse order.