Introduction

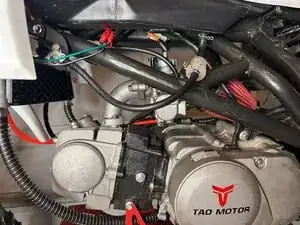
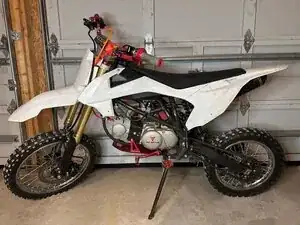
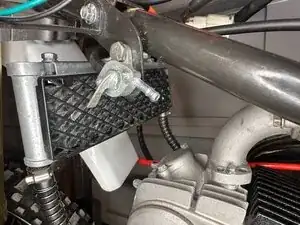
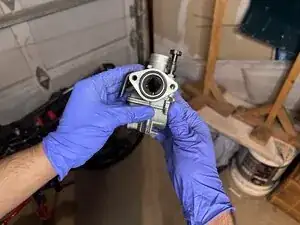
If your 150cc Tao Tao DBX1 dirt bike has compression but won't start, the problem is most likely with the carburetor not feeding the engine gas or the manifold not working correctly. A properly maintained carburetor allows for optimal performance, better fuel efficiency, and a healthier engine.

This guide will show you how to replace the carburetor with a new one. Read the instructions carefully and ask a friend or family member for assistance if needed.

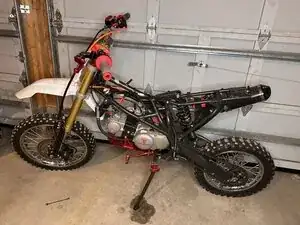
Work on your bike in an open garage, outside, or another open area. Before you begin, make sure the bike is off and has cooled down if you recently went on a ride. Have a towel nearby for any gasoline leaks!

  1. LpgVJWKtyX4o5DDY
    LpgVJWKtyX4o5DDY
    dncUDRWdwQgUwxpD
    XnpV3og4QYbCoJGg
    • Stand your bike upright and secure it using the kickstand.

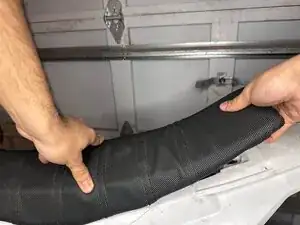
    • Use a 10mm socket and ratchet to unlock the seat from underneath.

    • Lift the seat off of the bike.

  2. HwvS1SCQlEIG5IID
    HwvS1SCQlEIG5IID
    ch6DOUc4wwMnVQfe
    HvZfYY3UQsbhtLJK
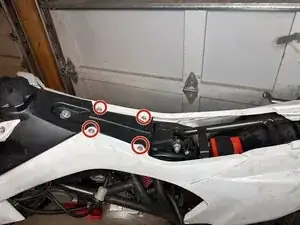
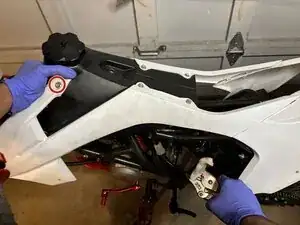
    • Use a 10mm socket and ratchet to loosen the bolts of the white outer shell of the bike.

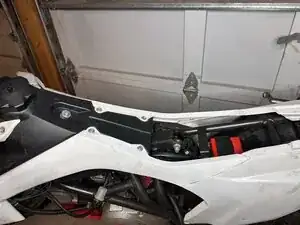
    • Lift the white casing from the bike, remove it, and set it to the side.

    • Put the white casing down on the floor or another safe surface.

  3. n6hpEiUxJXFFjBff
    n6hpEiUxJXFFjBff
    DRpiDvvbeT1L1OD4
    OWBqbEZnVxZiZA5h
    • Turn off the fuel valve.

    • Use a flathead screwdriver to disconnect the fuel line.

  4. PdtsDEySRutdGFrM
    PdtsDEySRutdGFrM
    iaPOIckxNWRN2veh
    • Put on gloves.

    • Twist off the air filter and intake manifold connected to the carburetor.

  5. GiHOFFEn1NAaWIsp
    GiHOFFEn1NAaWIsp
    vfsPLfIevTZd1riW
    bBNDvvJVkwZ1EDGx
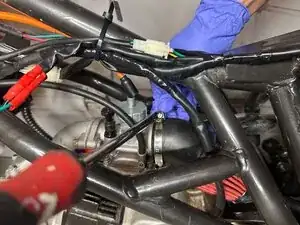
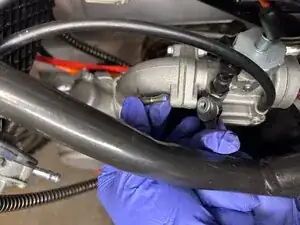
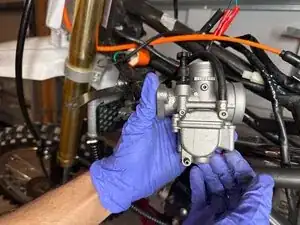
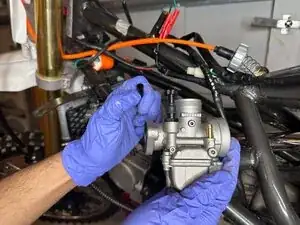
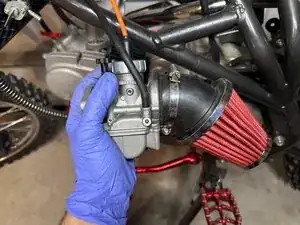
    • On the left side of the carburetor, use a 9 mm bit and driver to loosen and remove the bolts.

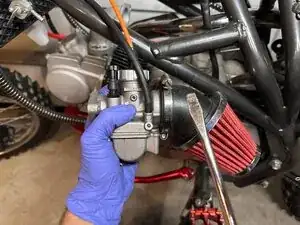
    • On the right side, use a 9 mm wrench to hold the corresponding nuts in place while you remove the screws.

    • Put screws aside in a safe place.

  6. xVFRtWpfibpSihc4
    xVFRtWpfibpSihc4
    fufCj3jMQCKrRJQV
    owLGr3lNCoLX4yGX
    • Twist off the carburetor's throttle cable cap and take out the inner needle.

    • Place the inner needle in a safe place to use for reassembly later.

  7. xmG4RvAXivCnOpxf
    xmG4RvAXivCnOpxf
    cEBAk2NQjRWRKciF
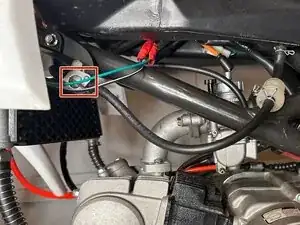
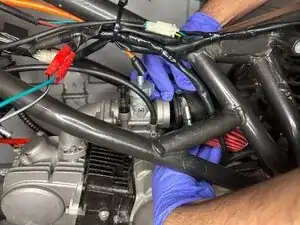
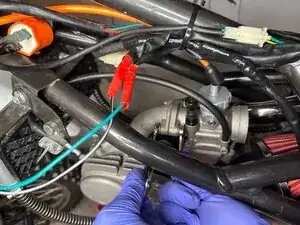
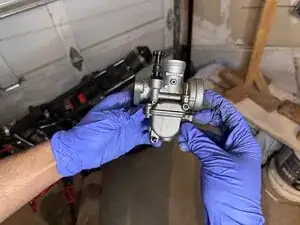
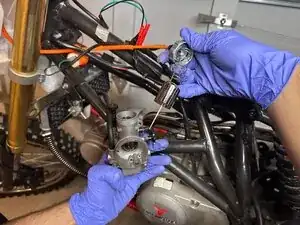
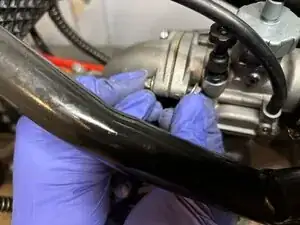
    • Remove the second gas line attached to the carburetor and inspect all sides for any damage or dirt.

  8. 3oRQrJ2RegLV2rdP
    3oRQrJ2RegLV2rdP
    nnCCgCVOfNHJNLiC
    ZPkCkdKTMfGIcjFe
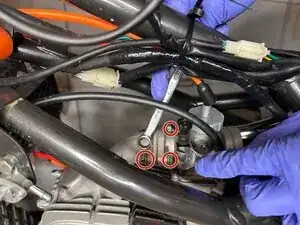
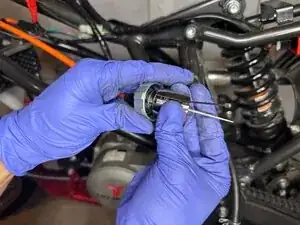
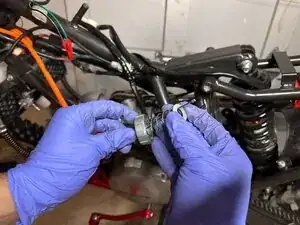
    • Bring back the inner needle and push the float valve into the spring, then take out the throttle cable through the side of the float valve.

    • Carefully take out the float valve and pivot pin.

  9. V2GPXHotL5OwHGiT
    V2GPXHotL5OwHGiT
    YlYrMGauAWwZ6jYJ
    ka4faqWSXqVtjGJO
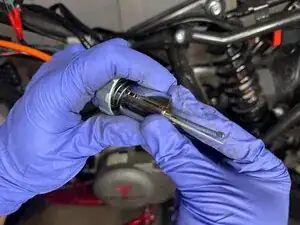
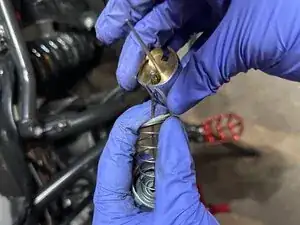
    • Push the spring down onto the float valve.

    • Insert the throttle cable sideways through the float valve.

    • There is a line on the top side of the float valve to help guide you.

    • Now the throttle line should be connected to the float valve and pivot pin.

  10. gTDLNWeoDAYURyHF
    gTDLNWeoDAYURyHF
    SCSRZqNHheoRbmQs
    QLr21rWWKTZNEfVj
    • Inspect the carburetor and make sure it is clean.

  11. gRZUiENAMZGYb1cd
    gRZUiENAMZGYb1cd
    ELOE326ZiT6AkFYN
    jUWFAQWIcsnpBEPM
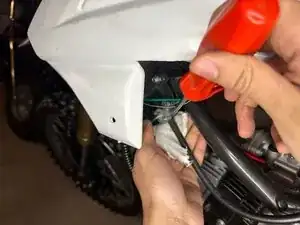
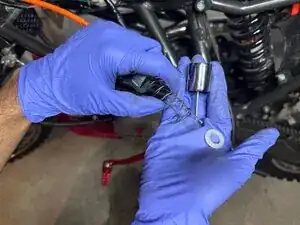
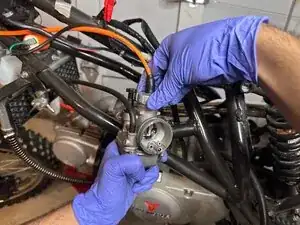
    • Connect the gas line back onto the bike and the new carburetor.

    • Twist the throttle line shut onto the carburetor.

    • Make sure to test the throttle once it is connected to make sure there is tension.

  12. dGGBtEmyTRg1gSCC
    dGGBtEmyTRg1gSCC
    dwQAxwQUxVdbhZZA
    • Insert the air filter back on and screw the clamp using a flathead screwdriver.

  13. a1CXFtbULt4B3aiQ
    a1CXFtbULt4B3aiQ
    ZjwncxvpMTvK1NIs
    WDOELWuJdAeRVeO3
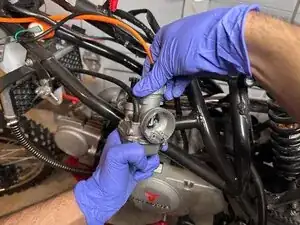
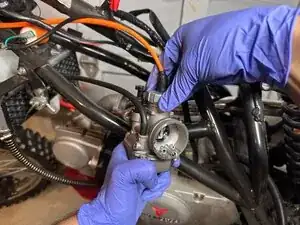
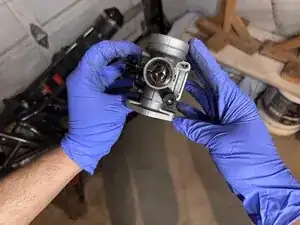
    • Reinsert the carburetor in its original position and secure all screws and clamps to ensure a tight fit. Use the 9mm bit and the wrench to screw the carburetor back on.

    • Make sure the head gasket is in between the two sections.

  14. 1kSUNnajLcGWXQ1G
    1kSUNnajLcGWXQ1G
    ILjXHOFdAdinHS4p
    • Replace the white outer case and seat and secure the screws with the using a 10 mm bit.

Conclusion

Test your dirt bike to make sure it's in working order.

MatthewDeChavez

Member since: 14/01/25

247 Reputation

0 comments