Introduction
A broken or faulty speaker could be the cause of your Sony WF-1000XM3's audio in one earbud ceasing to function. Wear and tear, unintentional drops, or moisture exposure can all cause this problem. To fix this issue, the earbud must be disassembled, the damaged speaker unit must be properly desoldered, and a new one must be installed. This tutorial offers guidance on how to extend the life of your earphones and restore audio functioning.
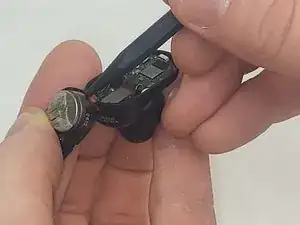
Before you begin, make sure that your earbuds are powered off. Also, be aware that this guide requires desoldering and soldering. Refer to this guide on how to solder and desolder connections for instructions and safety information.
-
-
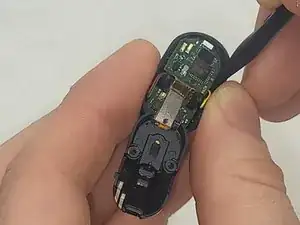
Use a Phillips #000 screwdriver to remove the two 4 mm screws securing the internal components.
-
-
-
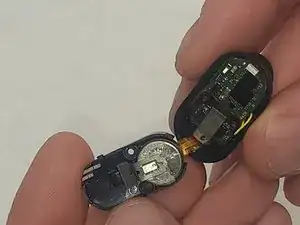
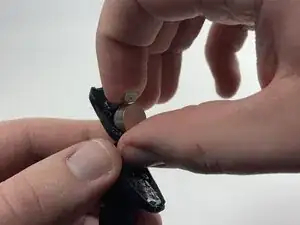
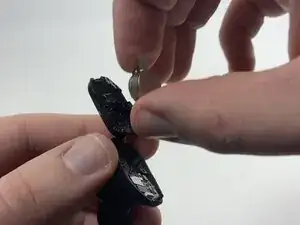
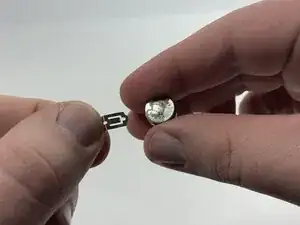
Remove the metal negative terminal from the battery.
-
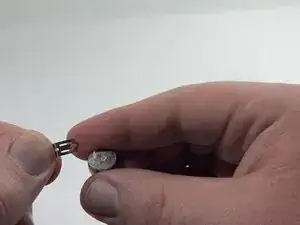
Attach it to the new battery, either through double-sided tape or by placing the new battery and the terminal back into the earbud in the same position it was previously.
-
-
-
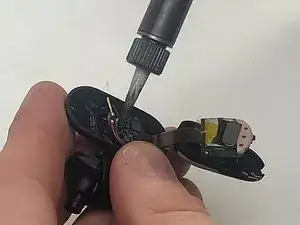
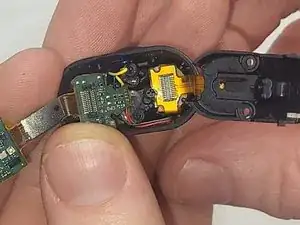
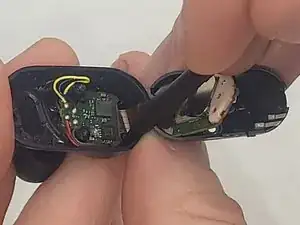
Identify the speaker unit's location as well as positioning on the main board
-
Heat the soldering iron to the proper temperature
-
-
-
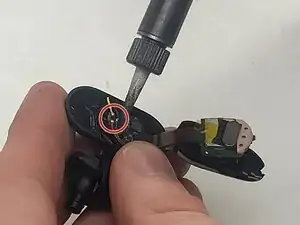
Using the desoldering braid remove the soldering connecting the speaker unit to the main board.
-
Using a plastic spudger, gently remove the speaker unit from the main board.
-


To reassemble your device, follow these instructions in reverse order. Take your e-waste to an R2 or e-Stewards certified recycler.