Introduction
If your Sony SRS-XG300 (model XG300) is producing no audio, use this guide to replace the power button.
Before using this guide, review the troubleshooting page to ensure the best solution is replacing the power button. The power button, also known as the "power switch," controls the flow of electricity to the speaker. The physical switch allows a quicker way to turn the speaker on or off without needing to unplug the speaker from a power source.
A faulty power button can result in no audio in the speaker. Power needs to reach all components involved in creating audio. A loose or broken power button disrupts the flow of electricity to all parts in a speaker. As a result, the device does not turn on and does not emit audio.
Tools
-
-
With the Sony label on the left, roll the speaker horizontally to the bottom of the speaker with the rubber stands.
-
Remove four 12 mm screws with a Phillips #1 screwdriver.
-
Remove the loose rubber feet.
-
-
-
Insert the metal spudger tool at 90-degree angle into the right part of seam.
-
Pry off the top part of the fabric cover using the metal spudger.
-
Follow the seam to completely detach the top part of the fabric cover.
-
Repeat to remove the bottom part of the fabric cover.
-
-
-
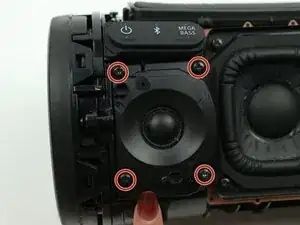
Remove the four 12 mm screws on the corners of the left tweeter using the Phillips #1 screwdriver.
-
-
-
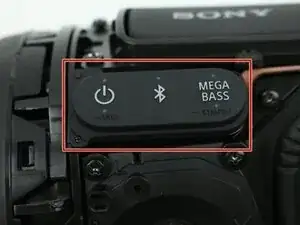
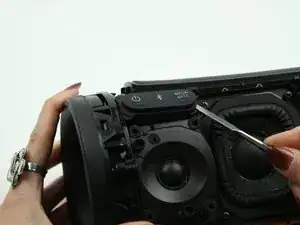
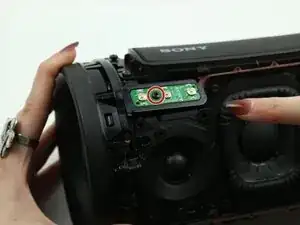
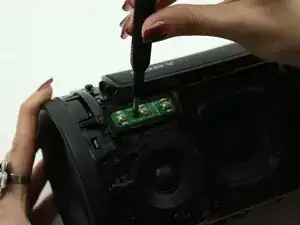
Use the metal spudger to peel off the adhesive button on the power switch (power, bluetooth, and megabass) to access the control panel underneath.
-
-
-
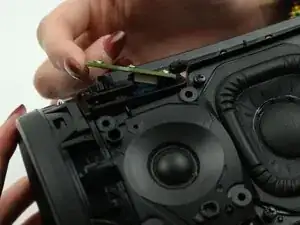
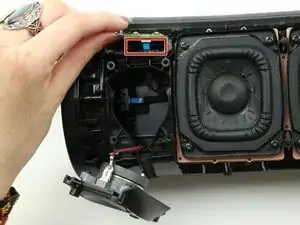
Carefully lift up the control panel.
-
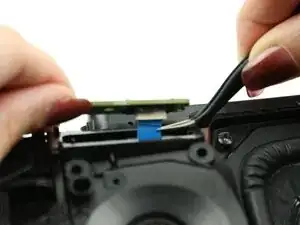
Detach the blue ribbon cable from the power button.
-
Remove the power button from the speaker.
-
To reassemble your device, follow these instructions in reverse order.
