Introduction
-
-
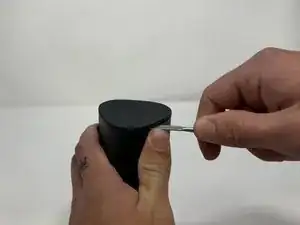
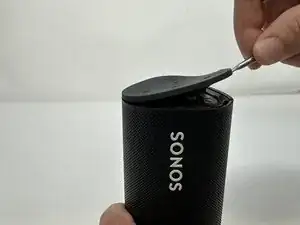
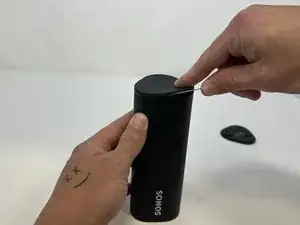
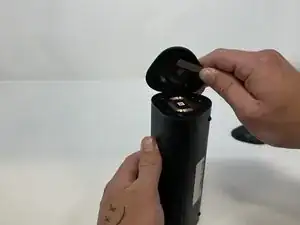
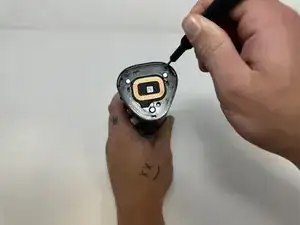
Use the metal spudger to pry the end cap with the buttons.
-
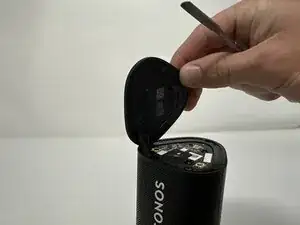
Pry from all sides to loosen the adhesive.
-
-
-
Flip the device so that the Sonos logo is on the top.
-
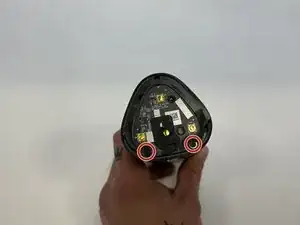
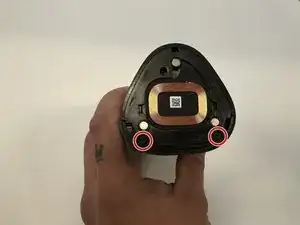
Use the Torx T6 screwdriver to remove the two 6 mm screws.
-
-
-
Flip the device so the Sonos logo is on the top.
-
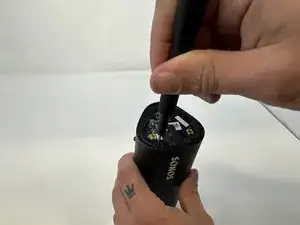
Use the iFixit opening picks to wedge between the split of the grille and the back of the speaker to pry the grille apart.
-


Conclusion
To reassemble your device, follow these instructions in reverse order.

What about IP67 rating? Am I going to lose the water resistance rating if I do not reapply some glue or additional adhesive when reassembling things back?
Askar -