Introduction

Follow this guide to replace the display or screen adhesives for the Galaxy S8+. This procedure is meant to be used in conjunction with the Galaxy S8+ screen replacement guide.
  1. oSVZM2H3ZSsiEknU
    oSVZM2H3ZSsiEknU
    qnTxquBryuPhvfEm
    ItJUqhxDAGNkSPFk
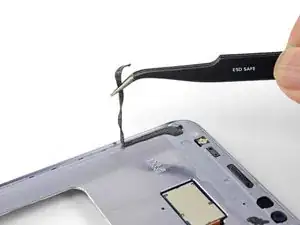
    • Remove all traces of adhesive and debris from the phone's frame. Clean the adhesion surface with high concentration isopropyl alcohol (over 90%) and wipe it clean with a lint-free cloth.

    • If glue or glass remnants are left behind, the new display will not mount correctly and may be damaged.

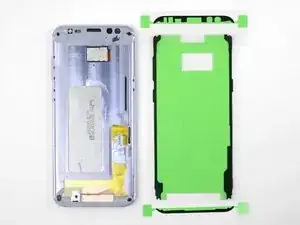
    • Lay the adhesive strips out to get an idea of where they go.

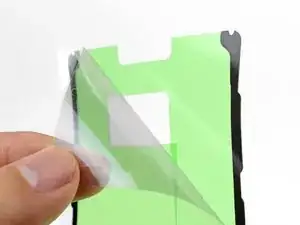
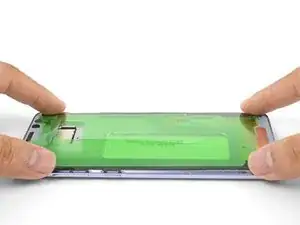
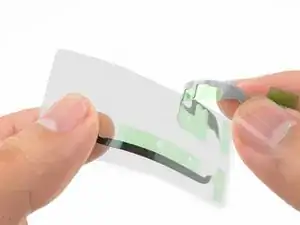
    • Peel off the clear plastic backing from the large pre-cut adhesive strip, exposing one side of adhesive.

  2. WR4mYfVQCRIDwOy1
    WR4mYfVQCRIDwOy1
    kHuUUMG3BtrWXHcs
    Ate3XFoivKkGpjO1
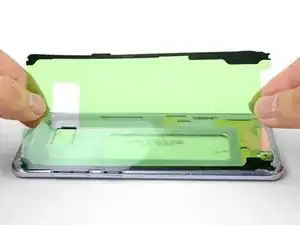
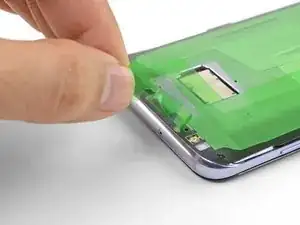
    • Carefully line up a long edge of the adhesive with the edge of the phone frame.

    • Make sure that the adhesive cutouts match the phone's.

    • Set the adhesive down lightly on the frame.

    • If it is not properly aligned, carefully peel the adhesive back up.

    • Once the adhesive is aligned, use your fingers to press the adhesive onto the frame.

    I have found out that it is easier (and have more precision) when I cut the sheet along its length into two separate parts, each part containing one of the adhesive strips, then attach each strip individually.

    After cutting the sheet in two, and properly aligning one of the two adhesive strips, I usually use two small strips of Scotch tape to stick the green protective layer to the frame. I put the strips on the same side, so they result in a set of "hinges". Then, I rotate the strip around the "hinges", and remove the transparent adhesive backing. When I "close the door" (that is, rotating the green adhesive protector back), the "hinges" ensure the strip will stay right where I align it.

    Using the full, uncut sheet can result in misalignment. The instructions mention the careful peeling off of the adhesive in case of misalignment. However, based on my experience, the results of that peeling off are less than stellar: the adhesive stretches when trying to peel it off, resulting in a host of other issues.

    PilotFerdi -

  3. jeSfDeicsE2kwxel
    jeSfDeicsE2kwxel
    cSgx2FbvLpLfMmgl
    UMLYUnyVPMPLQaid
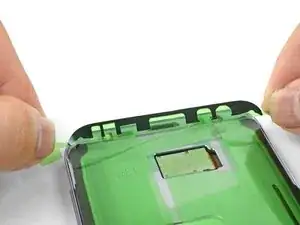
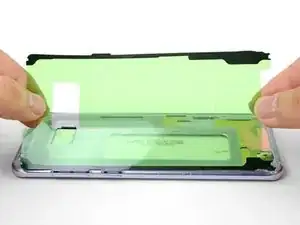
    • Peel one of the end adhesive strips from the clear plastic backing.

    • The strips are cut for a specific end and are not interchangeable.

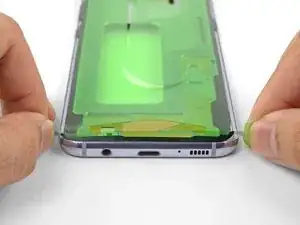
    • Hold the strip by the two green end tabs and line the adhesive strip with the phone frame.

    • Lay the adhesive down lightly on the phone. Make sure that all cutouts are properly aligned.

    • Once aligned, use your fingers to press the adhesive into place.

    • Repeat the procedure for the remaining adhesive strip.

  4. VIuHF5wH6ZNODAx3
    • Continue reassembling your device until you are ready to attach the screen.

    • If possible, test your screen's functionality before sticking it in place.

    • Peel and remove the green plastic liner from all adhesive strips to expose the screen-facing adhesive.

    • Align and set the phone screen on top of the adhesive.

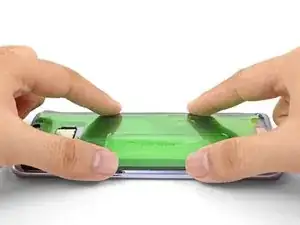
    • Use your fingers to squeeze around the perimeter of the phone to set the adhesive.

    • Apply a few books worth of weight on top of the screen for an hour to help the adhesive bond.

Conclusion

Follow this link to return to the Galaxy S8+ screen replacement guide.
Arthur Shi

Member since: 03/01/18

296850 Reputation

0 comments