Introduction

  1. qYTIn6PToDvfigLx
    • Discharge to 20% or lower beginning.

  2. IXYapSEBG6dkbKUS
    • Turn off your laptop by holding the power button or turing it off from windows.

  3. qPrdNOIywXj1kLCe
    • Flip your laptop over and locate the small cutouts covering the screws.

  4. ddj6QkBISUeFXGeB
    • Remove the stickers and the rubber feet covering the screws. (Save these for later)

    • Unscrew the screws holding in the bottom lid.

    • Release the clips around the edge of the laptop.

    A picture of where to start and how to do that would be helpful

    Howard Rubin -

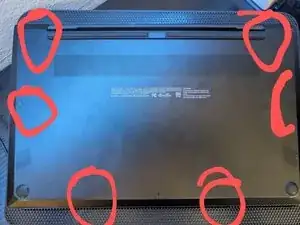
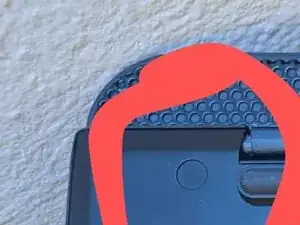
    • Slowly remove the cover by sliding it away from the hinge but be careful of wires and electrical shock.

Conclusion

To reassemble your device, follow these instructions in reverse order.

Hudson Aikin

Member since: 09/02/24

145 Reputation

0 comments