Introduction
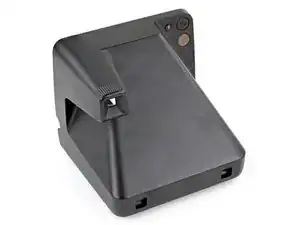
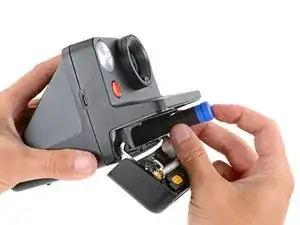
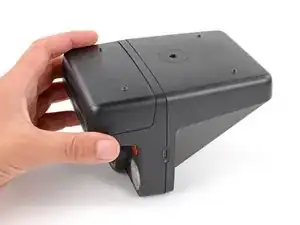
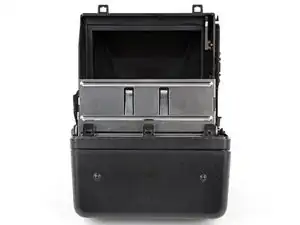
Use this guide to replace, change, or upgrade the rear shell (aka rear cover, back cover, or back shell) on your Polaroid Now+ (Gen 3) instant camera.
You may want to change the rear shell if it's cracked or damaged, or if you want to customize your camera with different colors.
You can also follow this guide to open up your Polaroid Now+ (Gen 3) to clean its internals or troubleshoot mechanical problems.
Tools
Parts
-
-
If you have any film left, take some photos! Then remove the cartridge. Disassembly will expose any leftover film.
-
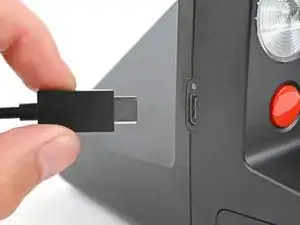
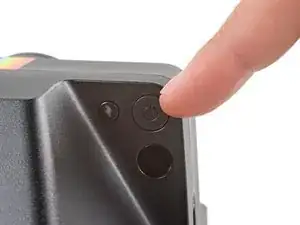
Unplug and fully power down your camera.
-
Put on the lens cap to avoid scratching your lens during disassembly.
-
-
-
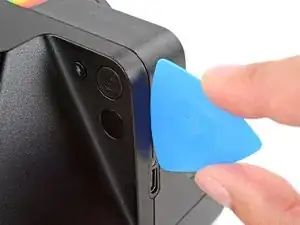
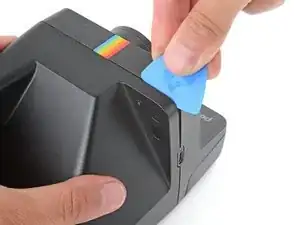
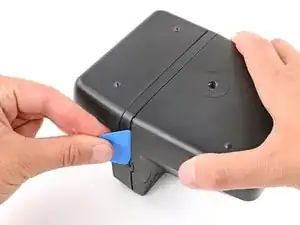
Insert the flat edge of an opening pick in the seam between the front and rear shells, just above the USB‑C port on the right edge.
-
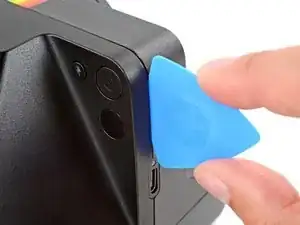
Use your pick to pry the rear shell away from the front shell.
-
-
-
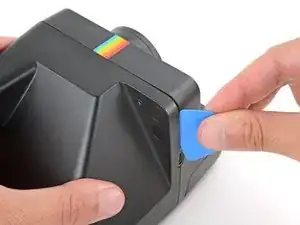
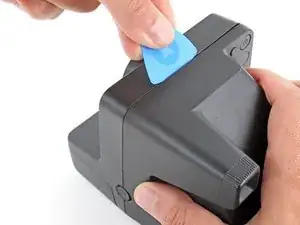
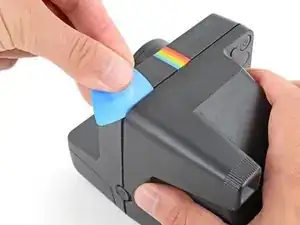
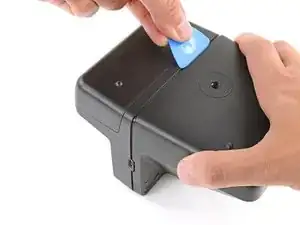
Continue sliding your pick along the top edge, around the top left corner, and down the left edge to release the clips. Stop when you get to the film door latch.
-
-
-
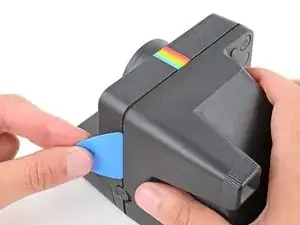
Insert your opening pick in the seam near the USB‑C port and slide it around the corner and along the bottom edge to release the remaining clips.
-
-
-
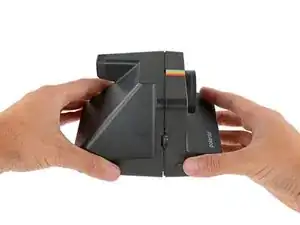
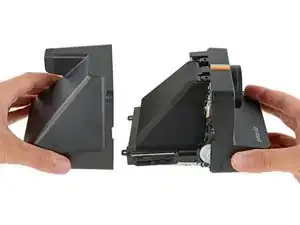
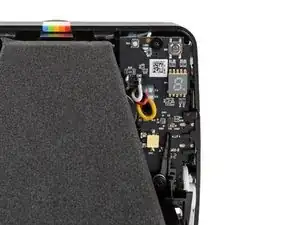
Gently pull the rear shell off the main body of the camera.
-
Press the shell firmly onto the main body so all the clips engage.
-
Check around the shell seam and make sure there are no gaps. If there are, firmly press the shells together to engage the clip near the gap.
-
-
-
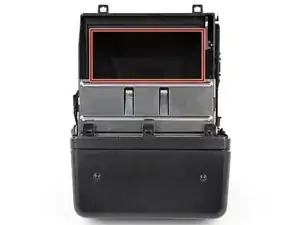
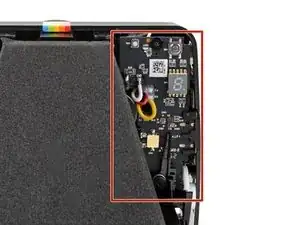
To minimize risk, avoid touching the boards, wires, and other exposed components with your fingers or metal tools. Consider wearing rubber gloves if working near the board.
-
To reassemble your device, follow these instructions in reverse order.
Repair didn’t go as planned? Try some basic troubleshooting, or ask our Answers community for help.
