Introduction

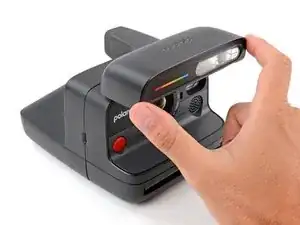
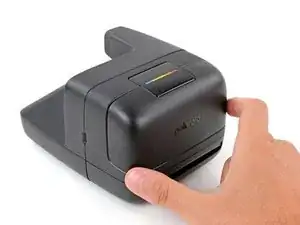
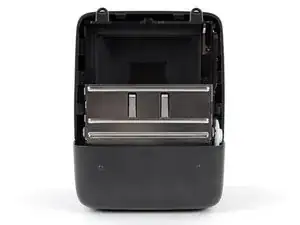
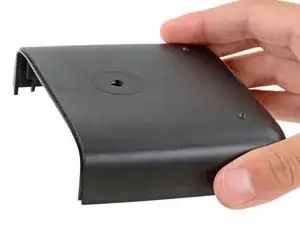
Use this guide to replace, change, or upgrade the bottom shell (aka bottom cover) on your Polaroid Flip instant camera.

You may want to change the bottom shell if it's cracked or damaged, or if you want to customize your camera with different colors.

The bottom shell also contains the tripod mount. If the tripod mount strips or breaks, you'll need to replace the bottom shell.

  1. iaMNEnRKrRRXFOIF
    iaMNEnRKrRRXFOIF
    McuLcwFYVKnhEZFj
    na5qlKngWlG1XLbF
    • If you have any film left, take some photos! Then remove the cartridge. Disassembly will expose any leftover film.

    • Before you begin:

    • Unplug all cables from your camera.

    • Fully close the flash unit at the front of the camera to turn it off.

  2. XJwVBxgERBMdu3gU
    XJwVBxgERBMdu3gU
    WGYemF2VLLD5BL1k
    OhMgUfnTETjHvuXH
    • Throughout this guide, directional words (front, back, left, right) are from the perspective of using the camera—or when the lens faces away from you.

    • Hold down the latch on the left side of the camera and open the film door.

  3. WOtxhJtTWJcTwSfN
    WOtxhJtTWJcTwSfN
    ol2CspAIJOLtwZil
    ObgtcGvEFm2SWy4O
    • Throughout this repair, keep track of each screw and make sure it goes back exactly where it came from.

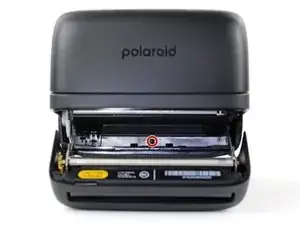
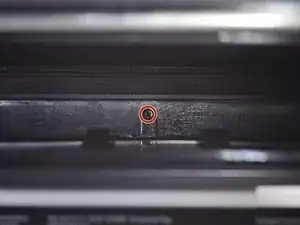
    • Use a Phillips screwdriver to remove the 5.9 mm‑long screw securing the rear shell.

    • The screw is hidden inside the camera on the back edge—you may need to use a flashlight to see it, as well as a skinny, long‑shank screwdriver to reach it.

    • Be careful when removing your screwdriver, as the screw can easily fall inside the camera. If it does, hold the camera above your work surface and gently shake it so the screw falls out.

  4. eHX3jYRcZKAjnCVV
    eHX3jYRcZKAjnCVV
    KyMnTmMQsOjGgVH1
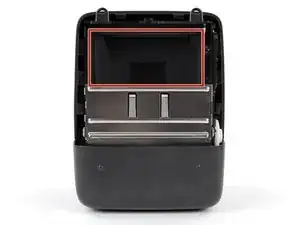
    • Removing the bottom shell in the next step exposes the camera mirror. Be careful not to smudge it or get any debris on it. If you accidentally do, use a lint‑free cloth to gently wipe the mirror clean.

  5. xheDnZFGm5QQNSTf
    xheDnZFGm5QQNSTf
    HSfZlmUYY2hfQyRT
    O2msKasXxgBXNpq6
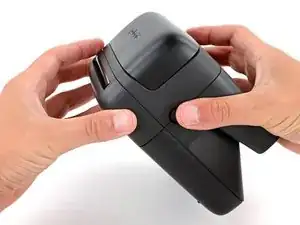
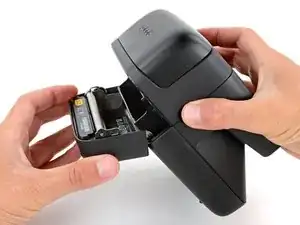
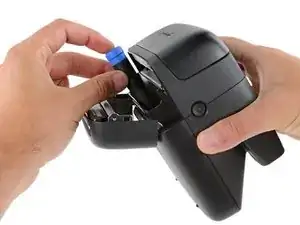
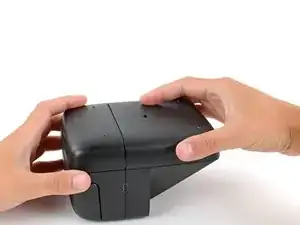
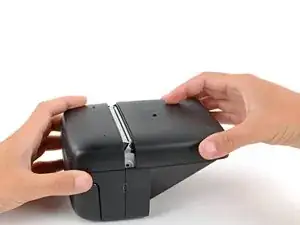
    • Slide the bottom shell towards the back of the camera to release the clips securing it.

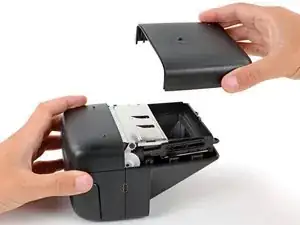
    • Lift and remove the shell.

    • During reassembly:

    • Place the shell onto the frame so it hangs over the back about about half an inch (~13 mm), creating a gap near the center of the camera. This allows room for the clips to slide into place.

    • Push down on the shell and slide it towards the front of the camera to engage the clips—you should feel them slide into place.

Conclusion

To reassemble your device, follow these instructions in reverse order.

Repair didn’t go as planned? Try some basic troubleshooting, or ask our Answers community for help.
Spencer Day

Member since: 14/09/22

117606 Reputation

0 comments