
Introduction
Follow this guide if you need to remove and reinstall a new speaker for your Philips Wake-up Light. Before starting, it is pertinent that your Antenna and power supply have been removed first. Please refer to our other guides on how to remove them.
-
-
Remove the four silicone feet on the bottom plate.
-
Remove the following Phillips screws from the bottom plate:
-
Two 9 mm screws
-
Two 13 mm screws
-
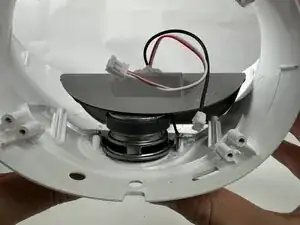
-
-
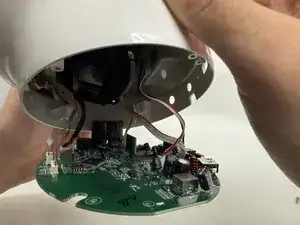
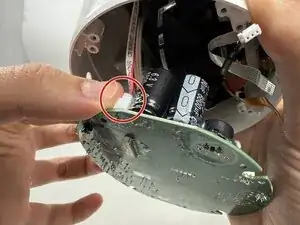
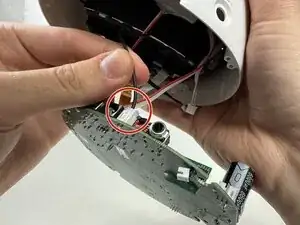
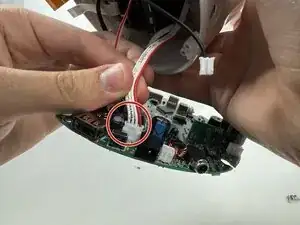
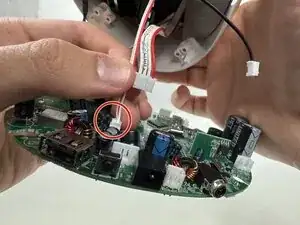
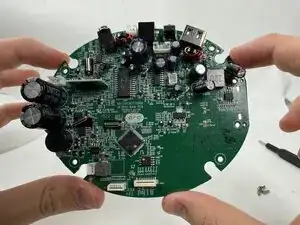
Finish gently removing the final cord attached to the motherboard to successfully remove the motherboard.
-
-
-
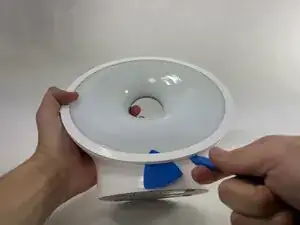
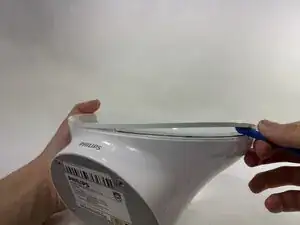
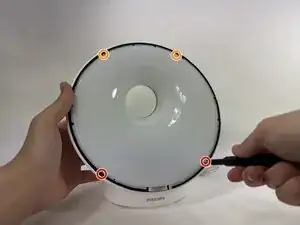
Use an opening pick to pry underneath the plastic covering the edges of the screen.
-
Place an opening tool in the space made between the screen and this plastic piece and pry up, working around the length of this circular piece to significantly loosen it.
-
-
-
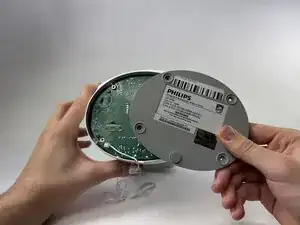
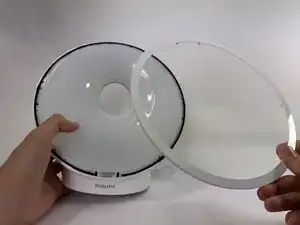
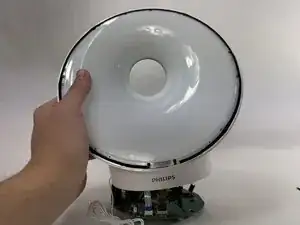
The panel should be loosened significantly enough to be pulled off the main body, revealing the edges of the screen.
-
-
-
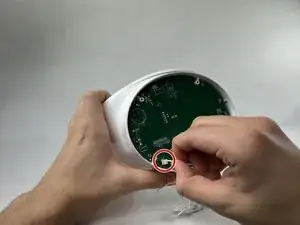
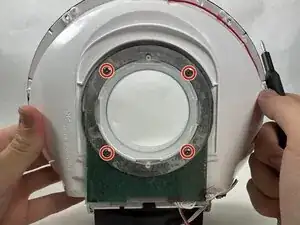
Remove the two 13 mm Phillips #0 screws on the bottom edges of the screen.
-
Remove the 9 mm Phillips #0 screws on the upper edge of the screen.
-
-
-
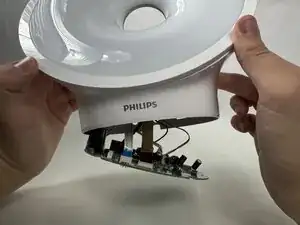
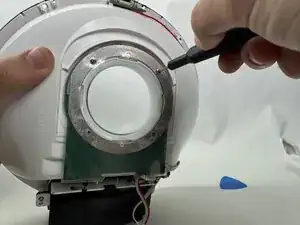
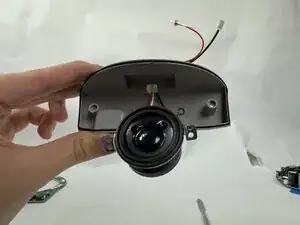
On the back of the screen, remove the four 9 mm Phillips #00 screws, disconnecting the LED assembly.
-
-
-
Using a metal spudger, scrape underneath this adhesive and pry up, freeing the cable from the body. Repeat this for the other cable to free the LED.
-


To reassemble your device, follow the above steps in reverse order.
Take your e-waste to an R2 or e-Stewards certified recycler.
Repair didn’t go as planned? Try some basic troubleshooting or ask our Answers community for help.
