Introduction
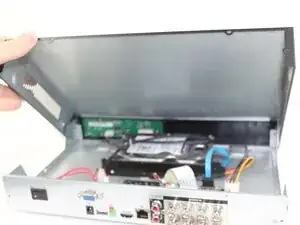
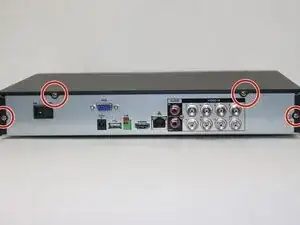
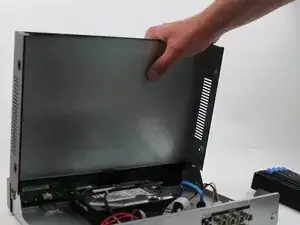
The upper case of the DVR serves as a durable protective shell, safeguarding the internal components from physical damage, dust, and other environmental hazards. It is constructed from a lightweight yet sturdy aluminum alloy. This material not only enhances the structural integrity of the device but also helps with heat dissipation, contributing to the overall thermal management of the system. The case is securely fastened using six Phillips head screws, ensuring a tight seal that maintains the alignment of internal parts while still allowing for relatively easy access during maintenance or repair procedures.
Tools
-
-
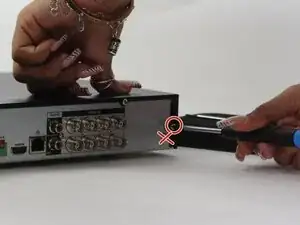
Before beginning, disconnect the DVR from power and unplug all peripheries.
-
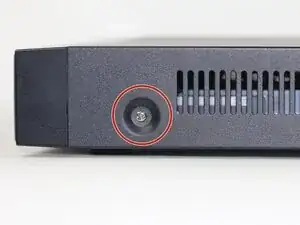
Remove each of the two 1 cm screws on the right and left sides of the DVR with a Phillips screwdriver.
-


To reassemble your device, follow these instructions in reverse order.
The Guide took us 4 minutes to complete
Anthony -