Introduction
The motherboard of the DVR is the main operating piece that processes and controls the device. This may be damaged through rough use, which would require
Tools
-
-
Before beginning, disconnect the DVR from power and unplug all peripheries.
-
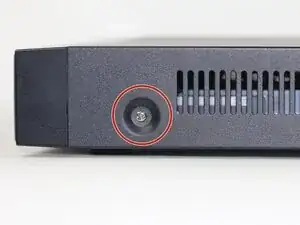
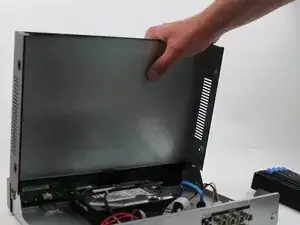
Remove each of the two 1 cm screws on the right and left sides of the DVR with a Phillips screwdriver.
-
-
-
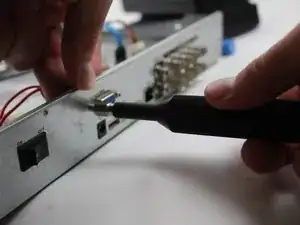
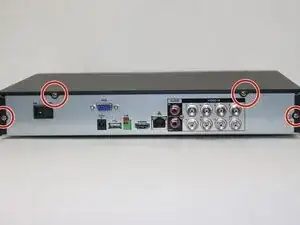
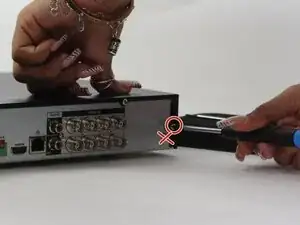
Unscrew the 1cm Hex crews with the Driver and a size 8 hex socket
-
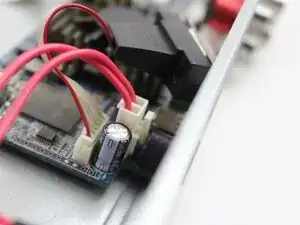
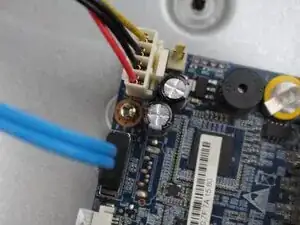
Unplug the chord from the socket in the other board
-
-
-
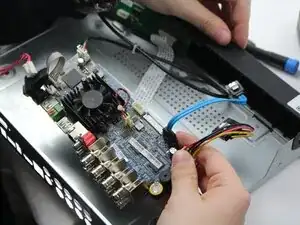
Once all the screw are off the back panel remove the power source
-
That would be the white box woth the R/B/G cables attached along with the blue and other whie box with R/B/B/Y cords
-
-
-
Remove this pin in order to take off the fan.
-
Remove the fan in order to access the motherboard.
-
To reassemble your device, follow the above steps in reverse order.
Take your e-waste to an R2 or e-Stewards certified recycler.
Repair didn’t go as planned? Try some basic troubleshooting or ask our Answers community for help.







The Guide took us 4 minutes to complete
Anthony -