Introduction

  1. lQmvmnNLQkQac1dW
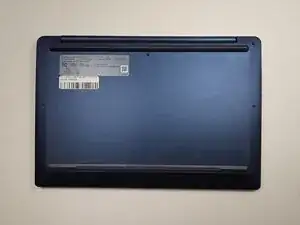
    • Place the device on a clean dry workspace with the back Cover facing up.

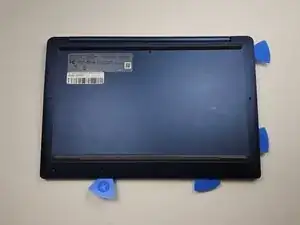
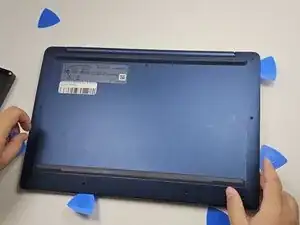
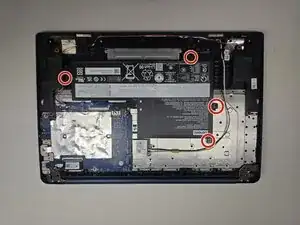
    • Remove 10 Phillip screws.

    • Be careful not to strip screws.
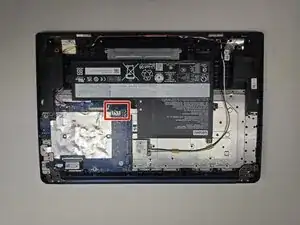
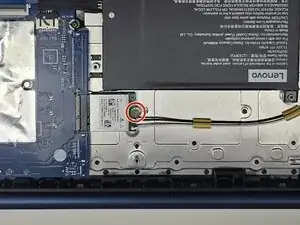
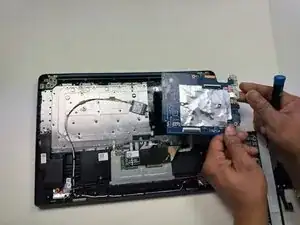
  2. UDWPhukUPFlpvvB6
    • Place space tabs around the edges of the back cover to separate from the device.

  3. AUJSZDa1UOQkVOY4
    • Firmly but carefully pry the back cover off.

  4. TFiKyJdMEC6uQnJY
    • Locate connector.

    • Pick up on locking tab.

    • Pull male connector, gently but firm, away from the female connector.

  5. LFSbJtZrApURDAk2
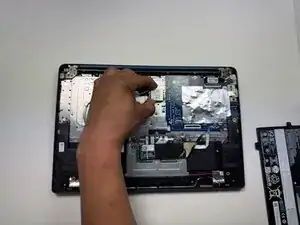
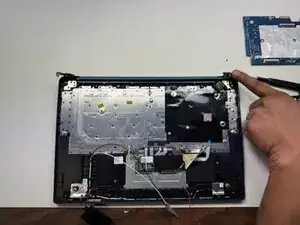
    • Battery is located directly below the back cover.

    • Remove 4 Phillips screws.

    • Carefully store screws.

  6. uy6eYPTDEeHI3oJQ
    • Remove Battery.

    • Replace the battery and dispose of the old battery in a safe manner.

  7. rkYxrBdOhNEqe2By
    rkYxrBdOhNEqe2By
    1wF4KN6k1U6rtPq1
    • Remove 1 Phillip screws.

    • Disconnect the coaxial cables from the Wi-Fi card.

  8. Y165bBaHxmUaRCNY
    • Gently remove Wi-Fi Card by pulling away from the motherboard.

  9. FAH2kjRcB1ocmCQI
    • Disconnect the four connectors from the motherboard.

    • For detailed instructions on how to recognize and disconnect connectors, take a look at this guide.

  10. lExeEHfVixgXveJW
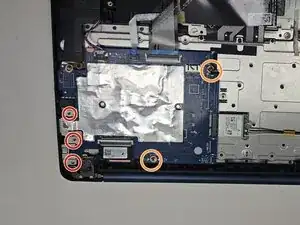
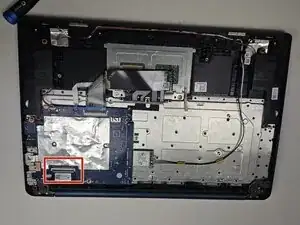
    • Remove three Phillips screws from the I/O bracket.

    • Remove the I/O bracket.

    • Remove two screws from the motherboard.

  11. eHo3pstZkBFsJFqS
    • Carefully remove the motherboard.

  12. owFiI5lgZFDsLAWp
    • Remove 8 Phillip screws.

    • Flip up on the hinges.

  13. LNTTecFpojtWHSKB
    • Locate harness.

    • On-clip locking tab.

    • Unplug the harness.

  14. EFlsHNqnITNwpmjE
    • Separate display from laptop base.

Conclusion

To reassemble your device, follow these instructions in reverse order. Take your e-waste to an R2 or e-Stewards certified recycler.

Anthoneil Williams

Member since: 24/02/25

373 Reputation

0 comments