Introduction
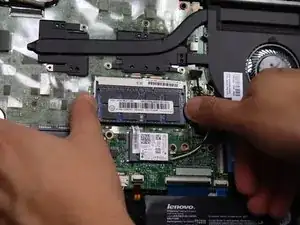
This guide was created to help walk you through the process of replacing the memory in a Lenovo Flex 3-1580. Replacing the memory with a higher capacity can have faster performance and allow you to use more programs or stronger programs that require more memory. Before replacing the memory, be sure to double check this guide for any possible symptoms that may be causing this.
Warning: Disconnecting the battery, unplugging the charger if still plugged in, adding an anti-static wristband can help ensure there is no power surge damage to the laptop's motherboard. For a further explanation how to use this wristband please refer to this guide.
The DIMM installed in the Lenovo Flex series has had no recall notices.
-
-
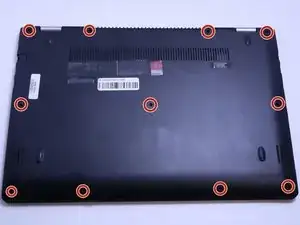
Loosen the backing cover by sliding a spudger along the edges.
-
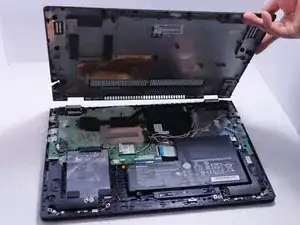
Remove the bottom cover from the laptop.
-
-
-
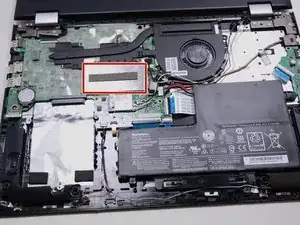
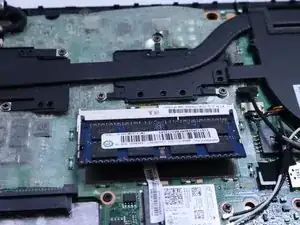
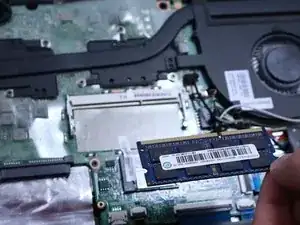
Remove the EMI (Electromagnetic Interference) shielding bracket by lifting it from each side gently.
-


To reassemble your device, follow these instructions in reverse order.