Introduction

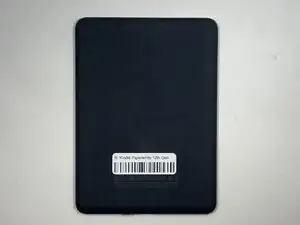
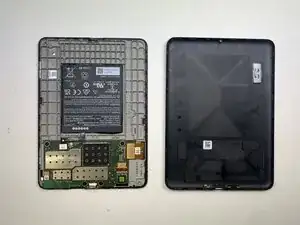
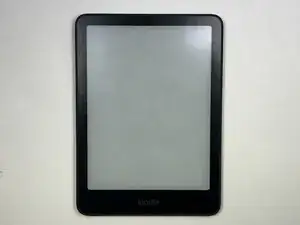
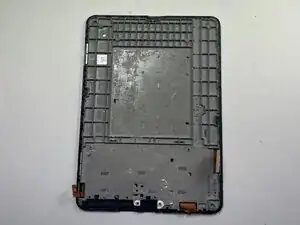
The Kindle Paperwhite 12th gen screen is a complex part with everything altogether including the hardware casing for the motherboard and battery, the ribbon cables to connect them to the Kindle, and the screen itself. It also houses the systems light and touchscreen system. Replacement of the screen should be done as a last effort, as the price of the screen part is a considerable majority of the price of the main product, but it can solve any issues with burn-in or ghosting, as well as touch screen sensitivity issues and internal lighting issues. The replacement will consist of taking out every piece of hardware and reinstalling it into the new housing,

  1. 2aaHu2mFsnbrbGEM
    2aaHu2mFsnbrbGEM
    S6eehsZDNVdnTQSZ
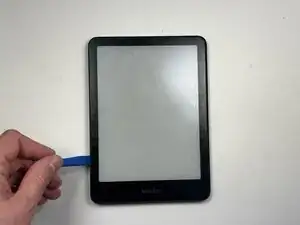
    • Use an opening tool or opening picks and insert the tip between the back case and screen.

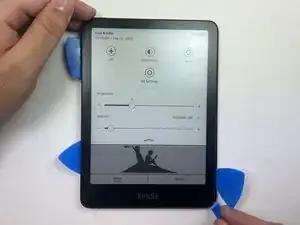
    • Slide the opening tool around the edge of the tablet to release the clips holding them together and avoid damaging the connectors.

    • You can also place additional opening picks in the space between the top and bottom case to prevent the front and back cases from snapping back together.

  2. wmstw1beqlO6UIsq
    wmstw1beqlO6UIsq
    Lg5MpG4lrTIySIHR
    • Flip the Kindle over and remove back casing from screen and device.

    • When reassembling, align the top and bottom case and press until they click into place.

  3. SVKjUJKtOfJ2wih6
    SVKjUJKtOfJ2wih6
    CEIDRKCypTggfyQF
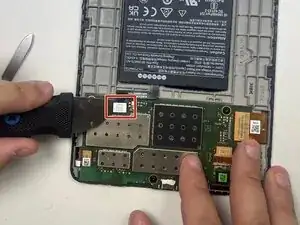
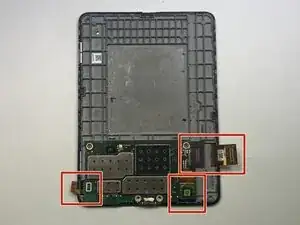
    • Place a spudger or an opening tool under the connector's edge and pry straight up to disconnect it.

    • Make sure to pry under the edge of the connector itself, and not under the socket on the board. Otherwise, you risk permanently damaging the socket.

    • Work carefully: don't pry on or accidentally scrape any small, surface-mounted components on the board.

    • To reconnect, align the connector carefully over its socket and press down with your fingertip—first on one of the short sides, then the other—until it clicks into place. Don't try to force the connector into place. If you're having trouble, reposition it and try again.

  4. hBmpngHpQgKJWeto
    hBmpngHpQgKJWeto
    Ouh5ApOeh24yFhKS
    • The battery is attached to the case with an adhesive.

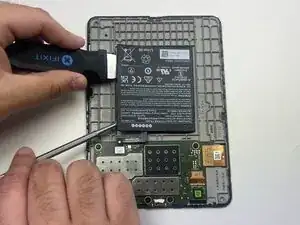
    • Use a black nylon spudger and slide it under the sides of the battery to create a gap between the battery and the housing.

    • Use a black nylon or plastic spudger when possible. Using a metal spudger can result in damage to the device.

    • Avoid prying along the top of the battery, as the base model lacks support on those sides. Take care not to bend or warp the battery during removal, as this could cause long-term damage.

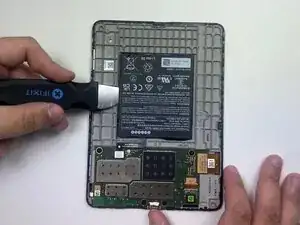
    • Once the battery has loosened from the adhesive, use the black nylon spudger to gently lift and fully detach it while applying light upward pressure.

  5. 62c6NVMj2Omhs6wj
    62c6NVMj2Omhs6wj
    UWNL6CE6DWZjXCpY
    WHIAAyOkkZwiMTln
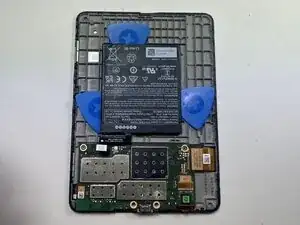
    • Loosen the battery from the backing, then insert an opening pick on each side of the battery to help pry it off. Once the picks are in place, carefully peel the battery away and remove it from the device.

  6. g14mfQWAHOQjWIwQ
    • Place a spudger or an opening tool under the press connector edge and pry straight up to disconnect it.

    • Make sure to pry under the edge of the connector itself, and not under the socket on the board. Otherwise, you risk permanently damaging the socket.

    • The ribbon cable in the bottom left is lightly glued in place so take care to remove the adhesive before disconnecting the cable.

    • To reconnect, align the connector carefully over its socket and press down with your fingertip—first on one of the short sides, then the other—until it clicks into place. Don't try to force the connector into place and don't push in the center of the connector. If you're having trouble, reposition it and try again.

  7. QpWYJxyCcJ4TYxAO
    QpWYJxyCcJ4TYxAO
    UotQZpcVCOVKWMU2
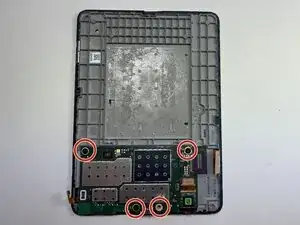
    • Use a 5IP Torx Plus screwdriver to remove the four 3.2 mm screws securing the motherboard in place.

  8. DM1atjZD4hakyw1k
    DM1atjZD4hakyw1k
    lEpWW1SVLqMEwCiO
    ijjSbfYZ2uVH5pLG
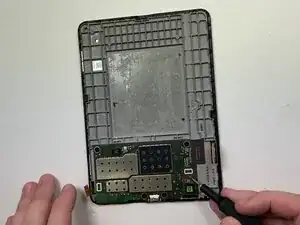
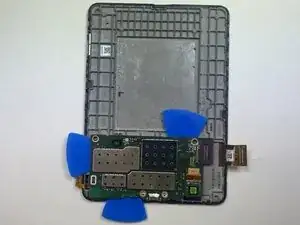
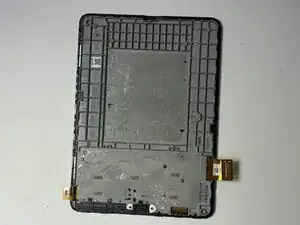
    • Slide opening picks under the edges of the motherboard to loosen the glue holding it in place.

    • Using a metal spudger or tool for prying can damage the internal components. Use a black nylon spudger or picks if possible.

    • Use an iOpener on the back of the case to help loosen the adhesive.

  9. uVopQAU6duMDYJwK
    uVopQAU6duMDYJwK
    lycNhxRhkcUMVAGT
    duQKtBRPnVvmWUmH
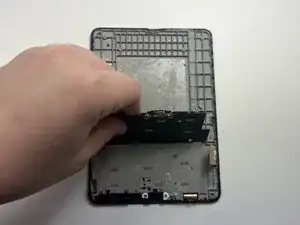
    • Gently lift the motherboard piece from the frame, insuring to not damage the motherboard in the process.

  10. g4B2snbWSOwXaxFC
    g4B2snbWSOwXaxFC
    PWDybQEf3mMBjFtB
    • Once you've removed the motherboard, this is what the screen looks like.

    • Install the motherboard and battery into the new screen casing, then reassemble the device in reverse order.

Conclusion

To reassemble your device, follow these instructions in reverse order.

Claudio Cruz-Lopez

Member since: 24/02/25

273 Reputation

0 comments