Introduction
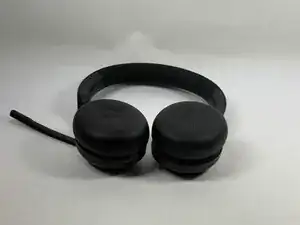
The microphone is vital to the functionality of the Jabra Evolve2 65, turning them from a simple pair of headphones into a device that can help you get work done. If your microphone is giving you issues and the troubleshooting guides don't fix your issues, you may need to replace it.
This guide covers the step by step process of disassembling your Jabra Evolve2 65 so you can access the microphone. By the end of this guide, you will be able to repair your Jabra Evolve2 65 headphones.
-
-
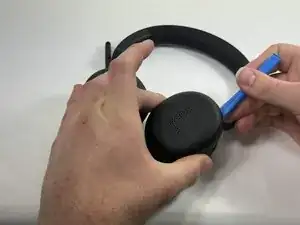
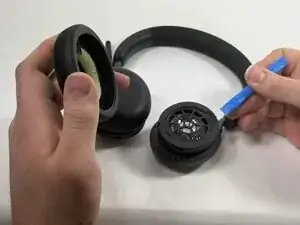
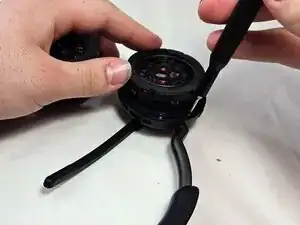
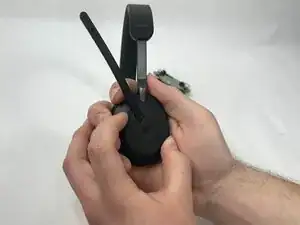
Insert an opening tool into the seam between the ear pad and driver housing, near the hinge.
-
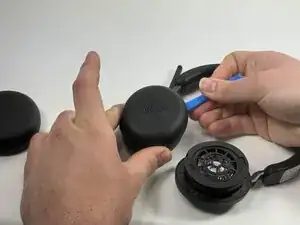
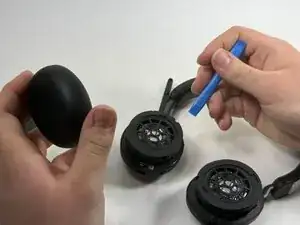
Gently pry the ear pad away from the driver housing until it releases.
-
-
-
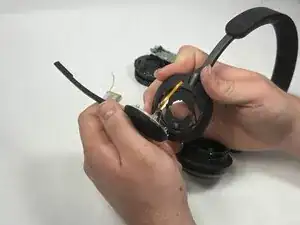
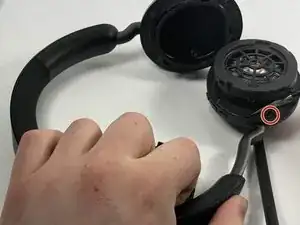
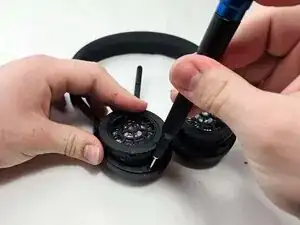
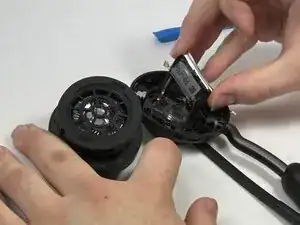
Peel back the tape where the microphone's base connects to the headband.
-
Use a T6 Torx screwdriver to remove the single 2 mm screw.
-
-
-
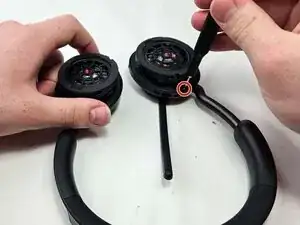
Go about a third of the way around the first screw and peel back the tape to locate the second screw.
-
Use T6 Torx screwdriver to remove the single 2 mm screw.
-
-
-
Locate the third screw after peeling the tape off entirely after removing the second screw.
-
Use a T6 Torx screwdriver to remove the final 2 mm screw.
-
-
-
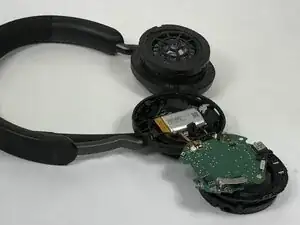
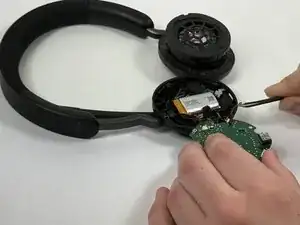
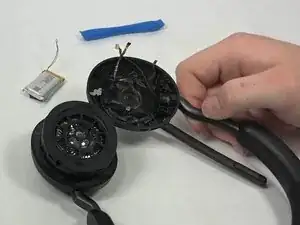
Use an opening tool to pry up and set aside the driver housing.
-
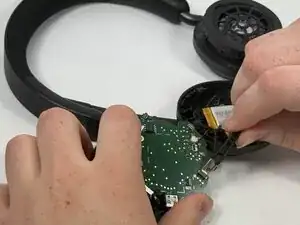
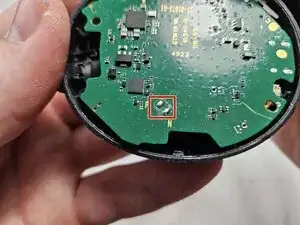
Gently remove the motherboard from the housing..
-
-
-
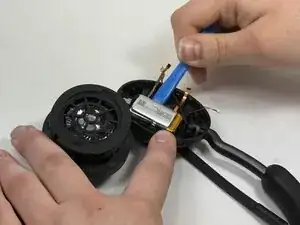
After locating the battery underneath, use a pair of tweezers to disconnect all connected cables.
-


To reassemble your device, follow the above steps in reverse order.
Take your e-waste to an R2 or e-Stewards certified recycler.
Repair didn’t go as planned? Try some basic troubleshooting or ask our Answers community for help.