
Introduction
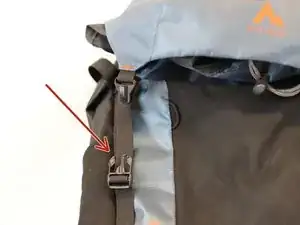
Replacing broken buckles is one of the most common backpack repairs. On this guide we will teach you a quick solution on how to solve this problem.
This guide provides a solution that requires stitching. If you need a simplified version, check out this guide.
➡️Before you get started, please check the safety disclaimer at the bottom of the page.
Tools
-
-
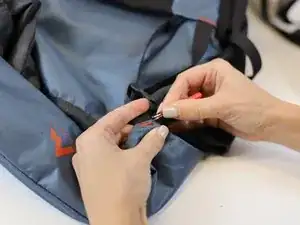
Use a seam ripper to unstitch the strap.
-
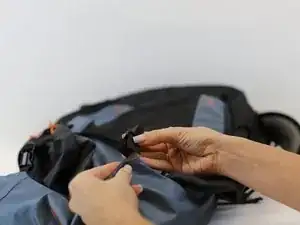
Remove the broken buckle and check that it is compatible with the replacement part.
-
Tip: The new buckle size must match the strap width.
-
-
-
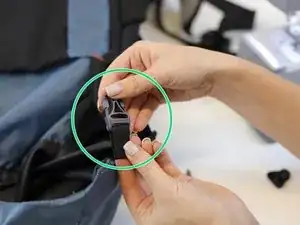
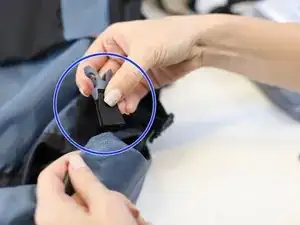
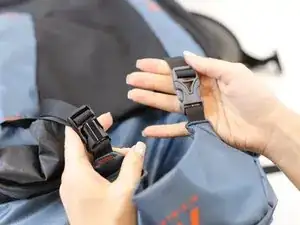
Set the top part of the buckle aside (green circle).
-
Take the bottom part of the buckle (blue circle) and put it into the strap.
-
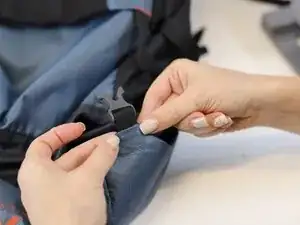
Hold it together with both hands and then insert it into the seam of the backpack.
-
-
-
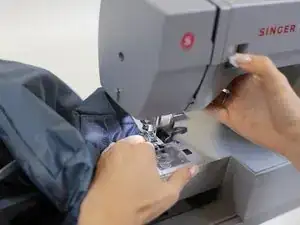
Following the last step, keep holding together the strap with the bottom buckle with both hands and gently place it on the sewing machine.
-
Once the strap is set in place, start stitching the area.
-
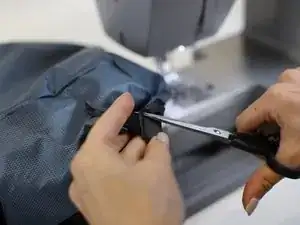
Use a pair of scissors to cut any loose threads.
-


In need of another repair? Don't worry! Check out our other guides to find quick solutions for your favourite clothing, footwear and equipment!
----------------------------------------
🚨🛠️🩹 IMPORTANT SAFETY NOTICE:
The repair guides provided on this site are intended to help you repair products on your own. While we have put a lot of care into them, all repair work carries some risk:
- Safety Precautions: When repairing your product, take all necessary precautions to ensure your safety. Use appropriate tools and follow the instructions carefully.
- Product Condition: Once your product has been repaired, it may not meet original compliance guidelines anymore and could potentially have issues.
- Liability: We are not responsible for any damage or injury that may occur during the repair process or as a result of using a repaired product. You, as the repairer, assume all risks and responsibilities associated with the repair.
By using these repair guides, you fully acknowledge and accept the potential risks and responsibilities involved.