Introduction
This guide will walk you through the process of replacing a pocket in your pants or trousers using basic sewing techniques. Designed as a general guide, it can be applied to any type of pants, regardless of fabric or style.
It is specifically tailored for DIY users with no prior experience in sewing. The instructions are simplified to ensure that even beginners can follow along with ease. Additionally, this guide emphasizes using common household items, minimizing the need to purchase extra materials.
Tools
-
-
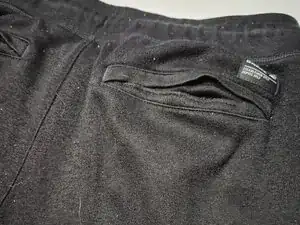
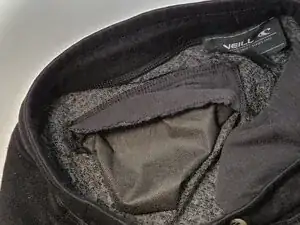
Pull the damaged pocket lining out so you can see where it attaches to the pants.
-
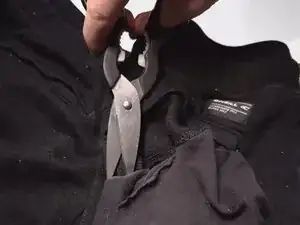
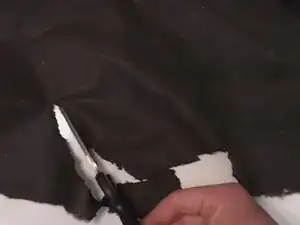
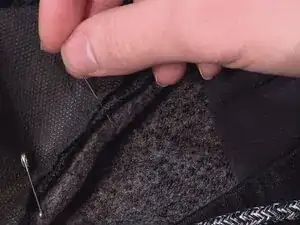
Use sewing scissors to cut along the edge of the pocket while keeping it intact.
-
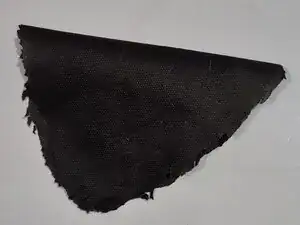
Remove the cutout pocket and keep it for the next step.
-
-
-
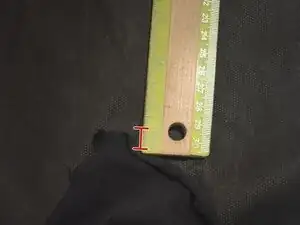
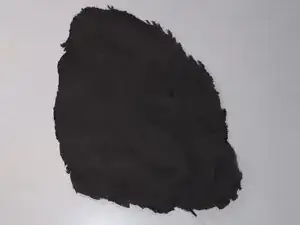
Lay the cutout of the old pocket over the fabric you're using for the new pocket.
-
Use a ruler to measure half an inch around the pocket’s edges to allow room for sewing the seam.
-
Use a fabric marker or chalk to trace around the pocket.
-
-
-
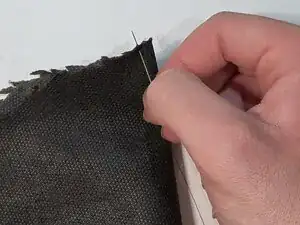
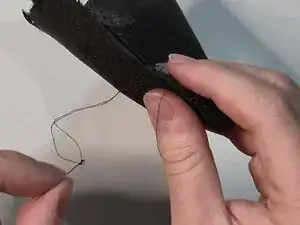
Insert the needle through the edge of the fabric, pulling it through until there’s a small length of thread left on the other side.
-
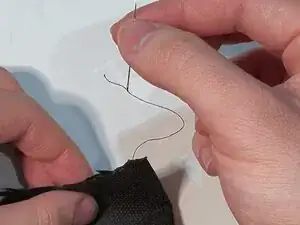
Create a small loop by bringing the needle back through the fabric near the same spot.
-
Pull the thread gently but firmly to tighten the loop.
-
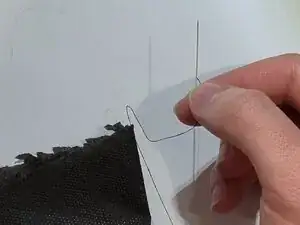
Continue stitching along the edge, spacing each loop about ¼ inch apart to create a strong hold.
-
Keep your stitches close together to prevent gaps and make the pocket more durable.
-
-
-
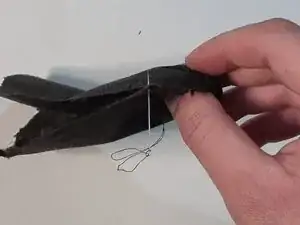
Once you’ve finished stitching the edge, create a final loop, just like tying a shoelace.
-
Pass the needle through the loop and pull it tight to form a knot.
-
Repeat the knot at least once more to ensure it stays secure.
-
Use scissors to carefully trim the extra thread, leaving about ¼ inch to prevent the knot from unraveling.
-
-
-
Place the new pocket fabric inside the pants, positioning it where the original pocket was removed.
-
Compare the position of the new pocket with the other pocket and the original stitch marks, to ensure it's placed correctly.
-
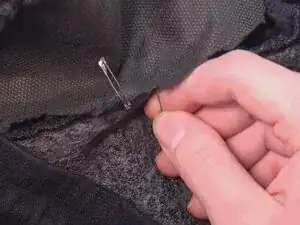
Use sewing pins or clips to temporarily hold the fabric in place while you prepare to sew.
-
-
-
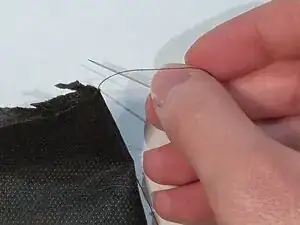
Push the needle through the pants fabric and the new pocket fabric, starting at one corner.
-
Follow the same stitching method from Step 6, creating small, even loops around the edge of the pocket.
-
Continue stitching along the entire edge, keeping your loops about ¼ inch apart for durability.
-
-
-
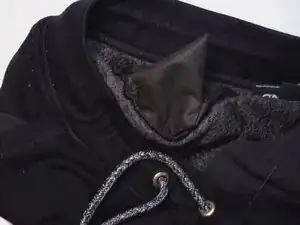
Continue stitching until the new pocket is connected to the pants.
-
If any areas feel loose, go back and reinforce them using the same stitching method.
-
Give the pocket a final check for alignment, strength, and comfort.
-


- If your new pocket feels loose, repeat Steps 6 and 7 to reinforce the stitching.
- Take your time with the finishing touches to ensure the pocket is securely attached.
