Introduction
The HyperX SoloCast Microphone’s stand is delicate. Its design forces a significant amount of strain on the joints without proper physical materials, which leaves it prone to breakage.
Follow the guide to repair the stand.
Tools
-
-
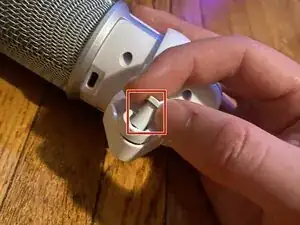
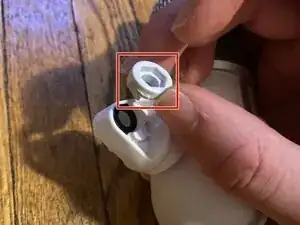
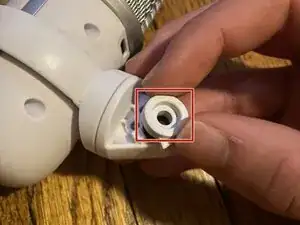
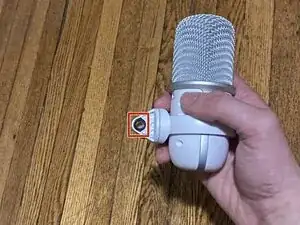
Unscrew and pull out the remains of the stand on both sides.
-
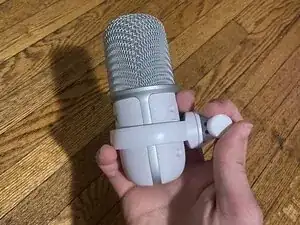
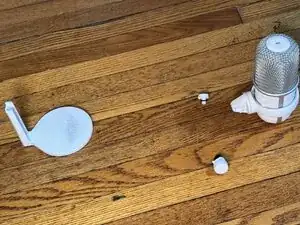
Evaluate the break and take note of which side is left and right.
-
-
-
Make sure your glue is suitable. Ideally, a cyanoacrylate glue, but other plastic-bonding glues will also work.
-
Follow the instructions of the specific glue over the instructions for gluing here. Each glue is unique.
-
-
-
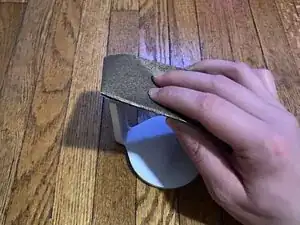
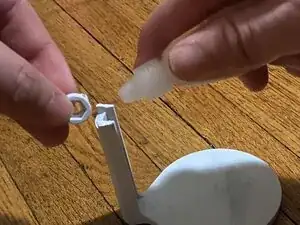
Use 120 grit sandpaper to roughen the two surfaces that will be adhered.
-
Wipe the surfaces clean.
-
-
-
Carefully apply the glue and connect the pieces.
-
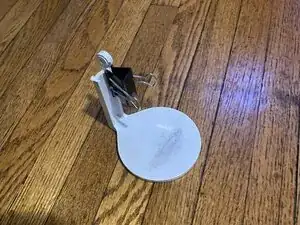
Use an alligator clip to hold the pieces in place while the glue cures.
-
-
-
Wait the period stated on the glue for it to set.
-
If there is no period on the glue, wait 24 hours.
-


To reassemble your device, follow steps 1-3 in reverse order.
