Introduction
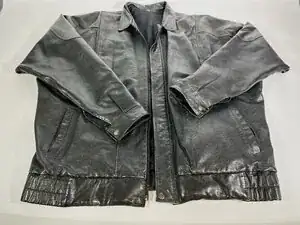
Use this guide to repair pocket tears on your leather jacket! Not mending tears on your leather jacket can risk further damage that can be difficult or expensive to repair. By completing this repair, you extend the life of your jacket.
This easy-to-follow guide can help you quickly repair tears with inexpensive materials you may already have at home. Our goal is to create a guide that can be accessible to all households, which is why specific needles or scissors are not required for this repair process. The commonly used universal needle works well. However, a leather needle can make a smoother repair process if your material is thicker than the leather featured in the guide.
This guide can take 10-20 minutes depending on personal sewing experience or the length of the tear. Be careful not to rush the repair process to avoid harming yourself with the sharp materials listed in the tool section. Patience can guarantee clean, long-lasting repairs.
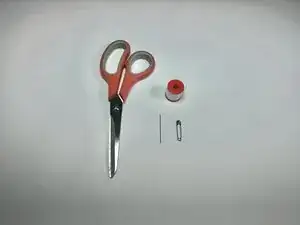
Tools
-
-
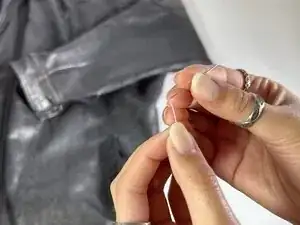
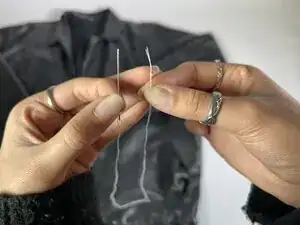
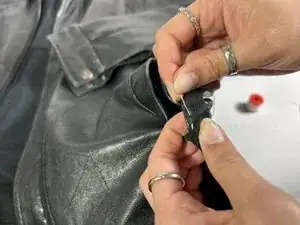
Insert thread inside the eye of the needle.
-
Measure thread out to two times the length that you need and then use scissors to cut the thread.
-
-
-
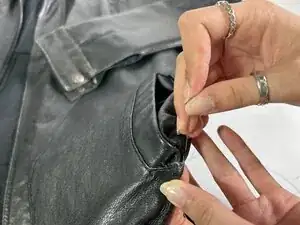
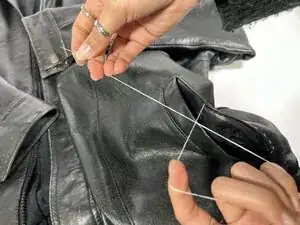
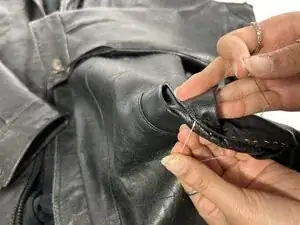
At the end of the tear, insert the needle inside of the fabric's right side and pull to tighten.
-
Then, insert the needle through the front of the fabric and pull to tighten to make your first stitch.
-
-
-
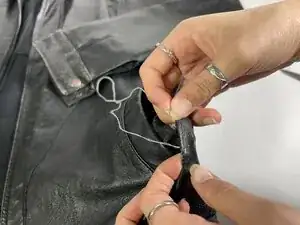
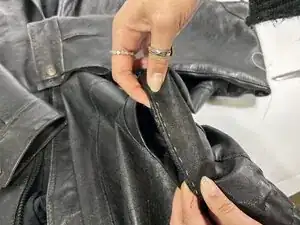
Now that your thread is facing the inside of the fabric, insert your needle into the first layer of the left side of the fabric.
-
Weave your needle up and out through this layer and pull to tighten.
-
-
-
Insert your needle into the inside of the right side of the fabric and pull to tighten. This completes your first stitch.
-
-
-
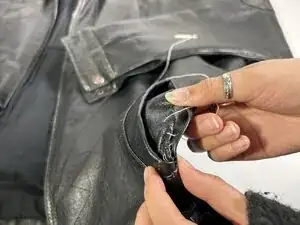
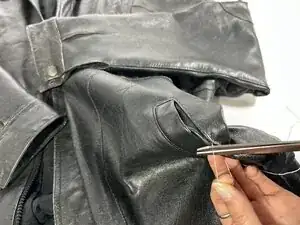
To start your next stitch, insert the needle 1cm above the last puncture.
-
Repeat steps 4 through 6 until you reach the end of your tear.
-
-
-
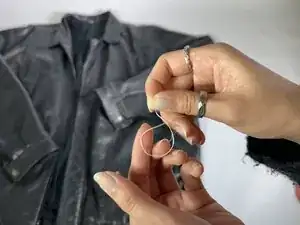
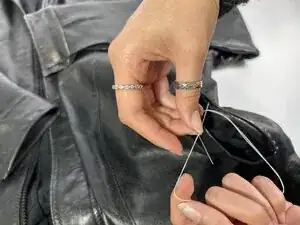
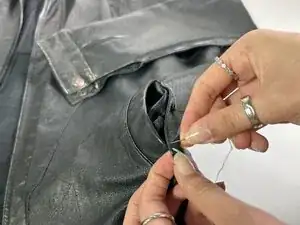
To finish the stitch, tie a knot by crossing the remaining thread on top of each other to make an X shape.
-
Loop the top thread inside the hole and use your thumb to hold the thread in place.
-
-
-
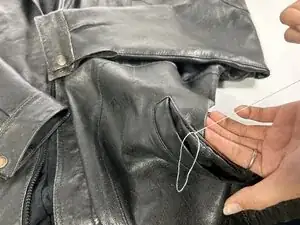
Pull the needle to tighten the knot as close to the last stitch as you can. Repeat the knot 3 times in the same spot.
-
-
-
Trim the remaining thread with scissors.
-
Tuck any remaining visible thread inside the fabric.
-