Introduction
In this guide, I will be demonstrating on how to repair some minor/major damages on a cricket bat while also including a step-by-step description to ensure the best quality of work is provided and the easiest possible way to do so. This guide is mainly targeted for cricketers and/or the people who like the sport and who want to save the money getting a whole new bat, but if you like to get your hands dirty, be prepared! This repair will show how to repair minor damages to a wooden cricket bat.
With that being said if the wood appears to be broken or damaged more than shown in these images DO NOT TRY AT HOME!
-
-
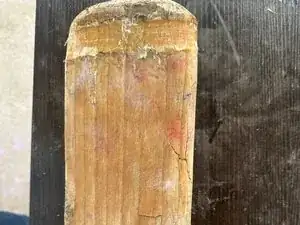
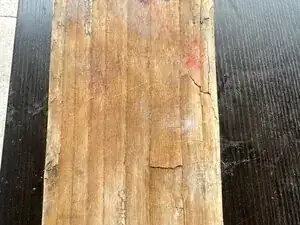
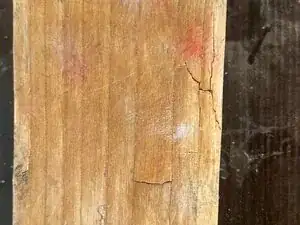
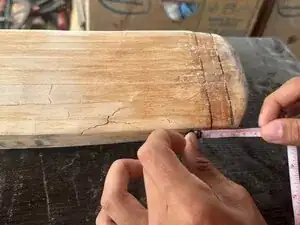
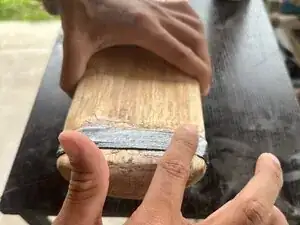
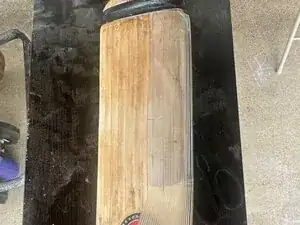
In this picture you are to examine the damages done on the bat and see the severity of how badly the wood has been damaged. For examples, cracks, chips, dryness, or just broken.
-
-
-
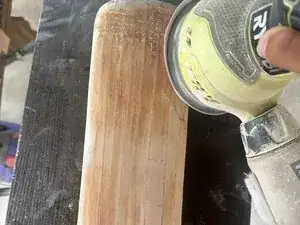
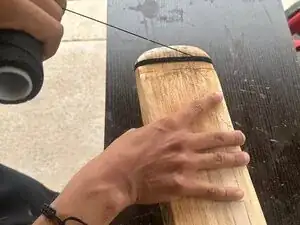
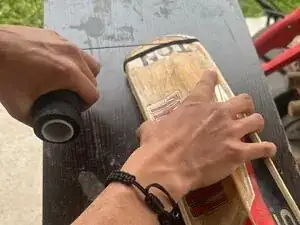
You are to use a sander like shown in the images or sandpaper and make sure all edges and the face of the bat is smoothened out.
-
Take your hand and run it through the sanded areas, and as long it is nice and smooth you have done a great job.
-
-
-
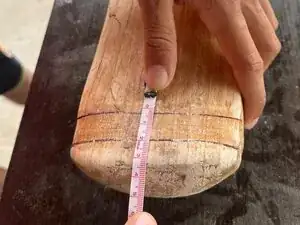
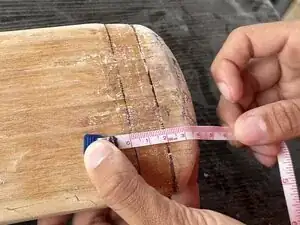
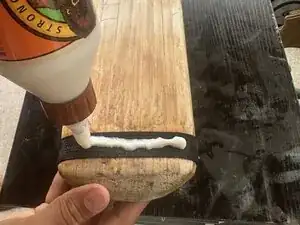
After you have the wood is ready, taking a pen or a pencil you'll need to mark the 'starting' point and 'Ending' points.
-
-
-
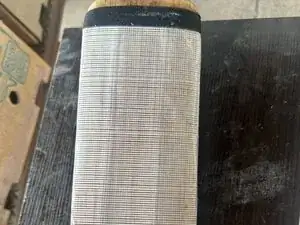
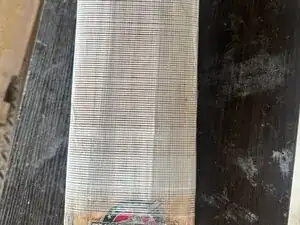
Start with applying gorilla wood glue in between the 2 lines and spreading with your finger on both the front and back sides of the bat. Using the nylon thread, you are to wrap the thread all around the bat where the 2 lines are not to be visible.
-
-
-
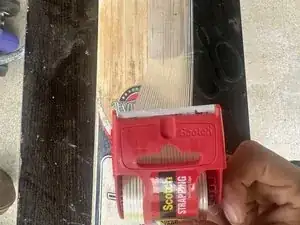
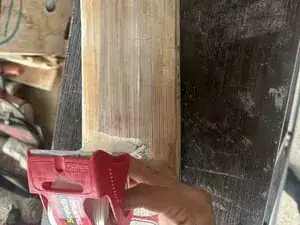
Cover the bat with heavy duty scotch tape. This'll ensure that no other damages will occur to the face of this bat. Known as "The Protector".
-
-
-
Final step is looking to make sure the bat is completely fixed. If it looks like everything is holding together and looks nice and neat, congratulations you have done it!
-


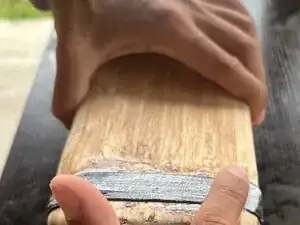

Now you have a good as new cricket bat and learned to repair one for next time!