Introduction
The AdTech Basic Mini Hi-Temp Hot Glue Gun is a popular tool among crafters, DIY enthusiasts, and professionals for its convenience and reliable bonding capabilities. However, like any tool, it can encounter operational issues over time, with one of the most common problems being a stuck trigger. Fortunately, repairing a stuck trigger is a straightforward process that can be accomplished with basic tools and a little patience. This guide will walk you through the steps required to disassemble the glue gun, identify the cause of the stuck trigger, and restore its proper functionality.
-
-
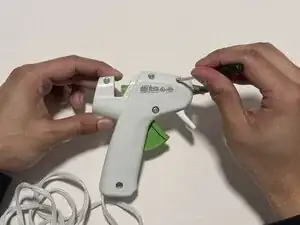
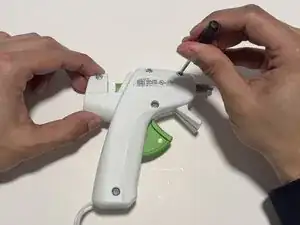
Use a Phillips #0 screwdriver to carefully remove five screws from the side of the glue gun.
-
Gently separate the outer casing by pulling the two sides apart, making sure not to disturb internal components.
-
-
-
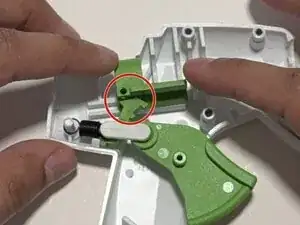
Look for hardened glue that may have clogged the trigger area.
-
If glue buildup is found, carefully remove it using a utility knife or tweezers.
-
-
-
If the trigger is still stuck, check its placement. Adjust or secure the internal parts of the trigger ensuring proper alignment.
-
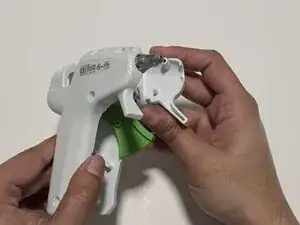
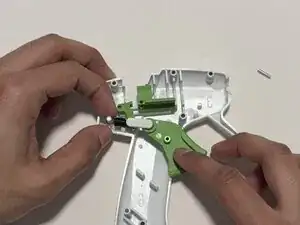
Pull the spring off its holder and remove it from the trigger mechanism.
-
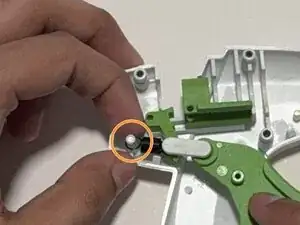
Pull the silver pin out from the trigger mechanism to allow for closer inspection.
-
-
-
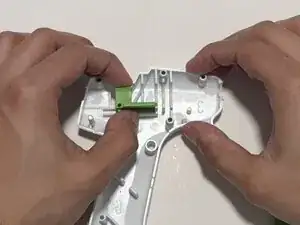
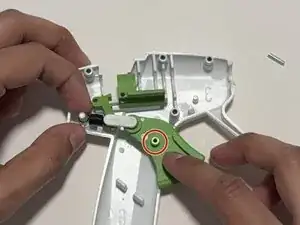
Ensure the big dome-like piece is positioned correctly in its designated slot inside the glue gun.
-
-
-
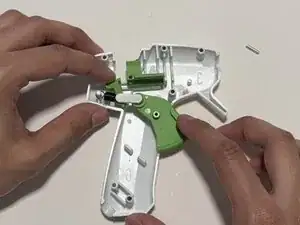
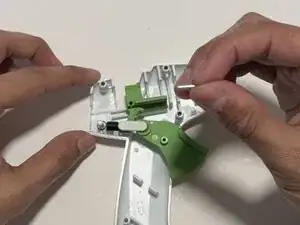
Replace the top part of the trigger and check that it is aligned properly with the green part above the trigger.
-
-
-
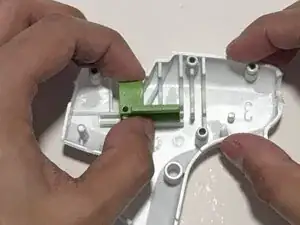
Insert the small metal rod through the dome-like part, ensuring it is aligned properly and inserted completely.
-
-
-
Double-check that all internal parts are correctly aligned and securely in place.
-
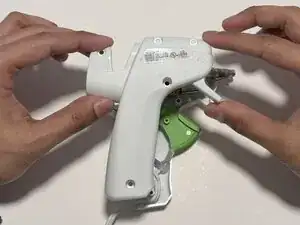
Put the two halves back together, ensuring they fit properly and the screw holes align.
-
-
-
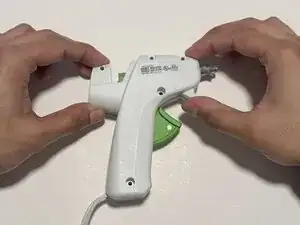
Use a Phillips #0 screwdriver to replace the five screws that secure the case.
-
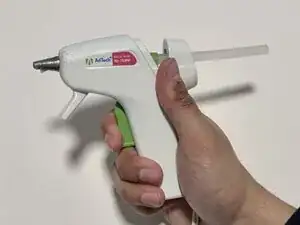
Plug in the glue gun, insert a glue stick, and test if the trigger moves smoothly and dispenses glue properly.
-