Introduction

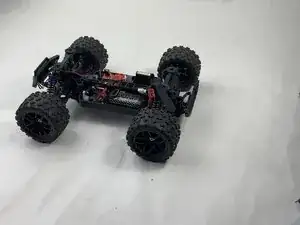
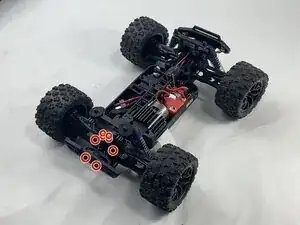
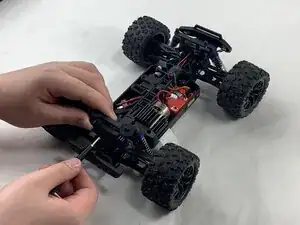
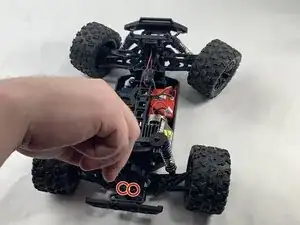
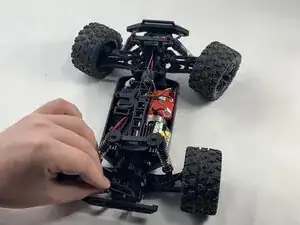
If your Haiboxing 18859 is not moving properly, then follow this guide to locate and replace its motor.

Before beginning this guide, make sure that the wheels are not obstructed and the axels are on straight. Either of these being false means they are negatively impacting your wheels functionality. Fix these problems, then test your Haiboxing again. If it is still moving incorrectly, then the motor is likely broken and needs to be replaced.

  1. FrQpjmpySGGhQq12
    FrQpjmpySGGhQq12
    HpIPmWrR2UwOEFgE
    po4aYfXdSTniDWqH
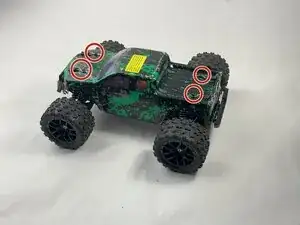
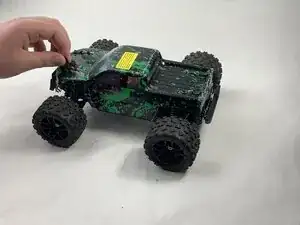
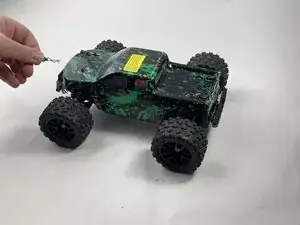
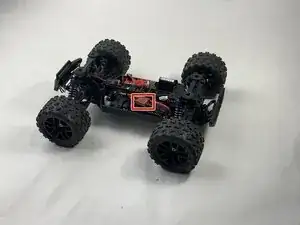
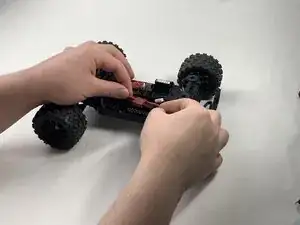
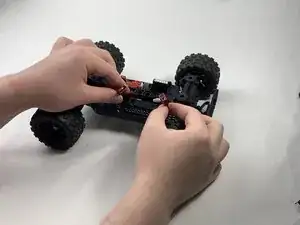
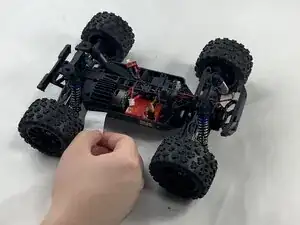
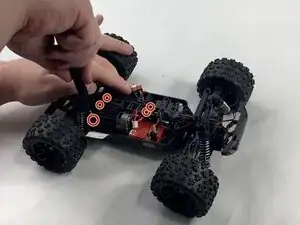
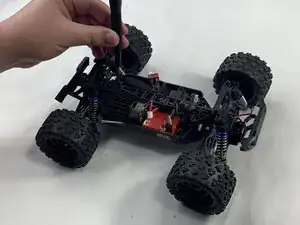
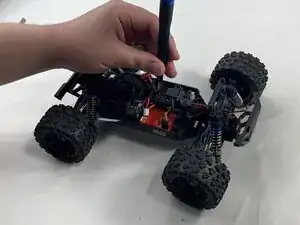
    • Remove the 4 clips holding down the hard plastic shell of the RC car. Do this by pinching them with your thumb and index finger and pulling away.

  2. bOe535eVqrQdhIiy
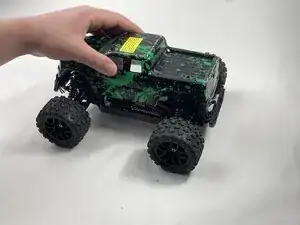
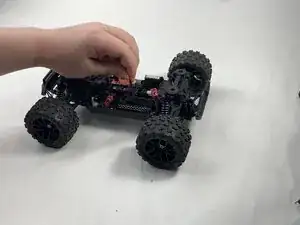
    • Lift the hard plastic shell off of the RC car.

  3. ULedaslimEdGiSMi
    ULedaslimEdGiSMi
    fXOyHvLZKHbUyQOK
    uBdAgc5oYJ3FKjCZ
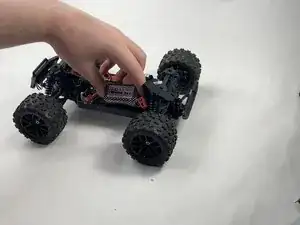
    • Disconnect the Lego-style battery connector by gripping either side and pulling them away from each other, slowly and consistently.

  4. 5sMOECuGsHVxhMUk
    5sMOECuGsHVxhMUk
    UXsMOElsRNSAOZCZ
    DFxXK1JdmeewITfg
    • Unfasten the Velcro strap that secures the battery.

  5. mM3JKObTDAYPJSd3
    mM3JKObTDAYPJSd3
    Z2WwFnjdwCyWKvGd
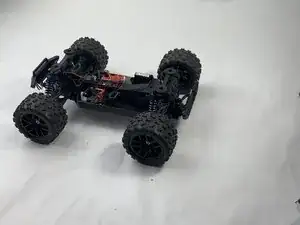
    • Remove the battery.

  6. CtdknA6mwgcx42t1
    • Unplug the motor from the receiver.

  7. LT1PLSjKANTgrUIa
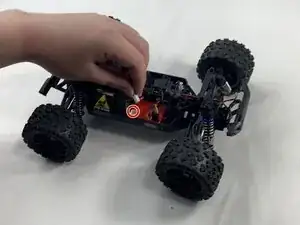
    • Peel back the warning tape covering the motor.

  8. cZGrdPRTFHKr1va6
    cZGrdPRTFHKr1va6
    bsq3Lgc1EJRE1rOX
    CVNaZXgwxIrRjw3B
    • Unscrew the 10 mm Phillips #0 screws holding down the motor. This includes the shaft attached down the middle.

    • Place the mounting screws where you won't lose them, such as in a plastic bag or container.

  9. B2FflC3UM1rgheLJ
    B2FflC3UM1rgheLJ
    pNESSbhQtgEXqFOQ
    NLV2HQKUEtjQACGt
    • Unscrew the 16 mm Phillips #1 screws at the rear of the Haiboxing.

  10. RvGWZF13sVdwXbae
    RvGWZF13sVdwXbae
    vHJtcYXXeRLjQHRx
    • Remove the upwards facing rear-most 8 mm Phillips #1 screws.

    • Remove the trapezoid-shaped part.

  11. MqcWrjC53cBxlWny
    • Lift out the motor and the shaft it is attached to.

  12. Ga5q1vTjUeJPRsYh
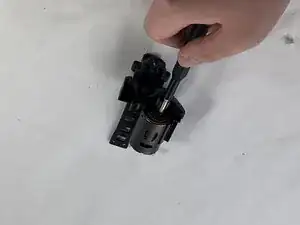
    • Remove the 6 mm Phillips #0 screw holding the motor to the black, plastic shaft.

  13. u6J1hrwBqEYubZH2
    u6J1hrwBqEYubZH2
    5Le6bkPNKmZQD1Is
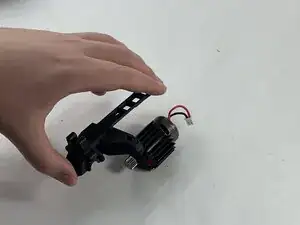
    • Flip over.

    • Detach the shaft from motor.

  14. gGRPLFwa4i5hAkcM
    gGRPLFwa4i5hAkcM
    Ngi215IWPXRFpokS
    bDHPXpnAMIknPROP
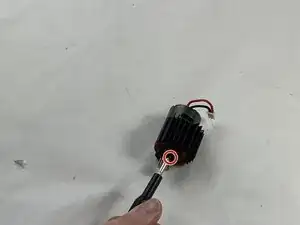
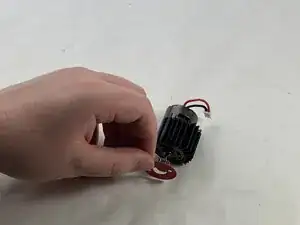
    • Remove the remaining 6 mm Phillips #0 screw holding black, plastic washer in place.

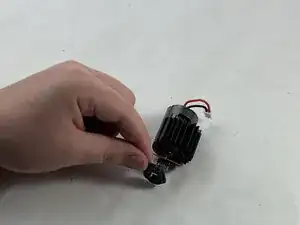
    • Remove the black, plastic washer.

    • Remove the red, paper washer.

Conclusion

To reassemble your device, follow the above steps in reverse order.
Take your e-waste to an R2 or e-Stewards certified recycler.
Repair didn’t go as planned? Try some basic troubleshooting or ask our Answers community for help.

Ty.

Member since: 21/03/25

219 Reputation

0 comments