Introduction
If your HP Envy x360 m Convertible 15m-cn0012dx is frequently overheating, use this guide to replace the fan.
A faulty fan does not effectively cool your computer.
Before starting, make sure all external connections are unplugged and the computer is turned off.
-
-
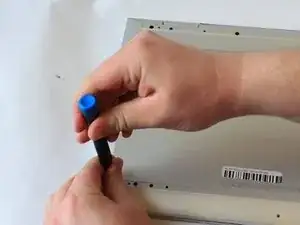
Set the laptop face down.
-
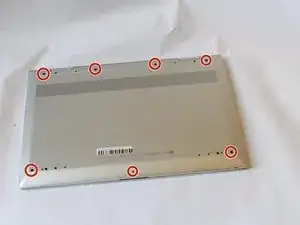
Peel back the grey screw guards, along the top and bottom edge of the back case. It may be helpful to use a spudger to get started.
-
-
-
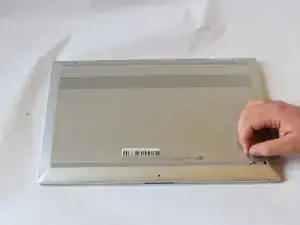
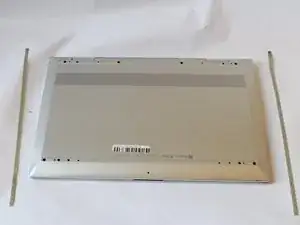
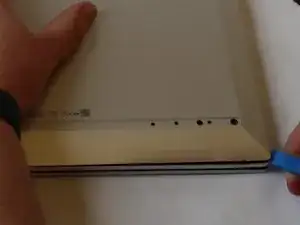
Pry open the back cover using the iFixit Opening Tool.
-
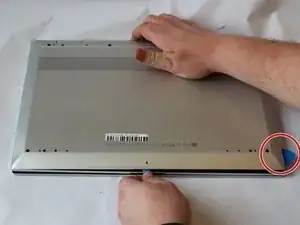
While using the tool, place a pick at each corner of the computer (be careful and do it slowly).
-
Once all the corners are slightly lifted, carefully pop off the back cover.
-
-
-
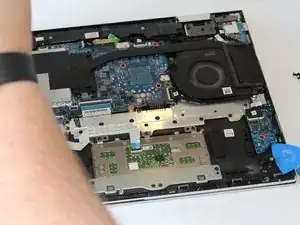
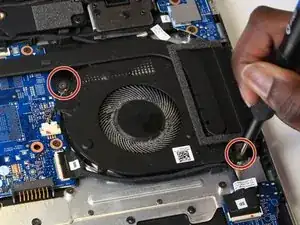
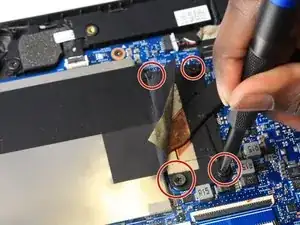
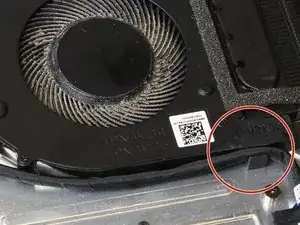
Remove the two 4mm screws from the fan using a Phillips #0 screwdriver.
-
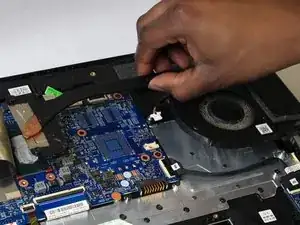
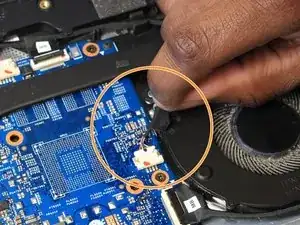
Peel the tape off of the multicolor cable bundle connecting the fan to the motherboard.
-
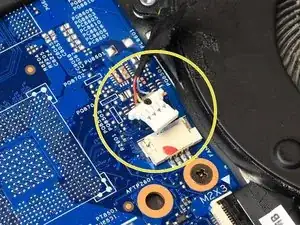
Use the iFixit opening tool to disconnect the connector.
-
-
-
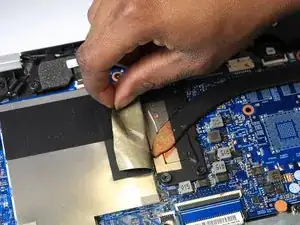
Peel back the tape from the heatsink.
-
Use the Phillips #0 screwdriver to remove the four captive screws from the heatsink.
-
-
-
Unlatch the black cable from the plastic guides on the fan.
-
Lift the fan from the laptop case.
-


To reassemble your device, follow these instructions in reverse order.

2 comments
You didn't show how to remove the Fan. You removed the Fan and Heat Sink. There's 4 more screws. Finish the job.
philw395 -
Uh, this video is not complete. You have to remove the four very tiny screws that hold the fan into the fan enclosure, replace the fan, and replace those four screws (very precise work to get those screws back in).
Also left out the reapplication of thermal grease between the heat sink and the processor.