Introduction
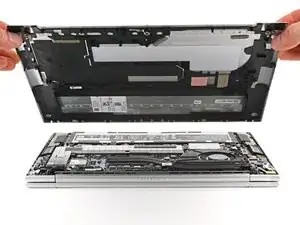
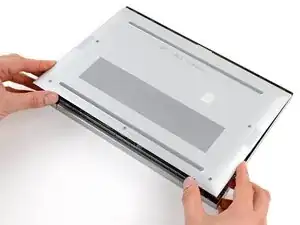
Use this guide to replace a cracked, broken, or damaged bottom cover on your HP EliteBook 840 G9 laptop.
Tools
Parts
-
-
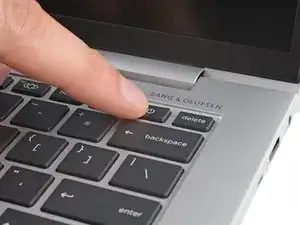
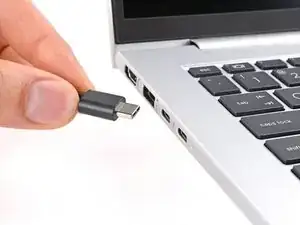
Before starting your repair, save your work, fully shut down your laptop, and unplug all cables.
-
-
-
Use a Phillips screwdriver to fully loosen (not remove) the five captive screws securing the bottom cover.
-
-
-
Position your laptop so the rear edge (with the screen hinge) is closest to you.
-
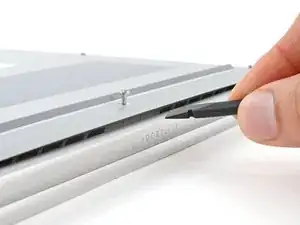
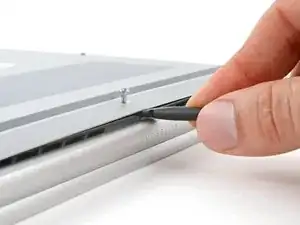
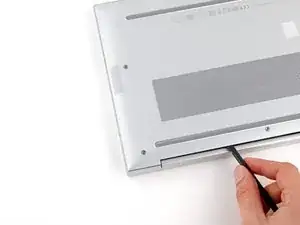
Insert the flat end of a spudger between the rear edge of the bottom cover and the frame, near the middle screw and ELITEBOOK text.
-
Use your spudger to pry up the cover to release the clip securing it.
-
Leave the spudger inserted under the bottom cover for the next step.
-
-
-
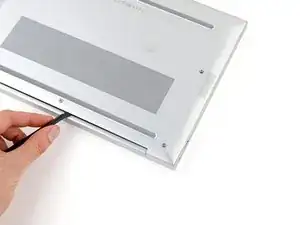
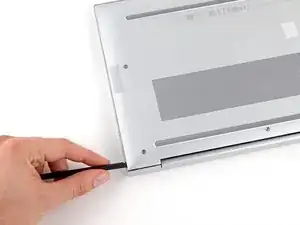
Slide your spudger along the rear edge toward one of the corners to release the rear edge clips.
-
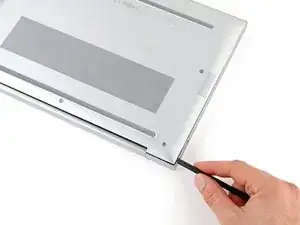
Rotate your spudger around the corner and up the edge to release the clips securing the short edge of the cover.
-
-
-
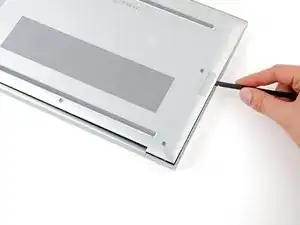
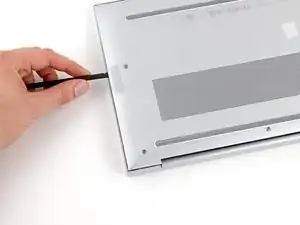
Reinsert the flat end of a spudger near the ELITEBOOK text.
-
Repeat the previous step for the other side of the cover to release the remaining clips.
-
-
-
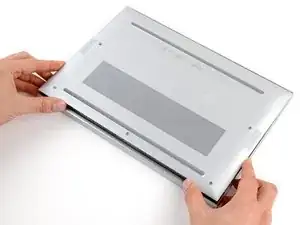
Slide the cover towards the screen hinge to disengage the clips on the opposite edge.
-
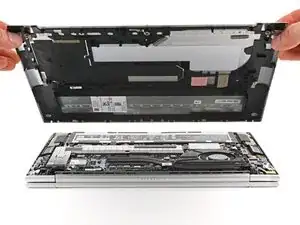
Lift and remove the cover.
-
To reassemble your device, follow these instructions in reverse order.
Repair didn’t go as planned? Try some basic troubleshooting, or ask our Answers community for help.
