Introduction
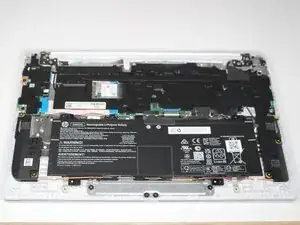
The HP Chromebook 14a-nf009nr's display cable is responsible for connecting the LCD screen to the motherboard. The cable transmits video signal to the screen and allows users to see text and images. A damaged display cable could lead to blank areas, discoloration, or flickering images on the screen. If you are experiencing these issues, ensure that your laptop is turned off before following the steps in this guide to replace the display cable.
-
-
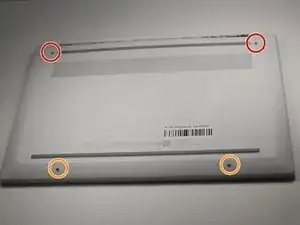
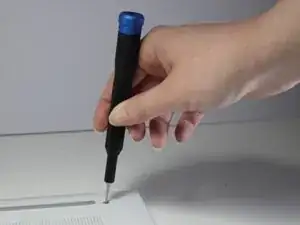
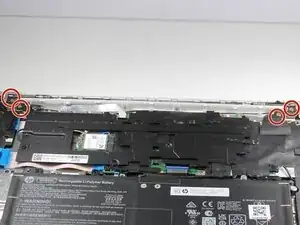
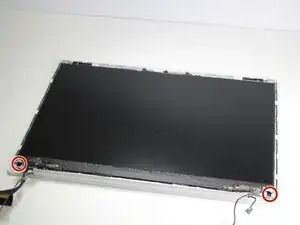
Remove the two 13 mm screws with a Phillips #00 screwdriver.
-
Remove the two 6.6 mm screws with the Phillips #00 screwdriver.
-
-
-
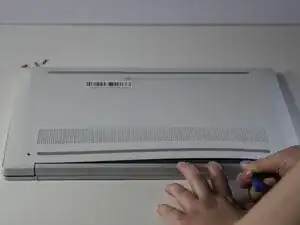
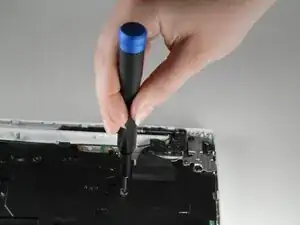
Slide an opening tool along the edges of the back cover to remove it, revealing the components of the laptop underneath.
-
-
-
Unscrew the six 2.5 mm screws with a Phillips #1 screwdriver to remove the motherboard's cover.
-
-
-
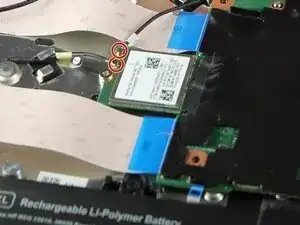
Use the Phillips #1 screwdriver to remove the six 5 mm screws securing the hinges.
-
Use the Phillips #1 screwdriver to remove the 2.5 mm screws securing the hinges.
-
-
-
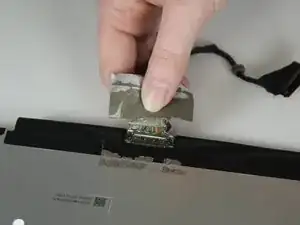
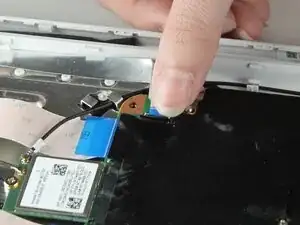
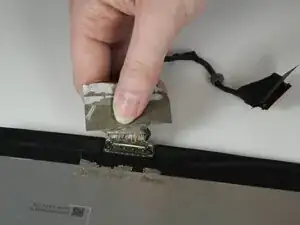
Gently lift the fabric tape to reveal the display cable attachment.
-
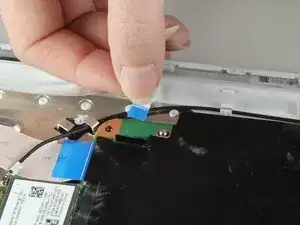
Lift the lock bar to remove the display cable.
-
-
-
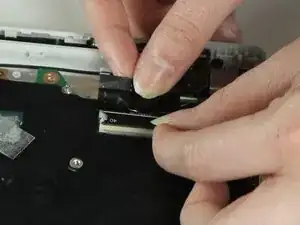
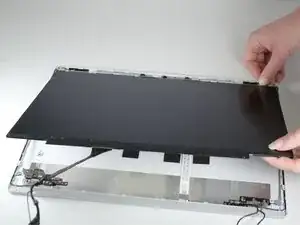
Carefully pull the stretch release tape until it is completely removed from the display panel.
-
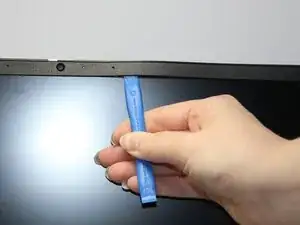
Lift the left hinge to remove the stretch-release tape on the left side of the display panel using the same method.
-
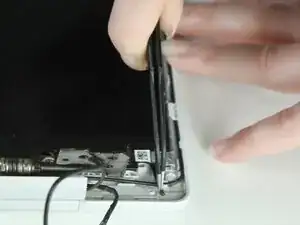
Slightly lift the top of the right hinge to allow access to the stretch-release tape.
-


To reassemble your device, follow these instructions in reverse order.