Introduction
The HP Chromebook 14a-ne0013dx touchpad is a crucial component of device functionality and physical communication between the user and the device screen. The touchpad controls the mouse and is a tool for clicking and selecting items on the device screen. If sufficient damage has occurred, the touchpad will not respond to any movements or “click” properly, and may result in the need for a replacement.
Tools
-
-
Remove two 8 mm screws from the bottom panel of the laptop using a Phillips #0 screwdriver.
-
Remove six 6 mm screws from the bottom panel of the laptop using a Phillips #0 screwdriver.
-
-
-
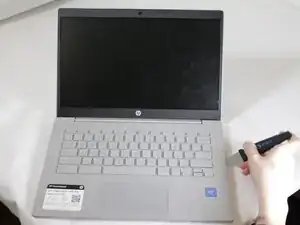
Flip the device over so it is right side up and open it.
-
Use a Jimmy to gently pry between the keyboard and case.
-
Pry gently to pop open the plastic tabs holding the top panel in. A clicking noise will occur during this step
-
Continue prying, moving around all sides of the panel until it is loose.
-
Carefully lift the top panel from the device body.
-
-
-
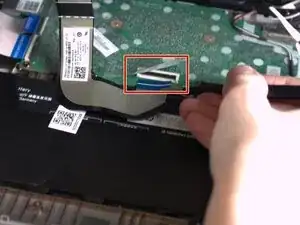
Lift the top piece of the display cable's housing until it is loose. Gently pull it free.
-
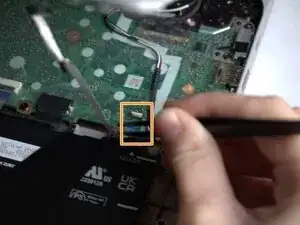
Lift the top piece of the touchpad cable's housing until it is loose. Gently pull it free.
-
With the cables detached, lift the front panel away from the device.
-
-
-
With the top panel separate from the rest of the device, set the bottom panel aside.
-
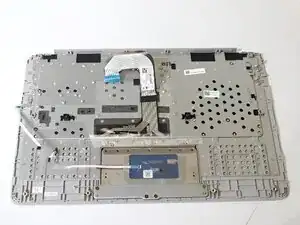
Flip the top panel over, so that the keys are not visible.
-
-
-
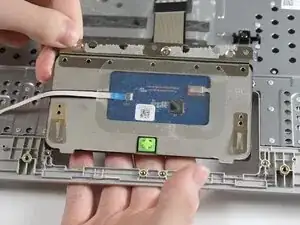
Locate the back of the touchpad (it will have a small ribbon cable attached).
-
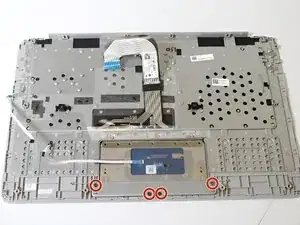
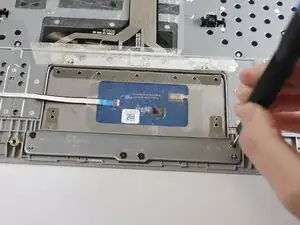
Remove the four 2 mm screws from the touchpad using a Phillips #00 screwdriver.
-
Lift the metal bar and put it off to the side.
-
-
-
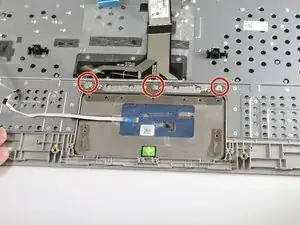
Peel back the layer of tape that is covering the top screws.
-
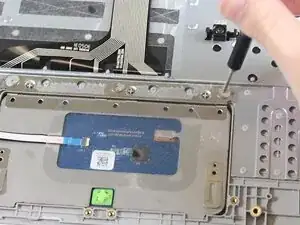
Remove the three 2 mm screws from the top of the touchpad using a Phillips #00 screwdriver.
-
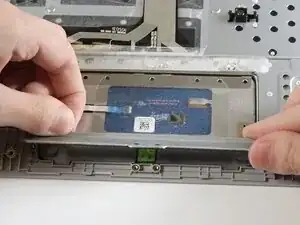
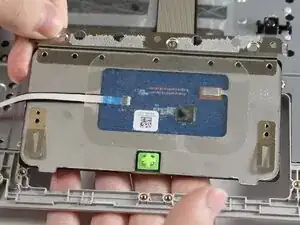
Lift the touchpad to remove it from the rest of the keyboard.
-
To reassemble your device, follow these instructions in reverse order.
