Introduction
Are your pictures coming out blurry? Is your camera cracked? This could be because of the glass panel that covers the camera lenses on the Google Pixel. The solution? A simple replacement of the glass panel.
This guide demonstrates how to replace the glass panel on the Google Pixel 6.
Since the cover that holds the camera on the Google Pixel 6 is made out of glass, over time with wear and tear it can cause the problems listed above. Luckily, the glass panel comes separate from camera lenses themselves, making a replacement by the average consumer possible without much experience.
If you believe the camera lens itself is scratched, this guide will not solve that issue.
Choosing to replace the glass panel will save you potential grief from unclear pictures and the annoyance that comes with scratched or cracked glass on the device. In addition, it saves potential e-waste that would come from throwing out a phone and save you about $1000.
Since this guide is working with glass, exercise caution and handle with care to prevent yourself from injury.
-
-
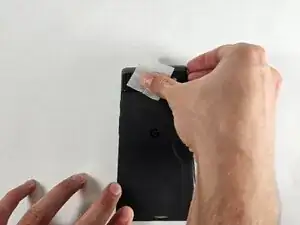
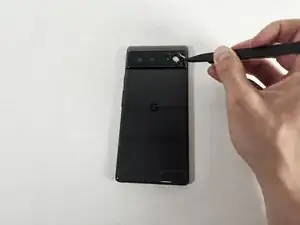
Use the wet wipe included in your kit to clean the rear camera glass panel.
-
Dry off the rear camera glass panel with the dry wipe.
-
-
-
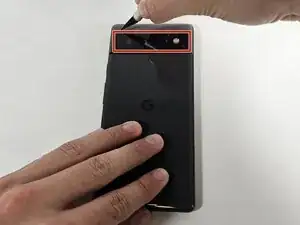
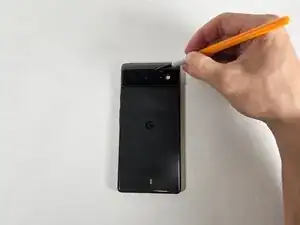
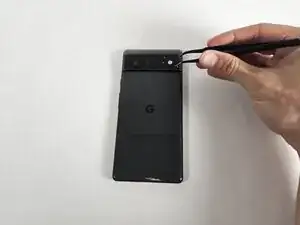
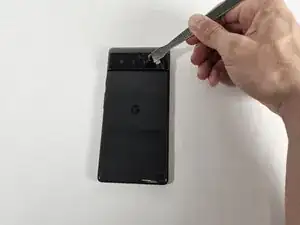
Use the metal spudger to remove the larger pieces of the glass to expose the layer underneath.
-
-
-
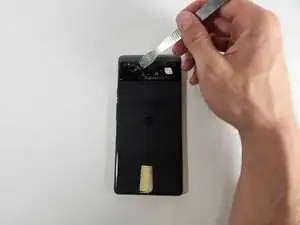
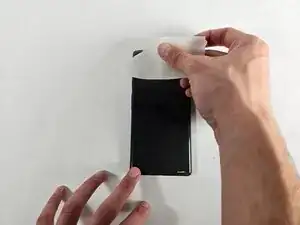
Take a piece of masking tape about 3 inches wide.
-
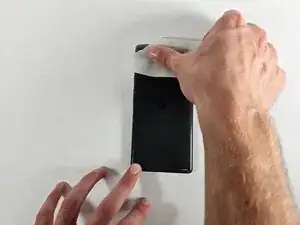
Gently press the masking tape (sticky side down) onto the rear camera lens and lift, removing the glass debris.
-
Repeat until most of the glass debris is removed.
-
-
-
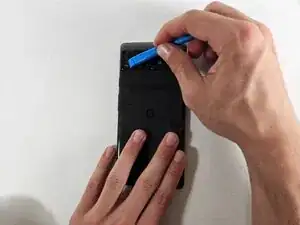
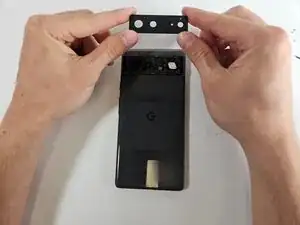
Align the glass panel replacement with the exposed camera area.
-
Press the glass panel firmly into the camera area.
-
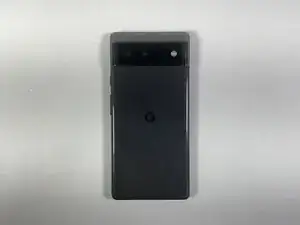
Let the glass panel adhesive dry for approximately two hours before using the phone.
-