Introduction

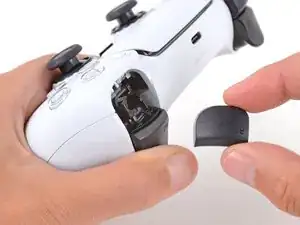
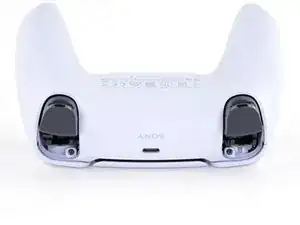
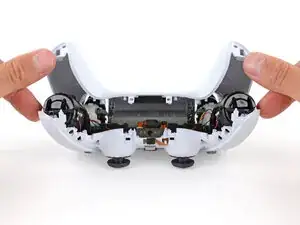
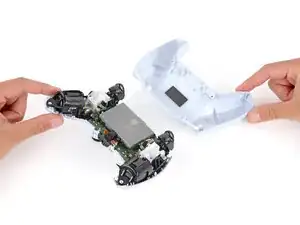
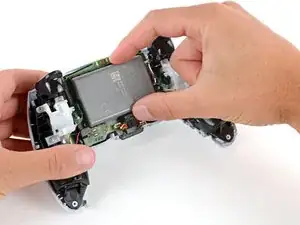
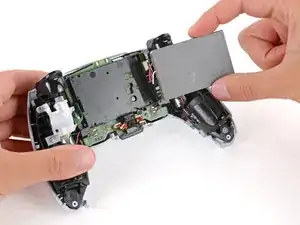
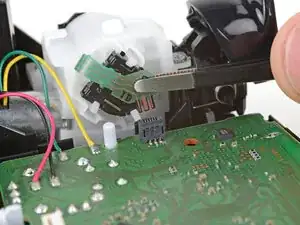
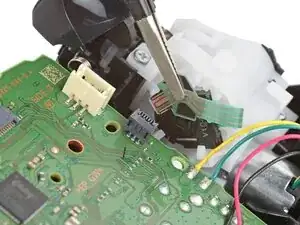
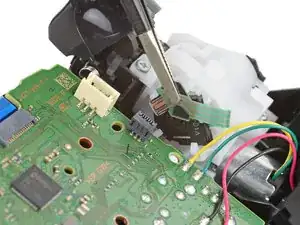
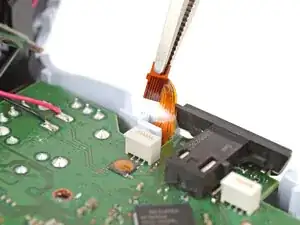
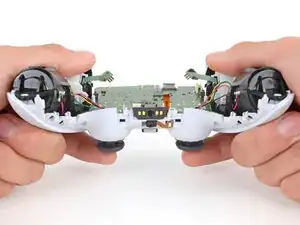
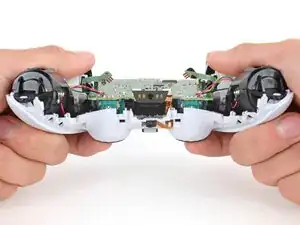
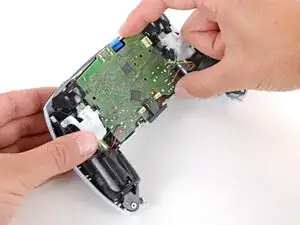
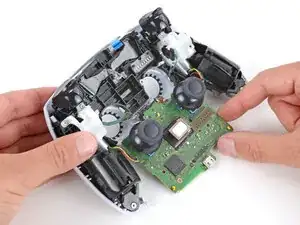
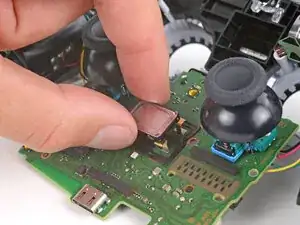
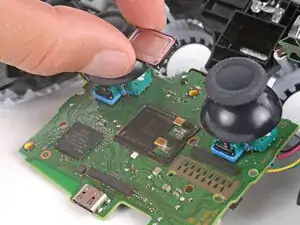
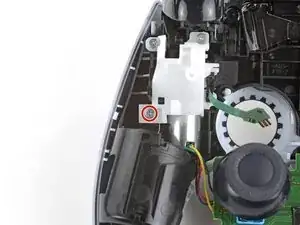
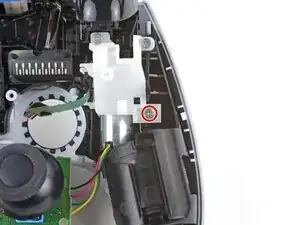
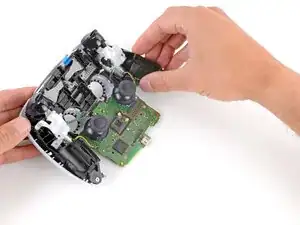
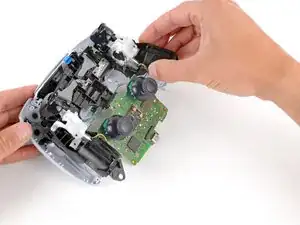
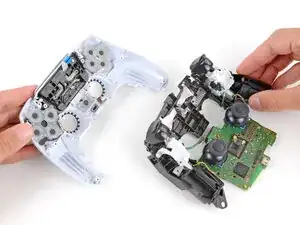
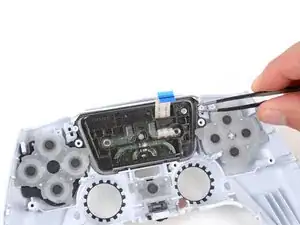
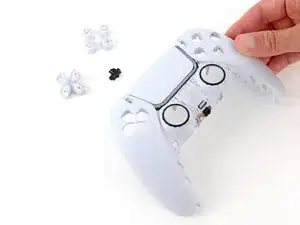
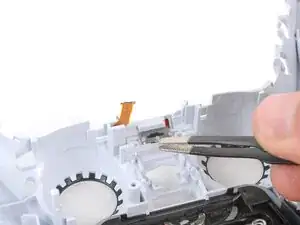
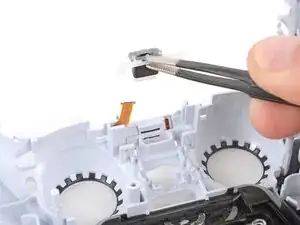
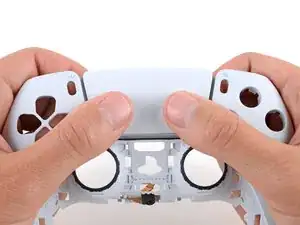
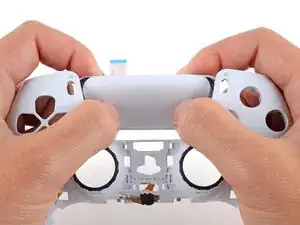
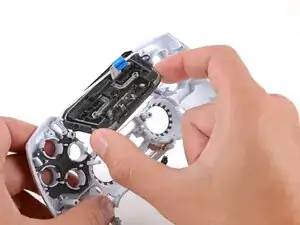
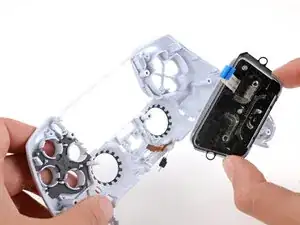
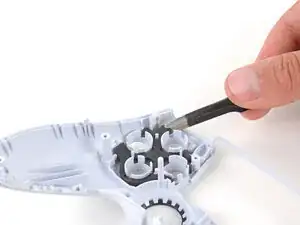
Follow this guide to replace, change, or upgrade the front case (aka front shell) on your Sony PlayStation DualSense V5 controller.

  1. GTfsKVIR12U1WTFu
    GTfsKVIR12U1WTFu
    ePrmMhAFKkXiSkSe
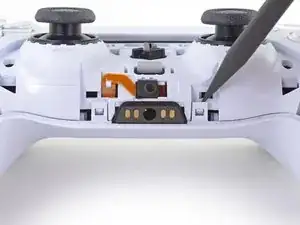
    • Disconnect and power down your controller before you begin.

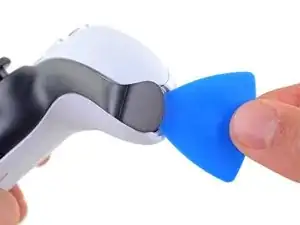
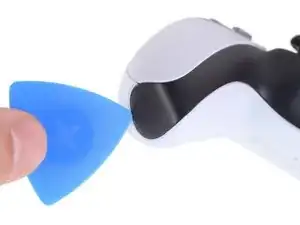
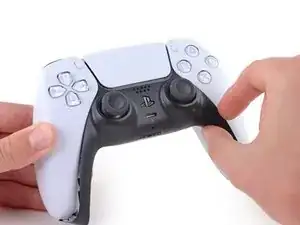
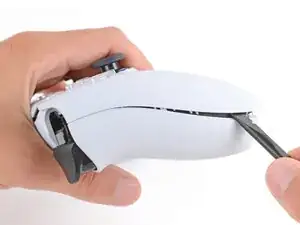
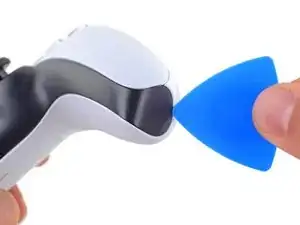
    • Insert an opening pick underneath the middle trim at the bottom-right corner of the controller to release the clips securing it to the case.

  2. Rjcu3KDZixCT6wVc
    Rjcu3KDZixCT6wVc
    PTiPbZOkfusF5DVG
    TciAM3EXVAG6wM3E
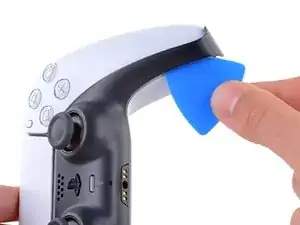
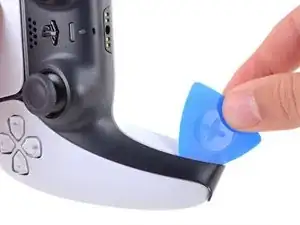
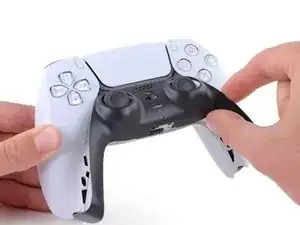
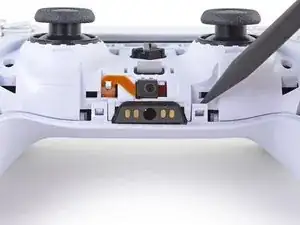
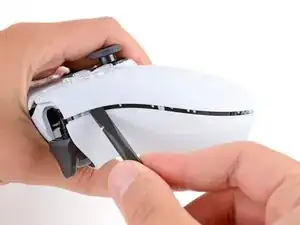
    • Slide the opening pick along the lower-right edge of the middle trim to release the clips securing it to the case.

  3. d5bIXVWhYD6NuHtO
    d5bIXVWhYD6NuHtO
    VnUyqAC2gatYKPwY
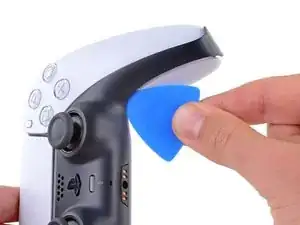
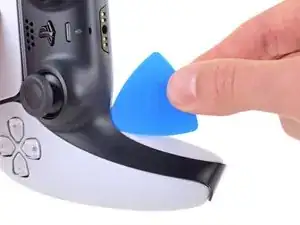
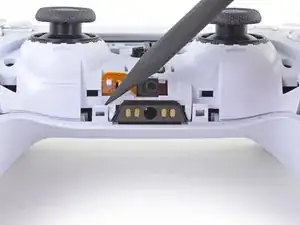
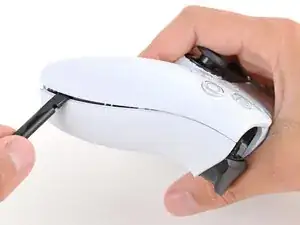
    • Insert an opening pick underneath the middle trim at the bottom-left corner of the controller to release the clips securing it to the case.

  4. e5VLpDCSJZrCTHZr
    e5VLpDCSJZrCTHZr
    Vmn4XCtKxVVpYw1i
    uGRXgEGmKq2IKNvT
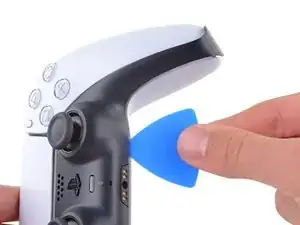
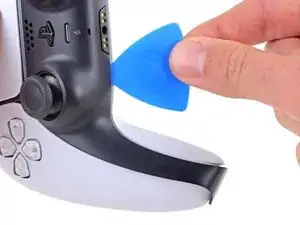
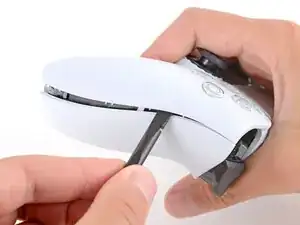
    • Slide the opening pick along the lower-left edge of the middle trim to release the clips securing it to the case.

  5. bQYOnlI5CkoEepwG
    bQYOnlI5CkoEepwG
    FnfBCacKEAvKripH
    MIN3JWiK5kicsBCd
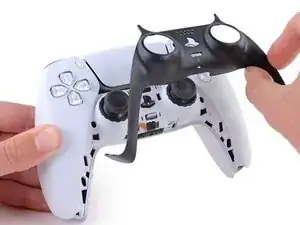
    • Use your fingers to lift up the bottom edge of the middle trim to release the remaining clips.

    • Lift the middle trim over the joysticks to remove it.

  6. bkMg2Eo6RVJBRwJE
    bkMg2Eo6RVJBRwJE
    FkNGiCeBPPV6tcfk
    Bsl3YMbrH2Q5nOTU
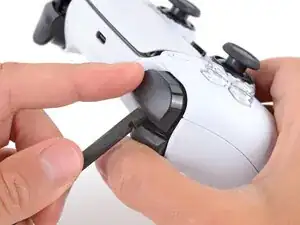
    • With one hand, grip the controller and use your thumb to hold down the left trigger.

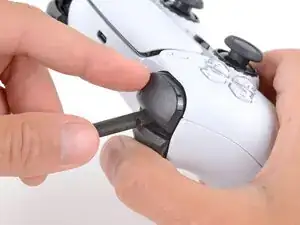
    • With your free hand, insert the flat end of a spudger between the L1 and L2 buttons.

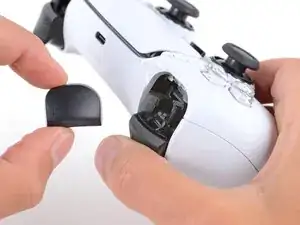
    • Use the spudger to gently pry the L1 button away from the controller and remove it, holding your finger over the button so it doesn't eject.

    Tried prying from the front of the buttons as pictured and my spudger broke off in the gap. A video I watched showed them being pried off from the back (between the R1/R2 and L1/L2 buttons) which seemed much easier.

    Lora Singleton -

    Agree with Lora's comment above. I was able to use an old credit card to take L1/R1 out this way. I pressed down the L2/R2 button to create space to work in, then came in from between L1/L2 and R1/R2. It's easy to pop one of the outer corners first then you can work the credit card around the top and the rest falls out.

    darkstar448 -

    Man, if I'd just read the thumb part...

    caldugen -

  7. mNyBpuCPfU2EZivG
    mNyBpuCPfU2EZivG
    JR4mA33SaJbxJtnh
    mluWrqHlwtNLXBHV
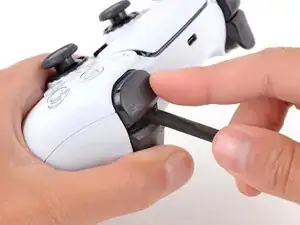
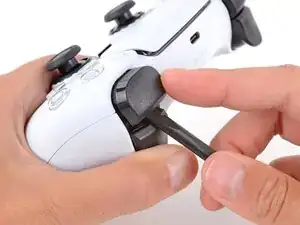
    • Repeat the previous step to remove the R1 button.

    to save a few bucks, the L1 and R1 buttons can be removed without the use of the spudger tool by using any thin prying tool and just pry the buttons from the bottom instead of the top

    Alan Peng -

    What I didn't see addressed anywhere (here or in other similar articles) is that replacement R1 / L1 buttons can be differ enough to be un-usable depending on which model your ps5 controller is. The ones I ordered don't fit and now I can't find a way to be sure I get the right ones because few know there's even a difference.

    Walt Mather -

    Did you already figured it out? The version the we need yo use?, We are in the same situation here.

    Gerald Ross Rodriguez -

    Tried prying from the front of the buttons as pictured and my spudger broke off in the gap. A video I watched showed them being pried off from the back (between the R1/R2 and L1/L2 buttons) which seemed much easier.

    Lora Singleton -

  8. RTMdTIsvXlDMMLCE
    RTMdTIsvXlDMMLCE
    3xBGQ3AXp52YbXKM
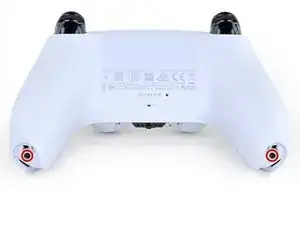
    • Use a Phillips screwdriver to remove the two 6.4 mm screws securing the bottom corners of the lower case.

  9. rkti2BnvDAh1TREh
    rkti2BnvDAh1TREh
    YyonYJBpMSo32LBL
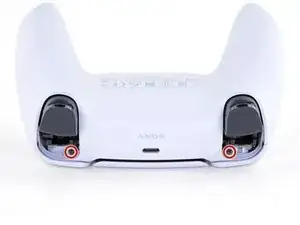
    • Use a Phillips screwdriver to remove the two 6.4 mm screws behind the L1 and R1 buttons.

  10. Xc1l4aJ6u6BGp5RP
    Xc1l4aJ6u6BGp5RP
    LjguKaIMMeWPUAgo
    dItxRHYBJkALcAlp
    • Be gentle when releasing the rear cover clips—they're delicate and can easily break.

    • Use the point of a spudger to release the two clips on either side of the headset jack.

  11. PlREPIyu3XjYsEEV
    PlREPIyu3XjYsEEV
    T3E2bKLKMWY3pBhh
    yS3JuXYoXheuDeji
    • Tight plastic clips secure the left and right edges of the rear case.

    • Insert the flat end of a spudger between the front and rear shells near the bottom of the left edge.

    • Slide the spudger along the left edge and gently pry the shells apart to release the clips.

  12. pBh4N2vrrxvn5CrT
    pBh4N2vrrxvn5CrT
    DxPhIgUVCJrqPf3d
    urUJIpGpfAOnvYlh
    • Repeat the previous step on the right edge to release its clips.

  13. 1oJ2lGLAwEZABd4K
    1oJ2lGLAwEZABd4K
    XcdcRmPl2iBBD1Y3
    • Lay your controller upside down so the joysticks are on your work surface.

    • Hold the controller down with your fingers and use your thumbs to lift the rear case away from the controller to fully separate it.

  14. KCPVcjTQO3uRdvCu
    • Remove the rear case.

  15. 3FRvXCmpVaUSfENG
    3FRvXCmpVaUSfENG
    LRPnQ1m6haGbDFma
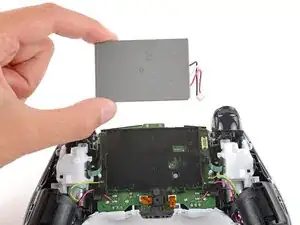
    • Don't try to fully remove the battery, as it's still connected to the controller by delicate cables.

    • Swing the battery out of its recess so you can access its connector, making sure to not strain the cables.

    • Keep the battery supported so it doesn't fall during the next step.

  16. hAJOsZUJkvYIIcYg
    hAJOsZUJkvYIIcYg
    xuUTnBeOytRRLNsE
    C21oK1dsVRfnLYkV
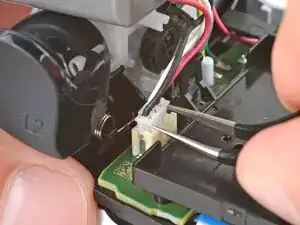
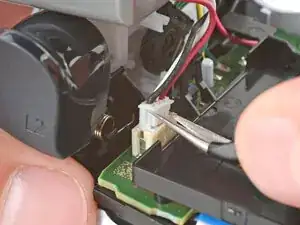
    • Use a pair of angled tweezers to firmly grip the short sides of the battery connector.

    • To get a stronger hold on the connector, grip the tweezers as close to the connector as you can.

    • Rock the connector side‑to‑side to walk it out of its socket and disconnect it.

  17. eEBVXIqKjlPOiucE
    • Remove the battery.

  18. Btt3YGjTKSGfedFa
    Btt3YGjTKSGfedFa
    e2lyAFVBFuIktIoK
    • Use tweezers to grip the lower microphone cable's plastic tab and pull it straight out of the socket to remove the microphone.

    • During reassembly, make sure the microphone has its rubber gasket and that the alignment tab goes into its cutout.

  19. kE4s1oSBe6F4ZLAL
    kE4s1oSBe6F4ZLAL
    ppfHDMvtwgryqdek
    • Use a Phillips screwdriver to remove the 6.5 mm‑long screw securing the battery bracket.

  20. TjJNPyT3aLEIZeZP
    TjJNPyT3aLEIZeZP
    xIMmBjeAhsDPUTAr
    • Remove the battery bracket.

  21. NCSmEgZdRruNxiMp
    NCSmEgZdRruNxiMp
    CrauBblb2EgFUL3J
    4YFUWWowRHwpKQjW
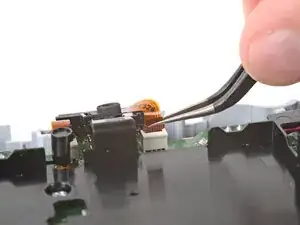
    • Use tweezers to grip the hard plastic section of the right trigger ribbon cable and pull the cable straight out of its socket to disconnect it.

    • If you're having trouble, try gripping the tweezers as close to the cable as possible to get a better hold.

  22. QFJSEkq14BskQTPl
    QFJSEkq14BskQTPl
    O11QdLNKFNZExEDM
    KXoTSuWcGnbepXpD
  23. iPya4hXEWIxMMOwb
    iPya4hXEWIxMMOwb
    QFV6XJfSTphAbArN
    • Throughout the rest of your repair, be very careful not to strain the delicate wires attached to the bottom edge of the board. They can easily tear, requiring soldering to fix them.

    • Use your fingers to gently push the joysticks through their cutouts on the shell to separate the motherboard.

  24. yVxFNFYGCrWHNuTe
    yVxFNFYGCrWHNuTe
    ZgLvnDIvYqK5EKcv
    • Carefully flip the motherboard down so the joysticks are facing up.

  25. HOe6lsSYBy4wb2Vh
    HOe6lsSYBy4wb2Vh
    jXh4h6XfUT2l3Moa
    j6T1KV2sCLXNmh6Q
  26. vp6RhlnmJUZNKxes
    vp6RhlnmJUZNKxes
    lyheuFnT2Mm4TUUA
    lAJmUQGfSL1pJM43
    • Use a Phillips screwdriver to remove the two 6.5 mm‑long screws securing the midframe.

  27. MZcmwkjxuITTCGkZ
    MZcmwkjxuITTCGkZ
    JFFkhHLHEJmCvTMW
    ueLonFDkMbaSh2mv
    • Carefully lift the midframe and motherboard up and out of the front case.

  28. BpmItG1N5KfnVAW2
    BpmItG1N5KfnVAW2
    tJuiKBA3sk3jweCL
    yGTNwOr6VpXBGYwi
    • Use tweezers or your fingers to remove the Options and Create buttons.

  29. queYHpGwfk5BPHKR
    queYHpGwfk5BPHKR
    ohAv1k6FGdp3svWZ
    QMtUX1VrdDbvsOyI
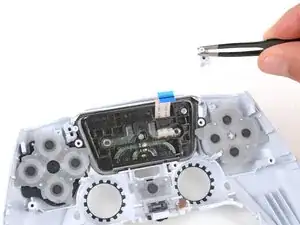
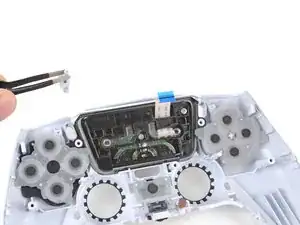
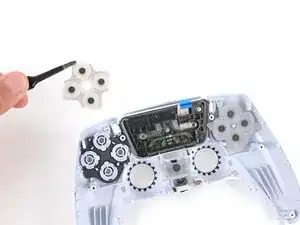
    • Use tweezers or your fingers to remove the three silicone pads covering the Action, PS, and Directional buttons.

  30. 4F3mQLSAT3lEAfoN
    4F3mQLSAT3lEAfoN
    LQFyQ5VF2AOXhmo2
    oAkRwLY2k4nBKRQL
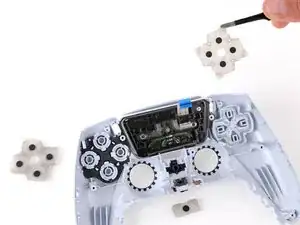
    • Use tweezers or your fingers to remove the Action, PS, and Directional buttons.

    • Alternatively, you can slowly flip the front case over to let the buttons fall out.

    • During reassembly, use the alignment tabs to orient each button into its recess—each one is keyed specifically for its recess and proper orientation.

  31. XJvB511POsSnKp1N
    XJvB511POsSnKp1N
    INMHBw5ZcVJULKTP
  32. GTafwdgWMpHLHZeC
    GTafwdgWMpHLHZeC
    JqfrQCeEZDU4ON2k
    • Use your fingers to push down on the front of the touchpad until it detaches from the shell.

    • You should feel and hear a "click" as the touchpad detaches.

  33. fZsFQOpqupDkWhOP
    fZsFQOpqupDkWhOP
    Cu6vLqqYPyYcIxYw
    YnPsHoyvtSkBtTHX
    • Swing the bottom of the touchpad up and away from the controller to remove it.

    • During reassembly:

    • Insert the touchpad through the back of the case and hook the top edge into place.

    • Make sure the touchpad cable doesn't get trapped between the case and the touchpad.

    • Push the bottom edge of the touchpad firmly into place, making sure the circular alignment posts snap into place and are sitting flush in their cutouts.

    • Check the front edge of the touchpad and make sure the thin strip of plastic on the front shell isn't wedged under the touchpad. If it is, remove the touchpad and reinsert it so the thin strip is parallel to the touchpad.

  34. UiZpuf5QF1Zr2LrU
    UiZpuf5QF1Zr2LrU
    tKxdItTuB4hMeTWI
    • Use tweezers to remove the silicone pad around the Action buttons cutouts.

  35. hTFW2Gw1Apow1Ing
    hTFW2Gw1Apow1Ing
    tD6A3OeirWrkPuh3
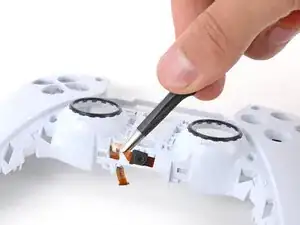
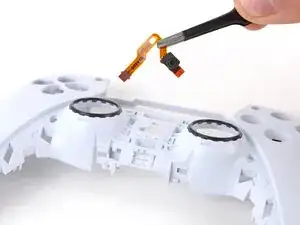
    • Use tweezers to remove the microphone, threading its cable through the cutout in the case.

    • During reassembly, make sure the microphone has its rubber gasket and that the alignment tab goes into its cutout.

  36. BOKC1fwtOhsrMVCY
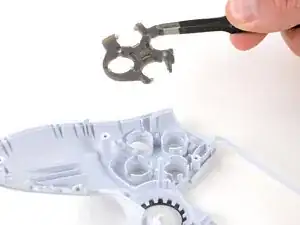
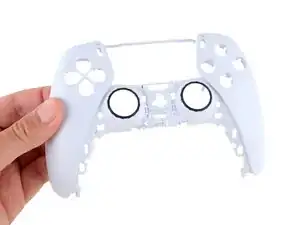
    • You're left with the front shell.

    • During reassembly, you'll need to transfer all the parts you removed from your original front shell to the new one.

Conclusion

To reassemble your device, follow these instructions in reverse order.

Repair didn’t go as planned? Try some basic troubleshooting, or ask our Answers community for help.

Spencer Day

Member since: 14/09/22

117606 Reputation

0 comments