Introduction
Soundboards in children's books help kids connect sounds with people, animals, places, and objects, making learning more fun. But over time, they can stop working due to loose wires or speaker issues. This guide will show you how to replace the speaker in a soundbook so it can stay working even for generations to come.
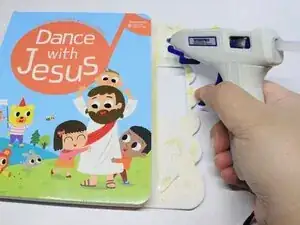
Before starting, gather the right tools. These include a size 1 Phillips screwdriver, a size 2 Flathead screwdriver, a pry tool, tweezers, a soldering iron (set to 350°C), a desoldering pump, and a glue gun. To guarantee success in this Fast Fix project, remember to work in a well-lit, ventilated space, and handle small parts carefully. Watch out for hot surfaces from the soldering iron and glue gun, and always remove the batteries before opening the case.
Nonetheless, this Fast Fix will help bring your soundbook back to life, keeping it a valuable learning tool for kids to enjoy.
-
-
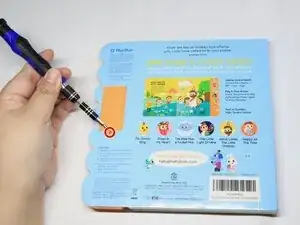
Remove the Phillips screw that secures the battery compartment cover.
-
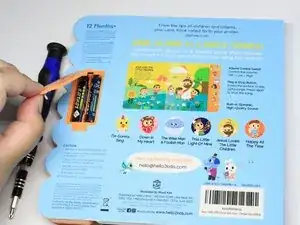
Use a spudger to remove the batteries.
-
-
-
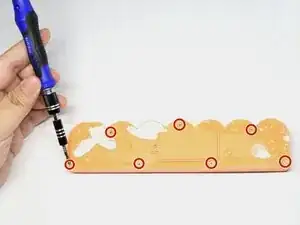
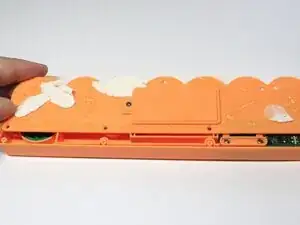
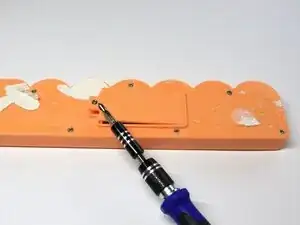
Remove the seven Phillips screws at the back of the speaker cover.
-
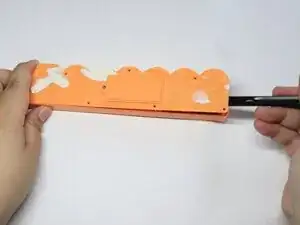
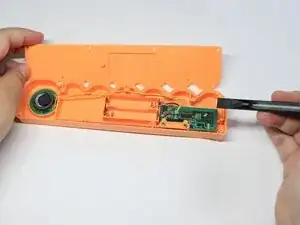
Use a pry tool to open the speaker cover.
-
-
-
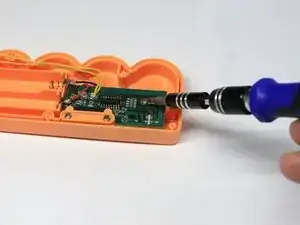
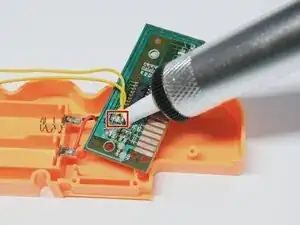
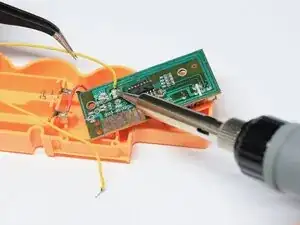
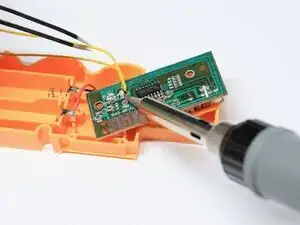
Remove the Phillips screws that secure the mainboard.
-
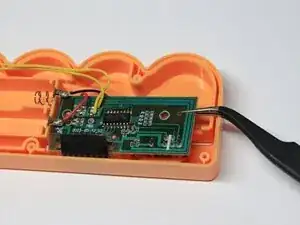
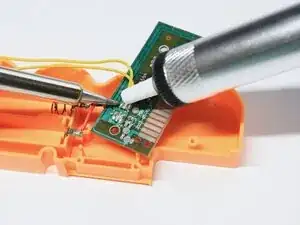
Use tweezers to remove the orange magnetic cover and gently lift out the mainboard. Take care not to strain the connected wires.
-
-
-
Put the inner casing back in its place, followed by the mainboard.
-
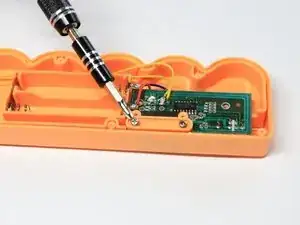
Refasten the Phillips screws.
-
Replace the cover and fasten the Phillips screws that secure it.
-
-
-
Replace the batteries and battery cover.
-
Fasten single Phillips screw that secures the battery cover.
-
Turn on the sound using the power button found in front of the sound case.
-


Now your little one can play with their soundbook again!
