
Introduction
This guide will show you how to replace the 2.5 mm audio jack on the Bose AE2w headphones. A damaged or loose jack can cause audio issues or loss of connection. Follow these steps to restore proper audio functionality.
-
-
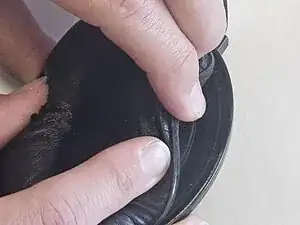
Carefully pull the cushions away from the sides of the headphones, sliding the cushions out from under the notches.
-
-
-
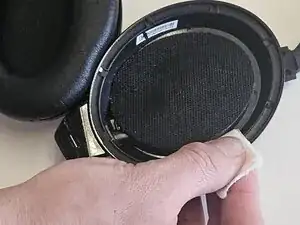
Carefully wipe the inside of the earpiece clean. This can be done with a moistened cotton swab or alcohol wipes.
-
-
-
Scrape off any gunk or adhesive left over on the ear cups.
-
Use a moist cotton swab or alcohol wipe to ensure the surface is completely cleaned and ready for new adhesive.
-
-
-
Use a thin layer of fabric glue or double-sided tape around the perimeter of the speaker housing.
-
-
-
Gently place the new mesh over the speaker opening, pressing it down onto the adhesive.
-
Wait for adhesive to dry if applicable.
-
-
-
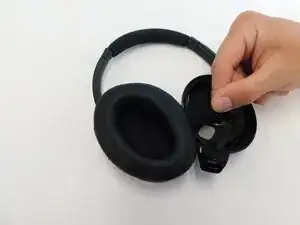
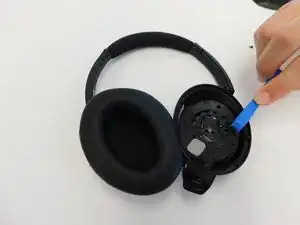
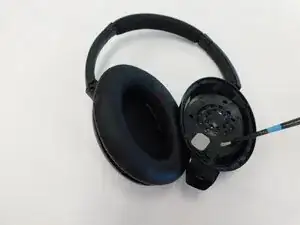
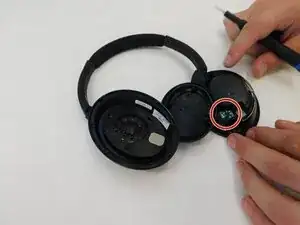
Gently separate the earpiece to access the audio jack.
-
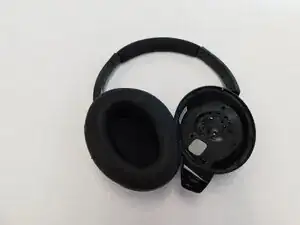
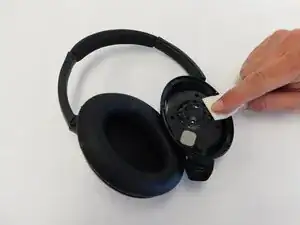
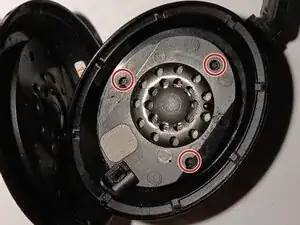
Remove the two screws holding it in place.
-
Lift and remove the audio jack assembly.
-
-
-
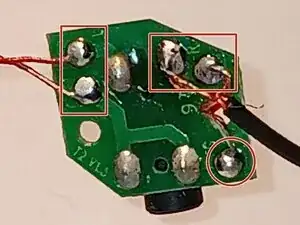
Identify all solder connections on the audio jack circuit board.
-
Using your soldering iron, carefully desolder each wire from the circuit board.
-


To reassemble your device, follow these instructions in reverse order.