Introduction

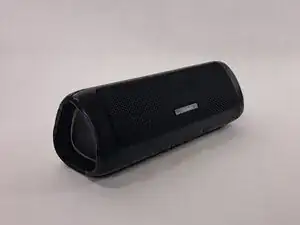
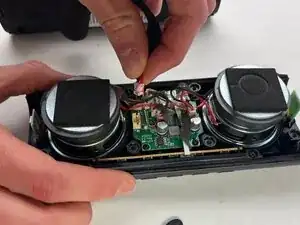
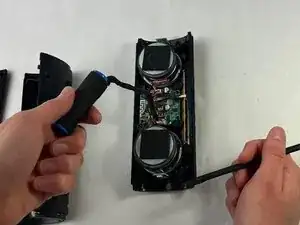
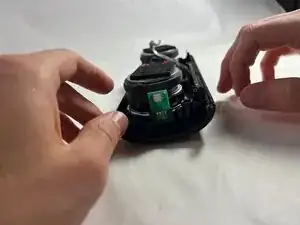
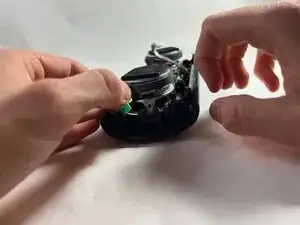
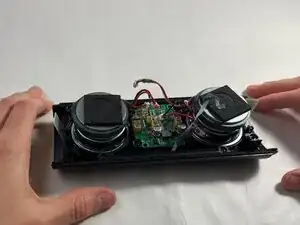
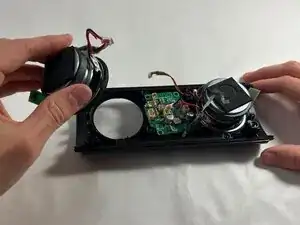
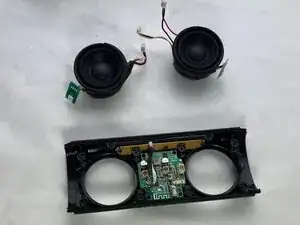
The speakers used in the BolaButty X-GO speaker aren't likely to experience serious wear, but they are the most likely culprit if you're having issues with the audio. The speakers for this system aren't designed to be repaired, and even if they could be it would require expertise far beyond an amateur. It is easier and cheaper to replace them. Follow this guide to learn how.

  1. OaJnq3x6qPprRK1y
    OaJnq3x6qPprRK1y
    KmSd5QKIe4UFjHhB
    h6ZtrOSCPXgyqR5F
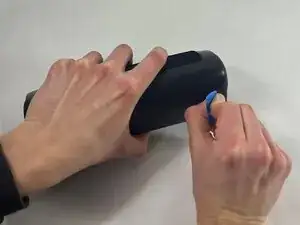
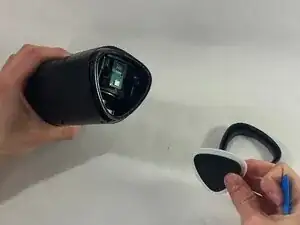
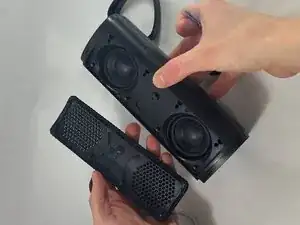
    • Take an opening tool or pick and wedge it into the groove between the endcap and the main casing. Wiggle it back and forth.

    • Strike the speaker endcap firmly against a solid surface to pop the end caps off.

    • Removing the end caps requires a good amount of force. There is a realistic chance that you will damage your speaker or break the caps.

  2. WRnI3IQ6RRojBtWQ
    WRnI3IQ6RRojBtWQ
    EYkXjinfY4YgOX1l
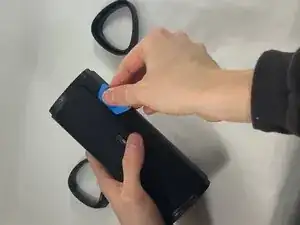
    • Wedge an opening tool or a pick under the speaker cover and work it back and forth to loosen it. Repeat for all four sides.

    • Remove the speaker cover.

  3. gBWRmRXTZ1K2nGDR
    gBWRmRXTZ1K2nGDR
    NtixgLbPiFDbBeBN
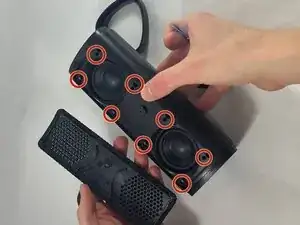
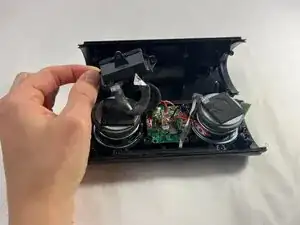
    • Remove the eight 12 mm screws securing the driver housing using a Phillips #0 screwdriver.

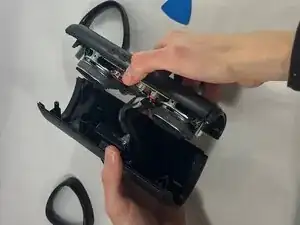
    • Gently pull apart the two halves of the speaker.

    • Take care not to strain the cables.

  4. sAOtUhpQJNmukxSx
    sAOtUhpQJNmukxSx
    ELn4UNDGJayZD1YE
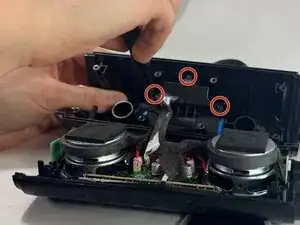
    • Use a Phillips #0 screwdriver to remove the three 10 mm screws securing the charging housing.

    • Separate the charging port from the battery.

  5. bT2reDI4sZTBMkuq
    bT2reDI4sZTBMkuq
    GnBiwKQtBSsbQJYs
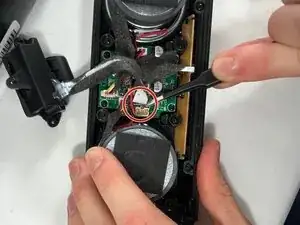
    • Use a pair of tweezers to lift the black ZIF locking flap securing the ribbon attached to the charging port.

    • While pulling up on the latch, remove the ribbon.

  6. lSDPVZcSxt2dMRTk
    lSDPVZcSxt2dMRTk
    Tbfr2o1HptXJvOvQ
    • Disconnect the battery connector from its motherboard port.

  7. slJdRYZ4a4ZSngay
    slJdRYZ4a4ZSngay
    wAU2hKVSLsRCLT3f
    • Use a spudger to lift the battery from the casing.

    • The battery is secured with some adhesive. If you have a difficult time removing it, use a hairdryer to lightly heat the adhesive.

  8. r2WSvUkZ4GVGCRxm
    r2WSvUkZ4GVGCRxm
    cSHSBB3tkfqYxFX5
    • Remove the LED board.

    • There will be some adhesive securing the board in place, so it won't feel like it will come out easily. Wiggle the board back and forth to loosen it before pulling vertically to remove.

  9. UlbnY4w6P6Y3iSJu
    UlbnY4w6P6Y3iSJu
    l2Zh4XODl3gAmOr2
    WB1cWG6RTm6BBGy3
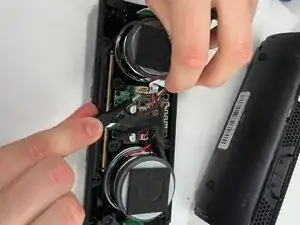
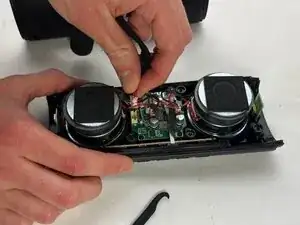
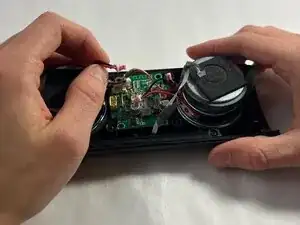
    • Unplug the driver connectors from the motherboard.

    • Remove the driver.

    • If you have difficulty with the wires, wiggle the connector back and forth to loosen it.

  10. Os1cpXPHyFWMmNFv
    • Repeat previous two steps for the second speaker.

Conclusion

To reassemble your device, follow the above steps in reverse order.
Take your e-waste to an R2 or e-Stewards certified recycler.
Repair didn’t go as planned? Try some basic troubleshooting or ask our Answers community for help.
jcate

Member since: 21/03/25

497 Reputation

0 comments