Introduction
This guide demonstrates how to replace a broken hard drive in an ASUS laptop with a new one. This guide is shown using a solid-state drive (SSD) as a replacement, but a classic hard drive (HDD) will do.
-
-
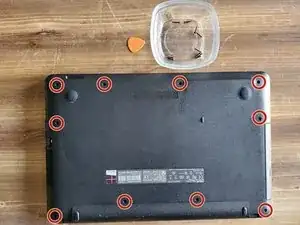
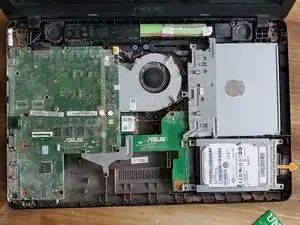
Flip the laptop over and open the case.
-
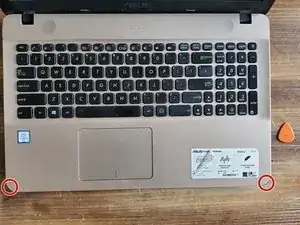
Use a plastic opening pick or card to pry at the seams between the plastic palm rests and the back cover.
-
Pry all around the case to release the plastic clips, but do not completely remove the palm rest as there are still cables connecting it to the case.
-
-
-
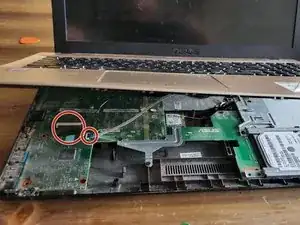
Using a spudger, gently pry open the locking mechanism on ZIF connectors connecting the keyboard and trackpad cables to the motherboard.
-
Once the locking tabs have been flipped up, slide the cables out from the connectors.
-
Remove the keyboard assembly.
-
-
-
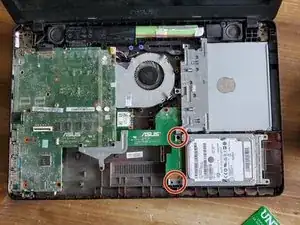
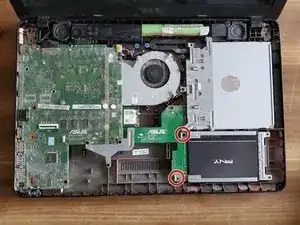
Remove the two screws holding the storage drive enclosure in place using a Phillips #0 screwdriver.
-
Use the lip of the enclosure to lightly pull the hard drive to the right, disengaging it from the rest of the computer.
-
-
-
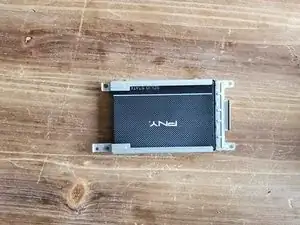
Remove the four screws securing the hard drive to the enclosure with a Phillips #0 screwdriver.
-
Gently remove the drive from the enclosure.
-
-
-
Insert your new storage drive (Solid State Drive shown here) into the enclosure and secure it with the screws used previously.
-
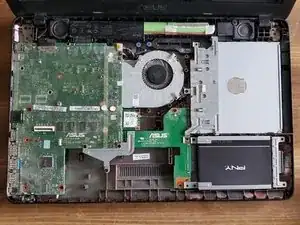
Insert the drive into the bay and slide it to the left to reconnect it to the motherboard.
-
Replace the two screws to hold the enclosure in place using a Phillips #0 screwdriver.
-


To reassemble your device, follow these instructions in reverse order.
One comment
My Asus cant show my hard drive on BIOS menu
Screws may have different lenghts. Keep in mind to note where longer screws go for faster assamble
Bare -