Introduction
Are your ASUS Chromebook Flip speakers malfunctioning, causing static, or making cracking noises while you work? Or maybe there is no audio at all. If you need to replace the speakers in your ASUS Chromebook Flip CX1400FKA-AS88F, follow this guide.
Before you begin, power off your device and disconnect it from the charging adapter and any peripherals.
- Some of the photos in this guide show a metal spudger being used. Avoid using a metal spudger on internal components, as it can damage your device. Instead, use a nylon or other non-metal spudger for a safer alternative.
-
-
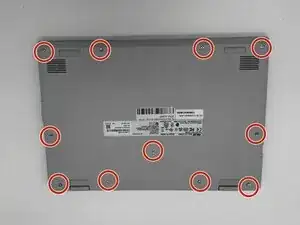
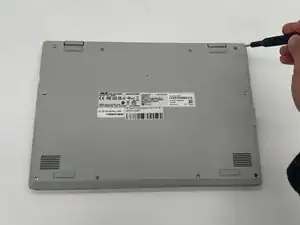
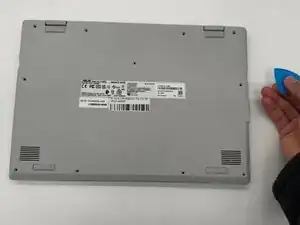
Remove the ten screws from the bottom of the device.
-
Caution: be gentle with removing the screws. If you go too fast, you could strip and damage the screws on the bottom of the device.
-
Reminder: please put your screws somewhere visible and easy to see.
-
-
-
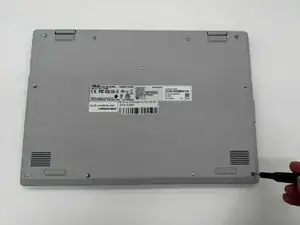
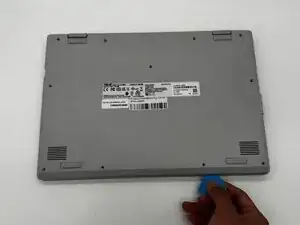
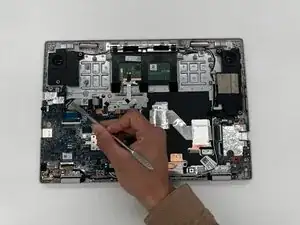
Use an iFixit opening tool or nylon spudger to separate the case from the device.
-
Place the tip of the opening tool in the seam between the front and back case and slide it around the perimeter of the device to release the clips holding it together.
-
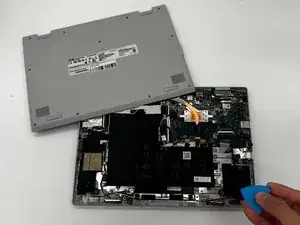
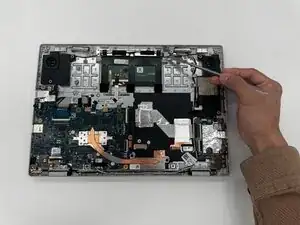
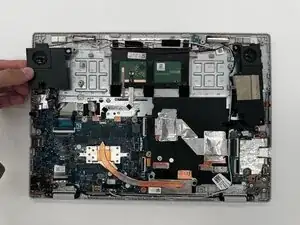
Remove the back casing from your Chromebook.
-
Reminder: please use something plastic or silicone-based to pry the case off of the laptop. Using metal could damage the insides of something as delicate as your laptop.
-
-
-
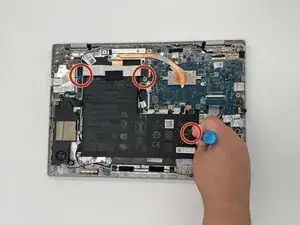
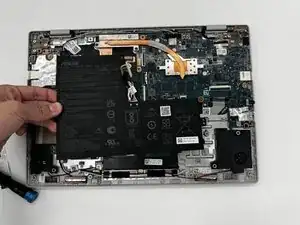
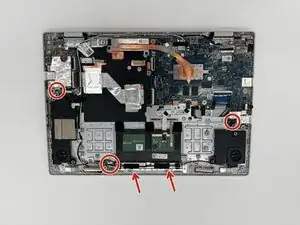
Use a screwdriver to remove the three 6.4 mm screws to loosen the brackets that hold the battery in place.
-
Remove the brackets.
-
Remove the 6.4 mm battery screw that was under the bracket.
-
-
-
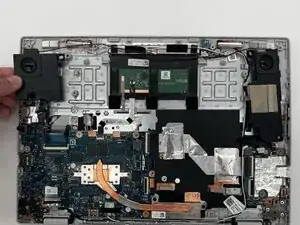
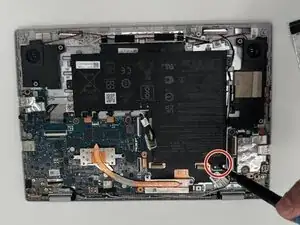
Disconnect the speaker wire plug and stickers from the motherboard by gently pulling them out using tweezers or your finger.
-
-
-
Disconnect the speaker wire plug from the motherboard by gently pulling it out using tweezers or your fingers.
-


To reassemble your device, follow these instructions in reverse order. Take your e-waste to an R2 or e-Stewards certified recycler.