
Introduction
This guide will walk you through the process of replacing the motherboard in the ASUS Chromebook CM1402CM2A-DS44. If your Chromebook is experiencing issues like not powering on, random shutdowns, or hardware malfunctions that can't be resolved with software fixes, a motherboard replacement might be necessary
-
-
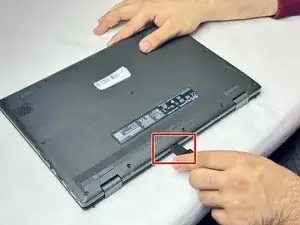
Use a Jimmy to detach the clips along the edges of the Chromebook.
-
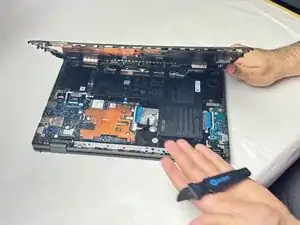
Remove the bottom cover from the laptop.
-
-
-
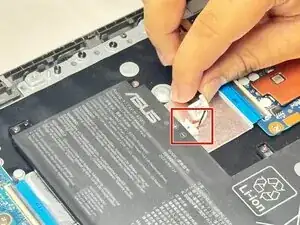
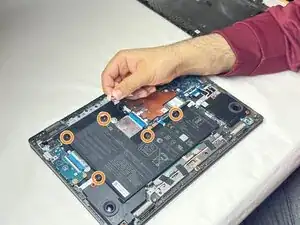
Detach the battery's cable connector from the motherboard.
-
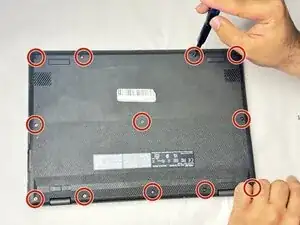
Remove the five screws from the battery using a Phillips #1 screwdriver.
-
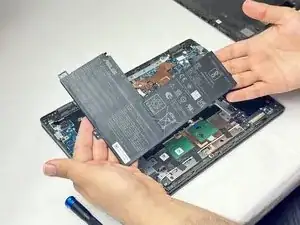
Remove the battery from the laptop.
-
-
-
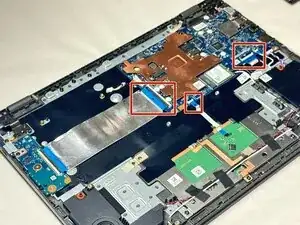
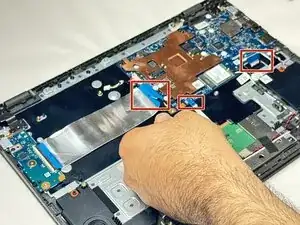
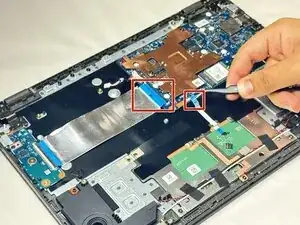
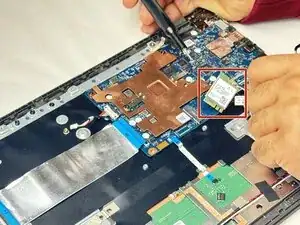
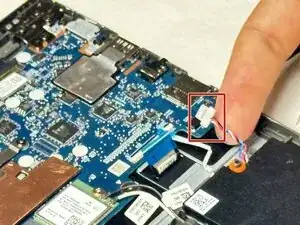
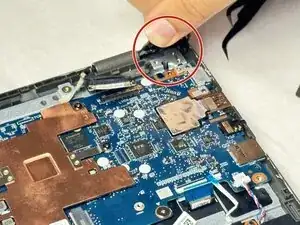
Disconnect the three ribbon cables connecting the motherboard to the other components of the Chromebook using a pair of tweezers.
-
-
-
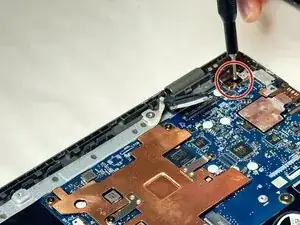
Remove the screws from the display hinges using a Phillips #1 screwdriver.
-
Lift the hinges up.
-
-
-
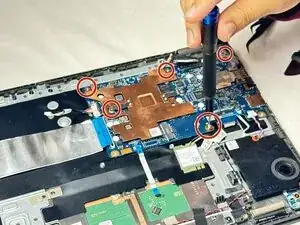
Remove the five screws from the motherboard using a Phillips #1 screwdriver.
-
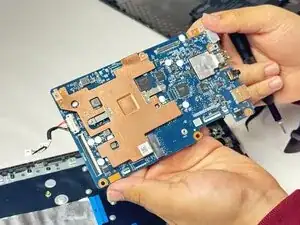
Remove the motherboard from the laptop.
-

To reassemble your device, follow these instructions in reverse order.
