Introduction
This guide shows you how to replace the trunk tail light (also known as the boot tail light) of your 2020-present Nissan Sentra. Non-functional trunk tail lights are a common issue amongst these early Sentra models. It is your responsibility to keep your car working as it should. Help yourself and other drivers by following this guide.
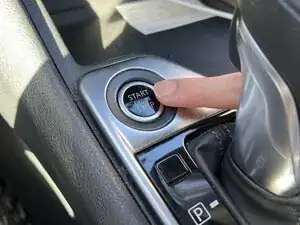
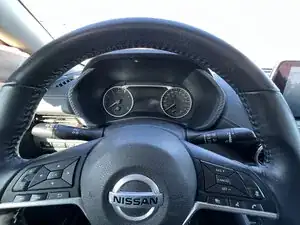
Keep in mind that this replacement is for the trunk tail light; this light does not flash when the brakes are applied; it only turns on at night when the light setting is set to auto or when you set the light setting to ‘on.’ To check if your tail lights are functional, turn on the car lights (the light setting is located at the levers behind the steering wheel) and check if they're on.
Ignoring a faulty tail light might lead to you being pulled over, might land you a ticket, and could even cost you insurance benefits if you end up in a collision. Not only that, other drivers will have difficulties seeing your vehicle in dark scenarios which might cause a crash.
When following this guide, please always remember safety first. Do the replacement in a safe and visible environment and remember to keep the car off whilst you do the replacement.
Tools
Parts
-
-
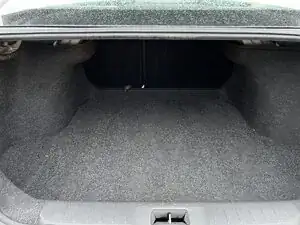
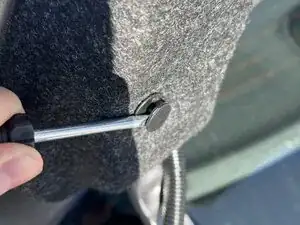
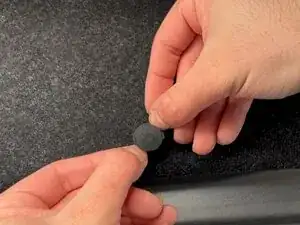
Pull out all the clips that hold the trunk lining. The clips have an inner circle and an outer circle. To remove them, pull up the inner circle.
-
-
-
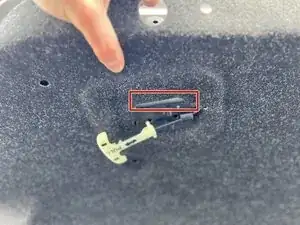
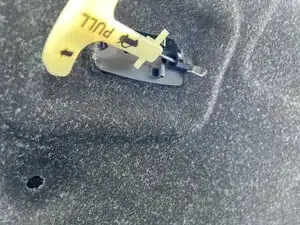
Pull the yellow emergency trunk release handle so that it’s loose.
-
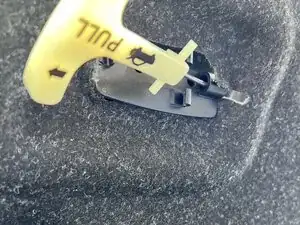
Pull it towards you and to the left so you can pass the emergency trunk release handle through the lining so it’s completely off.
-
A helpful tip is to keep constant pulling strength until you see metal through the lining (black square). At that point start pulling down and left until you see the lining above the plastic.
-
Remove the trunk lining.
-
-
-
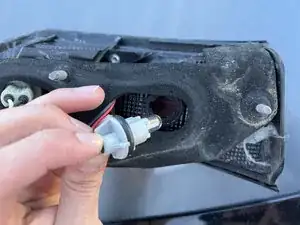
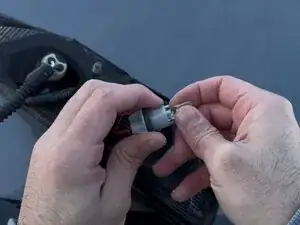
Disconnect the tail light connector by pushing down on the big square in the connector and pulling to the opposite side to which it is connected.
-
Unscrew the four bolts for the tail light.
-
Remove the tail light with care (close the trunk if necessary).
-
-
-
Separate the light bulb holder from the tail light cover by twisting the plug to the left and then pulling up.
-
Pull out the bulb from its casing by pulling the bulb up and moving it side to side as you pull. Do this with care.
-
Install the replacement.
-