Introduction
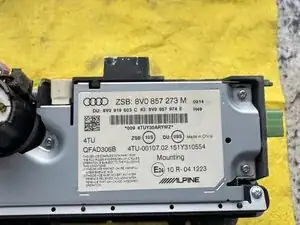
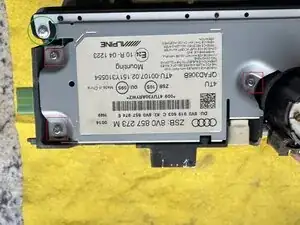
How to replace the LCD panel in the Audi A3 S3 RS3 8v 2013-2020 sedan pop-up display 5.8in 8VO 857 273 M 8V0 919 603 C QFAD306B
Tools
Parts
-
-
Assuming you have viewed existing videos to remove the display housing, https://www.youtube.com/watch?v=O_eC99HV...
-
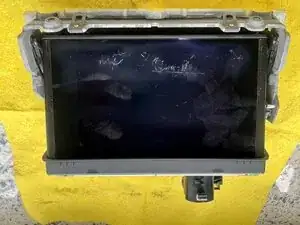
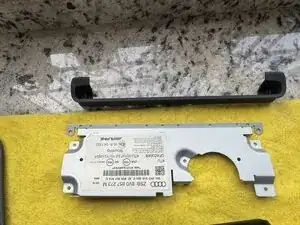
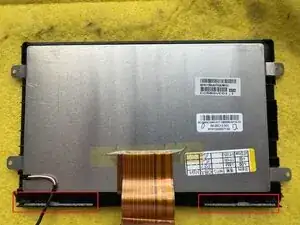
Ensure you have removed the display assembly with the screen in the down position. You MAY need to reconnect the assembly power briefly to move the screen to "up" position later on to remove the screen. The part we are replacing is the 5.8in LCD panel, part number C058GVC01.0
-
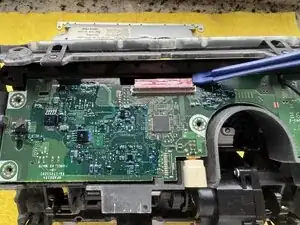
You will need to disconnect the 3 connectors ( marked RED) and cable removing 2 clips (marked GREEN) with flat blade screwdriver and a 3rd push-in clip (marked GREEN).
-
-
-
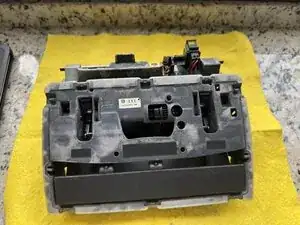
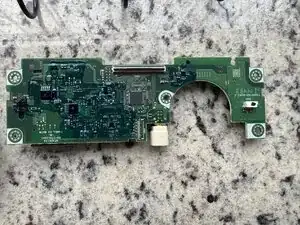
Remove 5 screws from metal shielding. 2 each side and 1 in centre ( marked RED). Remove 2 screws from base of LCD panel tray (marked green) . Remove the metal shield and the plastic LCD panel tray.
-
-
-
If the screen is not easily accessible to remove in next step, then you can change the position by: 1) Briefly replace the metal shield and reconnect the power connector to pop-up the screen. 2)Disconnect the power with the screen in the up position.
-
Remove the metal shield agan and now remove the ribbon cable and screen power connector. The ribbon cable connector has a black bar which should be lifted 90 degrees with a plastic spudger to permit removal.
-
-
-
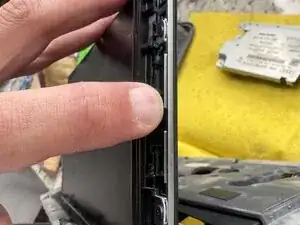
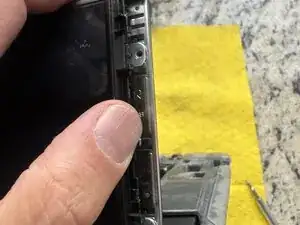
Lift the black plastic border pieces to unclip and pull away. They are also stuck with double-sided sticky tape which can just be pulled to remove. Remove the 2 small screws on each side of the screen. Keep the black borders safe for installing the new screen
-
Use a plastic removal tool to pry the screen away from the frame, there is more double-sided tape securing the top part of the screen.
-
Keep the black border pieces and silver back plates, they are marked L and R for re-installing.
-
Clean and replace double-sided sticky tape with 3m automotive tape and replace screen, making sure to route cables to the bottom
-
-
-
Replace screen, folding over the ribbon cable and taping similar to the original. You can tape the power cable to ensure it stays at the bottom of the screen for re-installation. You cannot use a 7in screen to replace a 5.8in, NOR vice versa. Only use same part.
-
The original screen has a long plastic "L" along the bottom edge of the screen, secured with more double-sided sticky tape on the back ( marked in RED). This can be removed by taking a sharp hobby knife and cutting along the tape to remove it. Apply new 3m automotive tape to the back of the new screen and re-apply the "L" shaped plastic
-


To reassemble your device, follow these instructions in reverse order.