Introduction
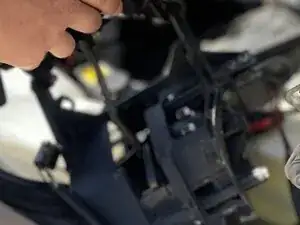
This is a guide to help replace the plastic headlight motor gear inside a 1986 Fiero. This will work with either the left or right side as they are identical, but I am changing the right headlight in the photos.
-
-
Open and prop the hood.
-
Disconnect the battery.
-
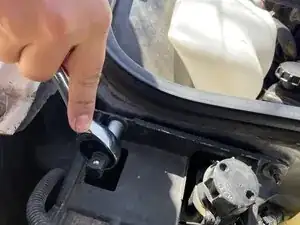
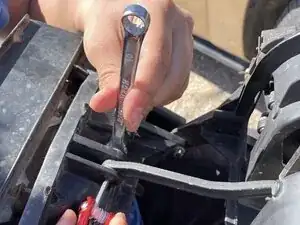
Disconnect the headlight from its housing by removing the four bolts with a 10mm socket and wrench.
-
Disconnect the headlight power cable that leads to the lightbulb, then remove the headlight from its housing to continue to disconnect the remaining wires.
-
-
-
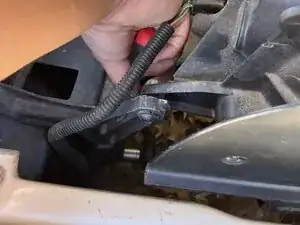
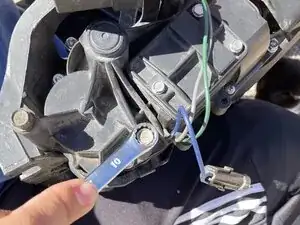
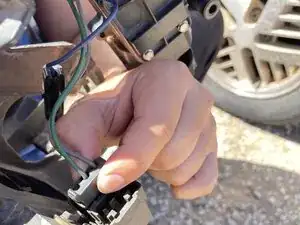
Disconnect the blue wire that leads to the motor, and the red wire harness that leads to the headlight relay.
-
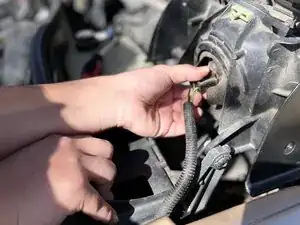
Move the headlight to a clean working space.
-
-
-
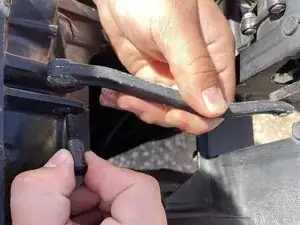
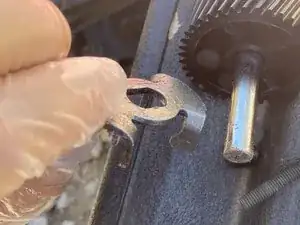
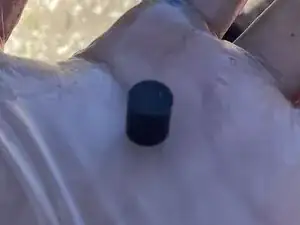
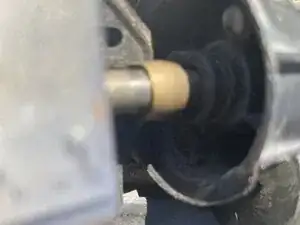
Remove the headlight from the housing and remember or take a picture of the orientation of the arm.
-
-
-
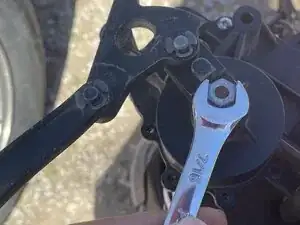
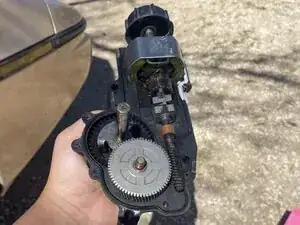
Remove the motor from the headlight and remove the three screws around the motor securing it to the headlight casing, and the screws on the motor arm.
-
Use the 10mm for the screws on the casing and for the nut on the arm.
-
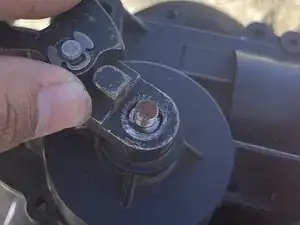
In this step you will use the 1/4 Allen wrench to hold the arm screw in place.
-
-
-
Remove the arm with gentle but firm pressure, if the arm will not budge, hit it with a mallet/hammer to slide it off the rod.
-
-
-
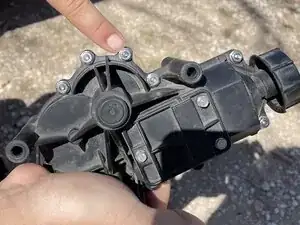
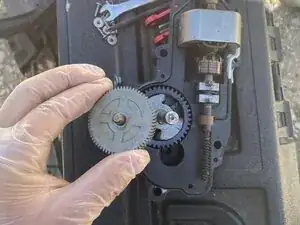
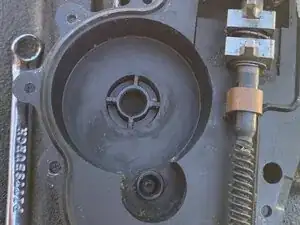
Now you will need to remove the cover, you should see screws all around the motor casing.
-
Remove them using the 8mm wrench and Philips head screwdriver.
-
-
-
(alt)If the motor is still factory sealed, take a 1/8th drill bit and drill through the rivets holding the casing closed.
-
-
-
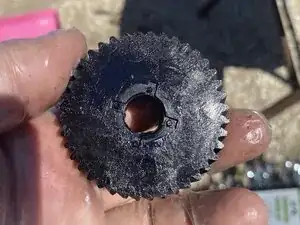
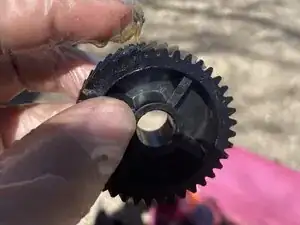
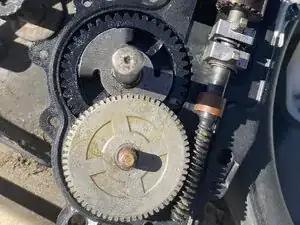
When removing the cover you should see two gears, on meatal, one plastic, and a metal lever in between.
-
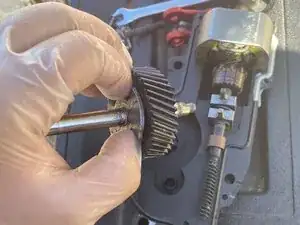
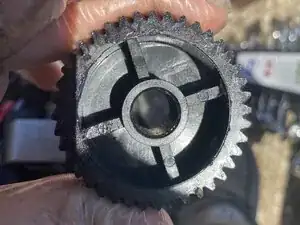
Remove both gears and the lever remembering their orientation or taking a picture.
-
-
-
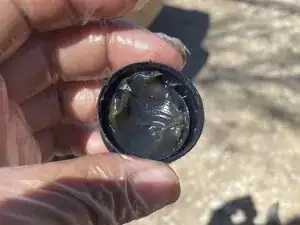
Clean out the plastic gear casing as it will most likely be covered in plastic shavings and dried grease.
-
Clean the lever as it may also have what is left of a rubber spacer coating it and the residue will cause problems if left unchecked.
-
-
-
Put a resealing agent on the edges of the motor and close the casing again.
-
When closing the case there is a seal inside the top of the motor casing. use needle nose pliers or a flathead to hold it in place.
-
-
-
Do steps 1-7 backwards to reassemble and screws should come with the replacement kit if you took step 3 alt.
-


To reassemble your device, follow these instructions in reverse order.