Introduction
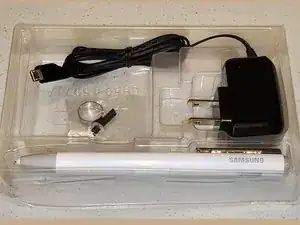
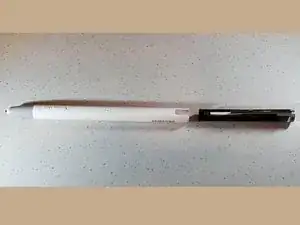
The Samsung HM5100 is a combination S-Pen and bluetooth handset. One end of the body contains a mini S-Pen, while the other end contains a speaker, microphone, and apparantly also a buzzer.
The battery on mine has died, lets see if we can find it.
-
-
My kit was used, and arrived without a box. I wasn't guaranteed functionality, and indeed the stylus would not take a charge.
-
The stylus is much bigger than the internal stylus for the Samsung Note 9.
-
-
-
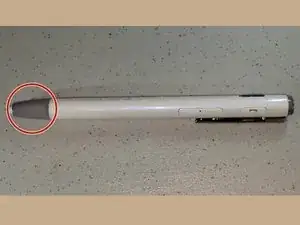
Unscrew grey end cap.
-
Remove mini-stylus from inside.
-
Stylus is a regular Samsung stylus with pressure and side button, and works on any Note phone.
-
-
-
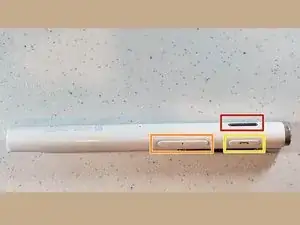
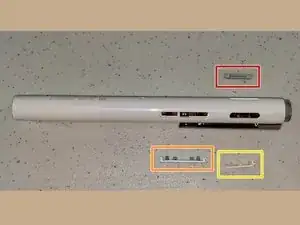
Speaker grille. Carefully pry out with very sharp knife.
-
Volume buttons. Carefully pry out from the middle with a very sharp knife. The rigid white plastic holds in the ends, while soft green plastic also clip in the middle area.
-
Call/hang up button. Here the soft plastic is clear, but extraction is same as for volume buttons.
-
-
-
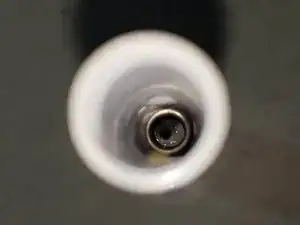
Remove the PH0 screw from the bottom of the mini-stylus tube.
-
There is also a spring down there. You can leave it.
-
-
-
Firmly wiggle the pocket clip while pushing out. The entire phone unit will slide out. It's very stiff, but it will come.
-
-
-
Open the charging cap, and remove the tiny screw under it. Again, PH0 worked for me.
-
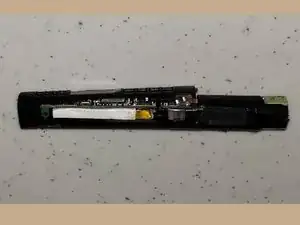
Remove the entire unit.
-
-
-
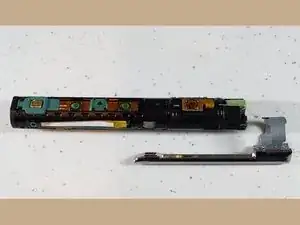
Firmly wiggle the pocket clip and slide it off the end of the black innards. It is stiff, but it will come.
-
-
-
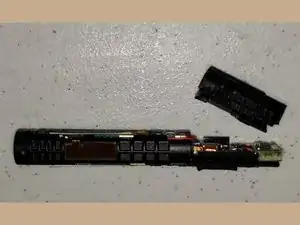
Remove cover from speaker board. Very slight hooks in the plastic hold the cover on, so be gentle. The plastic is tough, but the circuitry underneath is not.
-
-
-
Carefully peel up the antenna flexi.
-
This end of the cover has a tab that slides under the other part of the body, preventing vertical movement.
-
These tabs poke downwards, preventing horizontal movement.
-
The end cap belongs to this cover, but there is a peg on the main body poking through, also preventing vertical movement.
-
So there's no good way to do this. I pried up in the middle (watch out for the electronics underneath) until the orange tab popped out. The whole piece then slid off.
-
To reinstall, I inserted the orange tab, then pressed the rest down, deforming it til the green endcap snapped over the peg. Nothing broke, but it's a little scary.
-
-
-
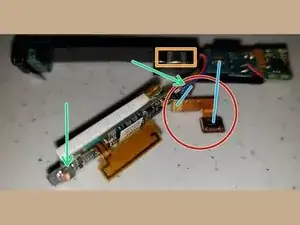
Green arrows point to two flexi connectors. Flip up the gates, and slide out both flexis. This is fiddly; there isn't *quite* enough room to do this, but the flexis can bend. In the first photo, the gates are already open, and the left flexi has been removed.
-
The right flexi is the piece shown in the red circle. The other end can be popped off the speaker board, and the whole thing removed to get it out of the way.
-
The light blue lines show where the ends of the red piece connect, one to the battery board, and one to the back of the speaker board.
-
The buzzer is stuck in its pocket with double-sided tape. Use a very thin screwdriver to pry it out, and the battery board will come with it.
-
Here is the antenna we pried off the cover in a previous step.
-
-
-
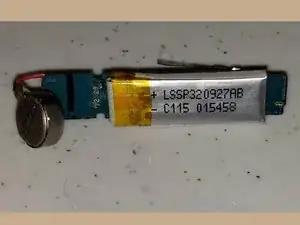
Lookit this tiny little battery!
-
This board is pretty much the entire bluetooth handset.
-
The battery looks surface-mount, but there is in fact a little extra wiring that will allow the battery to be lifted and unsoldered.
-
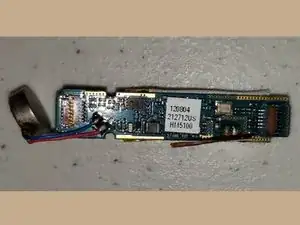
I was hoping to apply a power supply to these pads and jump-start the battery, but alas mine is dead. No current flows, and the ohmmeter shows infinite resistance.
-


One comment
God bless you.. This guide is perfect!