Introduction
-
-
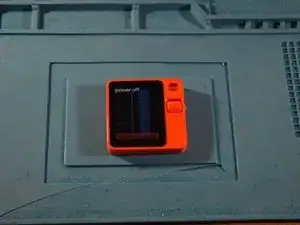
It is good practice to discharge the battery before operating on a device. The Rabbit r1 is no different.
-
-
-
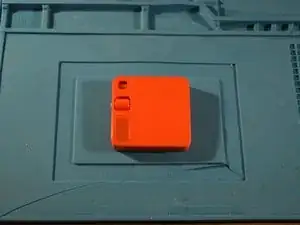
Using a razor blade or ifixit pick, slowly go around the unit. Be careful not to damage the plastic if you choose to use a razor blade.
-
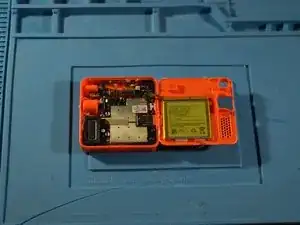
Be careful when removing the back panel. The battery is attached to the back panel and connected via a ribbon cable.
-
-
-
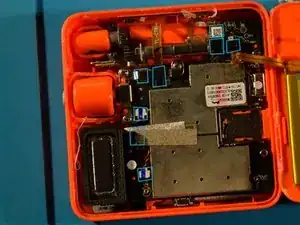
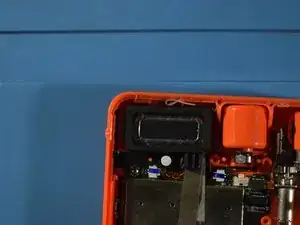
We now have access to the various insides of the Rabbit.
-
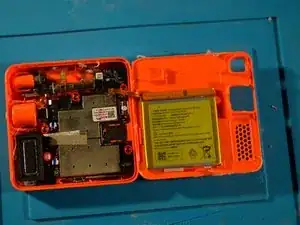
Inside, 6 screws attach a motherboard and a bracket. One of the screws is under a tamper resistant sticker.
-
-
-
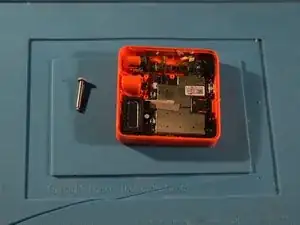
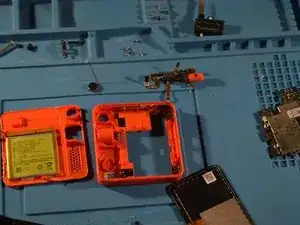
After you disconnect all the ribbon cables and unscrew all the screws, the motherboard can be removed. Gently pull it out of the body of the Rabbit.
-
-
-
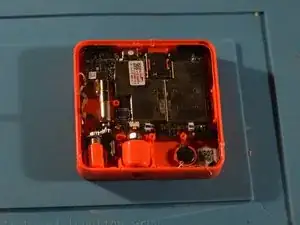
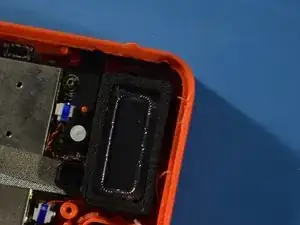
The speaker is attached via clips and a screw. After removing the screw, slide the speaker toward the board and pull it up. Make sure to disconnect the speaker before removing it.
-
-
-
To remove the magic eye, carefully take out the two screws and spacers that attach it. Then, gently pull the unit out.
-
-
-
Removing the screen is the same process as the back. Use heat and iFixit picks to loosen the adhesive and remove it from the body. Make sure to be careful with the ribbon cable that connects the LCD to the motherboard.
-
-
-
The Rabbit r1 is not designed for repairability, but it has some nice repair-friendly features, like using common screws and not too much glue.
-


3 comments
Perhaps you could use capitalization and punctuation?
Avni -
Taken care of!
im too lazy to fix it my guy