Introduction

This guide explains techniques, tips, and advice on how to dissemble a Nokia N900

  1. GQywhYTEs2RlxXOA
    • First, set the phone face down so the back of the phone is facing up.

  2. LKvHF5TNTxMAVZZL
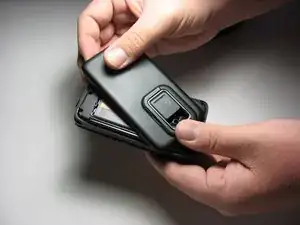
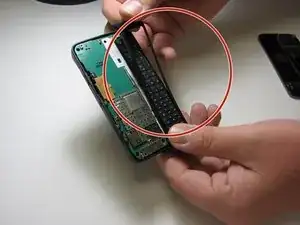
    • Next, find the slit on the side of the phone and use your fingers to gently pry off the back cover.

  3. ANWDr16VIKlIPjAO
    • Then, carefully remove the rectangular-shaped battery from the center of the phone.

  4. RvMfTeI2XMZ4UGe5
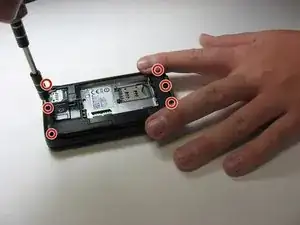
    • Use the Mako Driver Kit to unscrew the six screws from the top and bottom of the back of the phone.

  5. SMpDSJBkOdwEVCoN
    SMpDSJBkOdwEVCoN
    TjTOmnCVKaTCVklZ
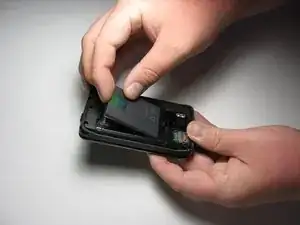
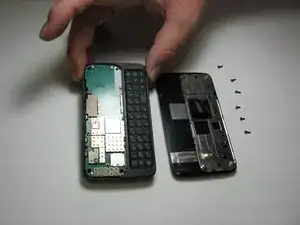
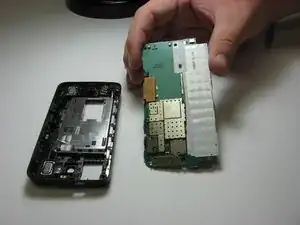
    • After all six screws are removed, gently pull the phone screen away from the base of the phone. You should have two pieces: the phone screen and the base of the phone.

    Be aware when doing this step as the LCD flat-flex cable is still connected to the mainboard, disconnect the cable first before pulling it apart!

    Leonard Putra -

  6. FwXWFgJpWanMyAZZ
    FwXWFgJpWanMyAZZ
    4PfjkxHZuBdf4v12
    • Locate the base of the phone and carefully remove the keyboard mat.

  7. Xy1axTjMjJ51BTAH
    Xy1axTjMjJ51BTAH
    2jxsEOQ6B55YHEDR
    Pwy5NdVXHsegKCHT
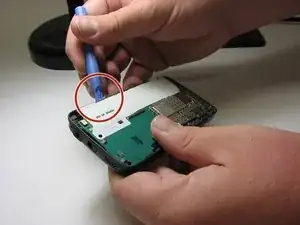
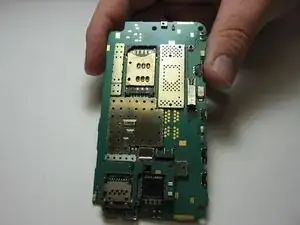
    • Slide the blue iFixit Opening Tool under the green motherboard and the base. Gently separate the green motherboard from the base of the phone.

  8. V1awvMTFNxyFnvPO
    V1awvMTFNxyFnvPO
    JEj1Zgwu1o6BOTtB
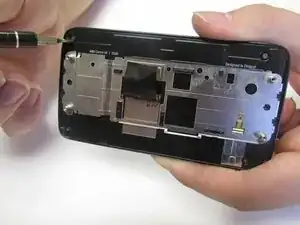
    • Then, flip the base of the phone over and use the Mako Driver Kit to remove all six screws. The screws are located at the top and bottom of the phone.

  9. YJSINpsJy3CSScIe
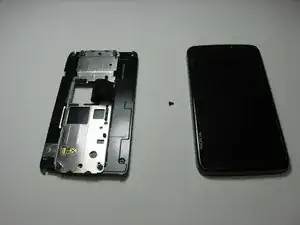
    • After all six screws have been removed, pull the screen and the base apart so that there's two separate pieces.

  10. vrYRXcUCLEccnOjy
    vrYRXcUCLEccnOjy
    5Qdk2dbWJNkOSQrN
    • Use the blue iFixit Opening Tool to carefully pry off the outer rim of the phone screen.

    • To avoid breakage, pry each side of the screen off individually. This will help loosen the parts and ease the disassembly process.

  11. KKO4IKKVEnNg2Stk
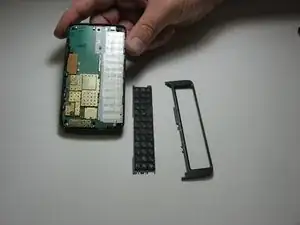
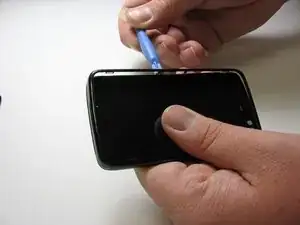
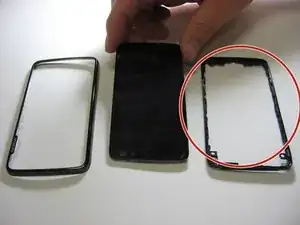
    • Once the screen is separated from the outer rim, remove the screen cover.

    • This is the final step. You should have three pieces of the disassembled screen: the outer rim, the screen, and screen cover.

    • Congrats, you've successfully completed a Nokio N900 teardown!

Juan Haro

Member since: 13/03/14

284 Reputation

One comment

Looks like the LCD flex cable ripped off on this teardown, ouch!

Leonard Putra -