1. fPpc2uRVvhm4KMDJ
    fPpc2uRVvhm4KMDJ
    qqEjWRbY6SQdGgGq
    • Remove SIM card tray.

  2. ogM2X1YlWoWgEOLs
    ogM2X1YlWoWgEOLs
    huTKQxRYpkKUqJbI
    1CHLWOHP4ZkOFTC5
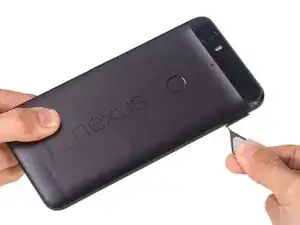
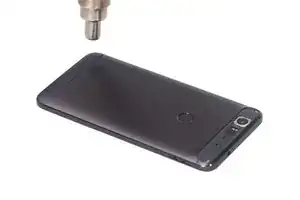
    • Heat up back glass panel.

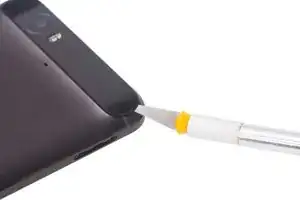
    • Use hobby knife to open a gap and cut the fierce sticker underneath rear glass panel.

    • The back glass panel is easily shattered and the adhesive underneath is fierce. So be careful to pry this part.

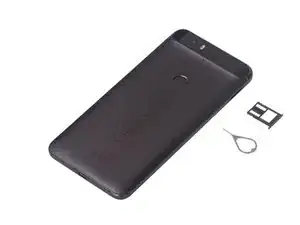
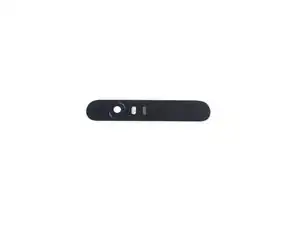
    • Remove back glass panel carefully.

    A hair dryer works well for this part.

    Tara Zieminek -

  3. YHi2WpnTXBKlYskI
    YHi2WpnTXBKlYskI
    ZRhN1tL5irQvRDX1
    YG2QqpsJvOfPqQvF
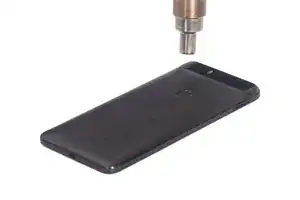
    • Heat up bottom plastic panel.

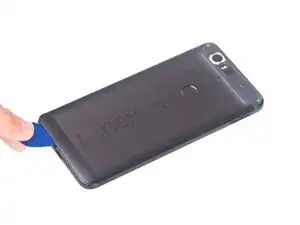
    • Use hobby knife to open a gap and insert guitar picks to cut adhesive underneath.

    A hair dryer works well for this part.

    Tara Zieminek -

  4. QDckFRnUtbfUr6Y2
    QDckFRnUtbfUr6Y2
    AZ2suyJPUx3K3IIB
    yTmwYgKXTsvb2W2W
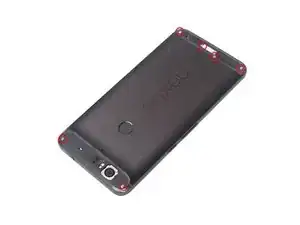
    • Twist off 6 Phillips screws together.

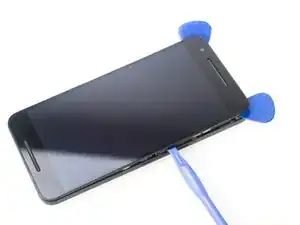
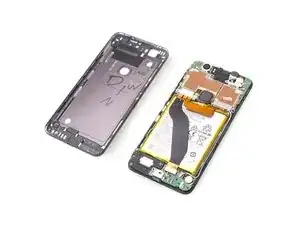
    • Insert guitar picks and plastic opening tool to separate front assembly from back cover.

    • Attention: These two parts fit tightly.It is very difficult to separate them. You can also try using heavy-duty suction cup to disassemble them.

  5. GmjajTHJOf2VgAeH
    GmjajTHJOf2VgAeH
    kbicixfKhTd1dipw
    UURPZHjETHFC4JtU
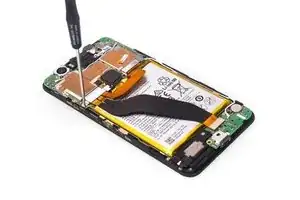
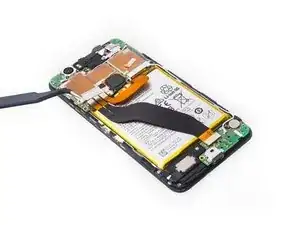
    • Unscrew one Phillips screw.

    • Remove metal bracket securing flex contactors.

    • Release 3 flex contactors and remove it .

    • This flex is used to connect motherboard and daughterboard.

  6. 33TrCKgZHUyVewpF
    33TrCKgZHUyVewpF
    3YVbrt3HfeXWimh3
    e1FyBrOl6YHfZU6a
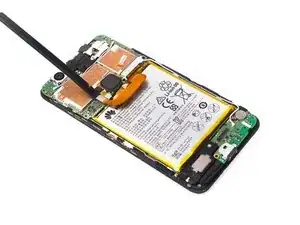
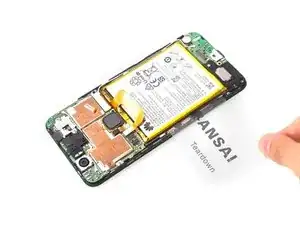
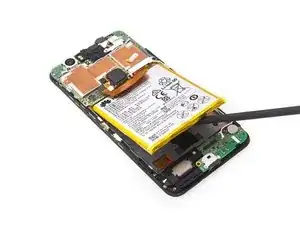
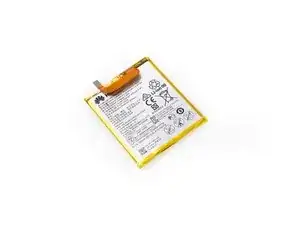
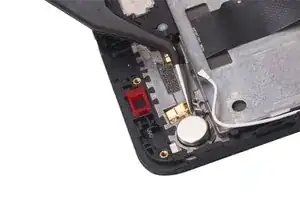
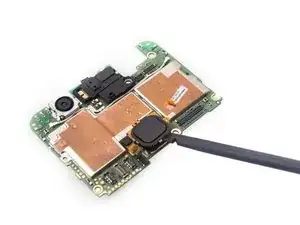
    • Release battery contactor.

    • The battery is fiercely glued in.

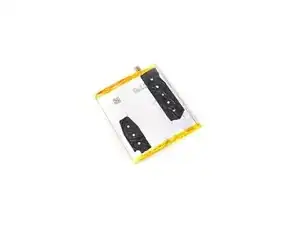
    • Use plastic card to cut strong adhesive underneath, then pry up and remove battery.

    Be careful - there are cables underneath the battery that you can easily damage.

    Tara Zieminek -

  7. PIQQFhGSeu1AHJHJ
    PIQQFhGSeu1AHJHJ
    ok2ZDPHPFvSGfBZa
    • Here we can see the strong sticker underneath 3450 mAh battery.

  8. bUAHv2wdYI16BgtX
    bUAHv2wdYI16BgtX
    BAKLXF31VOcmNdGn
    QbNH6ED6W2uJLKS6
    • Disconnect signal cable contactor and twist off one Phillips screw.

    • Remove daughterboard.

  9. CMKJkTPkSXQXmxL6
    CMKJkTPkSXQXmxL6
    NNEHVNdNmwyEU3ax
    A1FaquDA2sMdCKTb
    • Cut adhesive underneath vibration motor, then remove vibrator.

  10. plbZwt2Ltok3ge2X
    plbZwt2Ltok3ge2X
    igOiEIFthREuVt6L
    6HwmbsN2JDIEFSgr
    • Twist off one Phillips screw and remove loudspeaker.

  11. t6OVScdlGFIWTgOs
    t6OVScdlGFIWTgOs
    kNSDWR1PDeicZ4fI
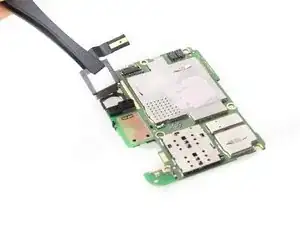
    • Twist off 2 Phillips screws.

    • Remove metal bracket securing front camera contactor and audio jack contactor,

  12. KJisEVJdpVnTUOUN
    KJisEVJdpVnTUOUN
    XAHIDRyBaQUG4SNW
    cNIjjKFUmh6NXyhw
    • Remove front camera.

  13. jKNkZGpOROKPMKJF
    jKNkZGpOROKPMKJF
    aw4UkmxroZpXqPBZ
    • Remove audio jack.

  14. TPLhCIbFIAPqXvsI
    TPLhCIbFIAPqXvsI
    FMJfnD1SjTFGKbQF
    bJKB4G5YSYrsiF6X
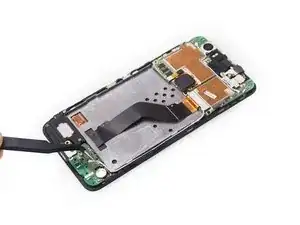
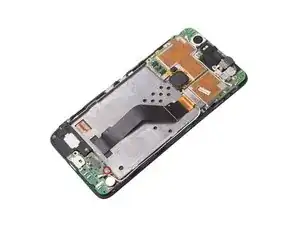
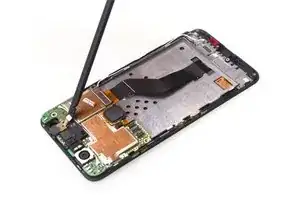
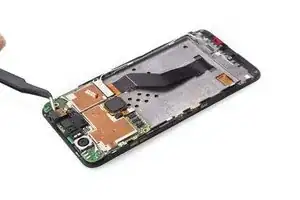
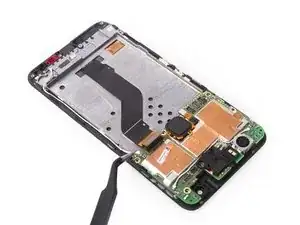
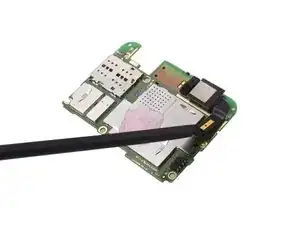
    • Twist off 3 Phillips screws.

    • Take away metal bracket securing LCD flex contactor.

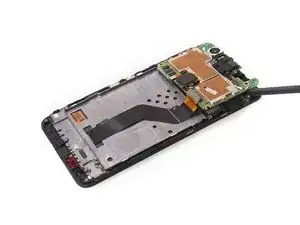
    • Release LCD flex connector.

  15. qqfTXlkGoEKMgp2h
    qqfTXlkGoEKMgp2h
    Yax3jIaC1YK4jAKL
    • Remove signal cable.

  16. fvXoWbjaPA2dGLe2
    fvXoWbjaPA2dGLe2
    fbOSC3SaxnZZjlOc
    • Pry up and remove motherboard.

  17. wlHQ2ODUDB4x1b3G
    wlHQ2ODUDB4x1b3G
    bh3YyXFRJjxoWUbg
    D3uijQZJZlNxnbSW
    • Remove fingerprint scanner.

  18. e3QZqaZBBGo1AAuo
    e3QZqaZBBGo1AAuo
    swnwNpeyHhm2pVPj
    3NvMwfPmlnIqo4M1
    • Remove rear camera.

  19. gtwEnsmLbOBZUQr4
    gtwEnsmLbOBZUQr4
    IMCXuceC4oYV5GDh
    • Here is the motherboard.

  20. DIjSN2VqBXFGhZsJ
    DIjSN2VqBXFGhZsJ
    UXDXmafPOUOSCrrf
    • Remove earpiece.

  21. lBigsuDPLAXV2iyG
    lBigsuDPLAXV2iyG
    EUfudHJPNoqP6A3n
    6csWLqtQ3GOXEBWd
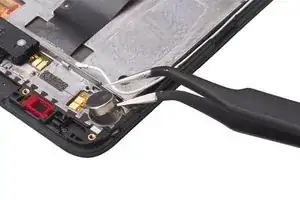
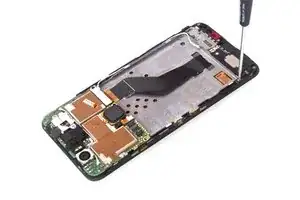
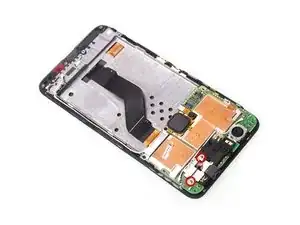
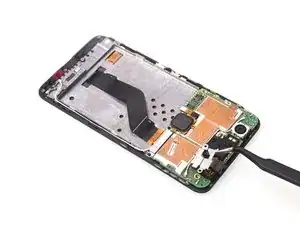
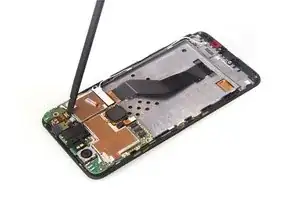
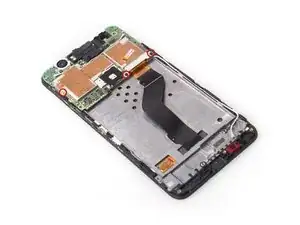
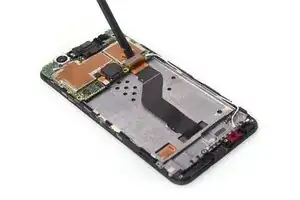
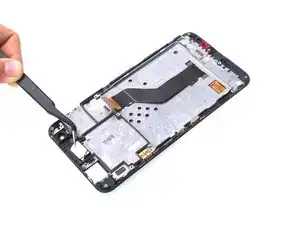
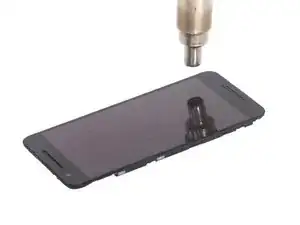
    • The sticker underneath LCD with digitizer is a little bit strong, so use heat gun to soften it for a few minutes.

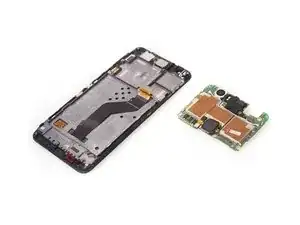
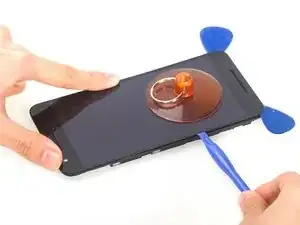
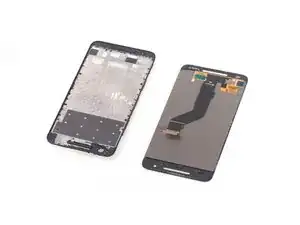
    • With the help of suction cup, plastic opening tool and guitar picks, remove LCD assembly carefully.

  22. oTMnCZTKyO32pffJ
    • Done.

Witrigs

Member since: 24/11/15

70070 Reputation

9 comments

good jod !buddy

Kaye -

Does the Nexus 6P have two antennas? I've noticed there's a two sim card slots?

sam34866 -

Its single sim slot sorry

Noorulla Shariff -

Ya its haveing to sim slot but there is only 1 antina

Noorulla Shariff -

There is a thin lining of plastic around the screen. Does removing it deteriorate the structural integrity of the screen or is it simply cosmetic?

Sorry if this is the wrong place to ask.

Eric Jensen -

Yes, much like the iPhones. If the plastic becomes lose, the screen will be loose, as it acts as a spacer,

Adam99 -

The first time I replaced a Nexus 6P battery, everything worked fine.

The second time, the “Signal Cable” in step 15 was damaged and now the screen appears to be damaged (it still vibrates in response to touch events but is not displaying anything). Is it possible to replace this without replacing the screen?

Tara Zieminek -

After replacing the digitizer and the battery, my proximity sensor stopped working. Can you show with a diagram where this part is? I am assuming that it’s the black plastic piece attached to the motherboard on step 19 right next to the camera. Why would it stop functioning? Could it be that something has gotten in its way?

Marcel Ferreira -

What if you just want to replace the broken glass??

justine mendoza -